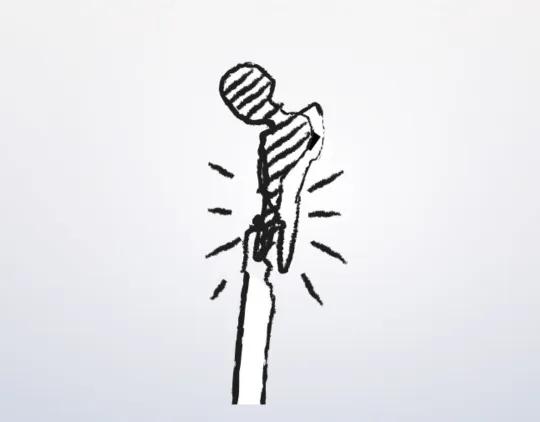
Revision of cup to multihole pressfit cup
1. Principles
Cup fixation stability is critical to ensure durable fixation.
One of the goals is to minimize fracture progression and comminution.
For further information about standard techniques for ORIF in native acetabular fractures, please refer to the acetabulum section of the AOSR.
2. Approach and exposure
The surgical management of these periprosthetic acetabular fractures involves using the standard surgical approaches for total hip arthroplasty, such as:
- Anterior intrapelvic approach
- Anterolateral approach
- Direct anterior approach
- Posterolateral approach
- ASIS osteotomy
- Kocher-Langenbeck approach
- Ilioinguinal approach
These approaches can be performed with the patient in lateral or supine positioning.
The surgeon should have full visualization of both the anterior and the posterior walls/columns of the acetabulum. This is critical to fully assess the extent of the fracture lines and patterns.
This would also allow for the most safe and efficient removal of the failed cup.
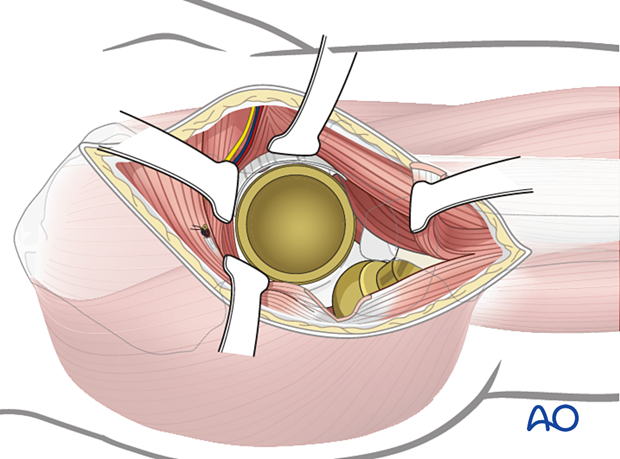
Take care to protect the neurovascular structures that are at risk, such as the sciatic nerve, and those structures in the greater sciatic notch.

3. Cup removal
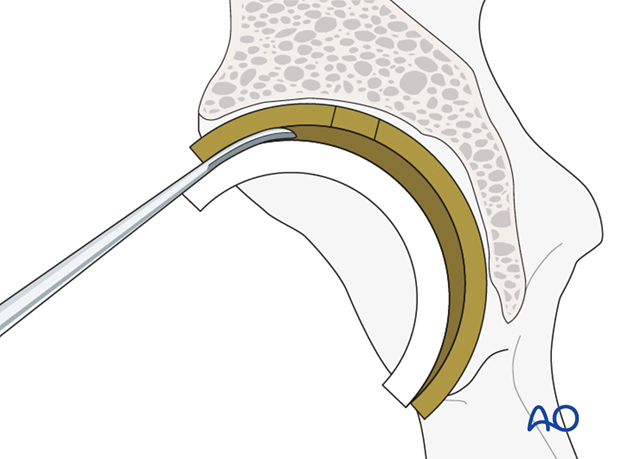
Liner removal
The cup liner is removed prior to cup removal.
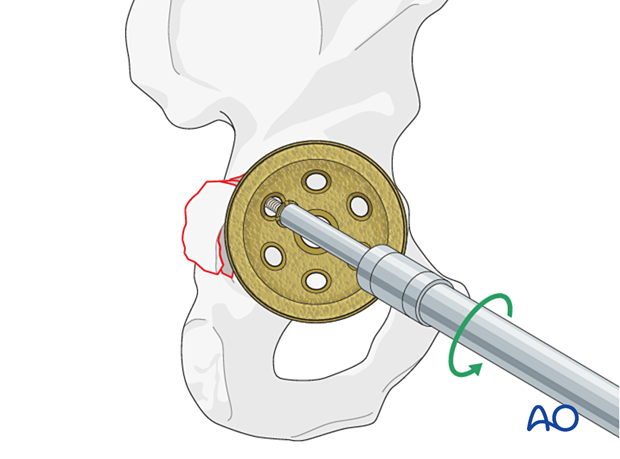
Cup screw removal
Ensure that all the cup screws are removed prior to attempting to remove the cup itself.
Acetabular component removal
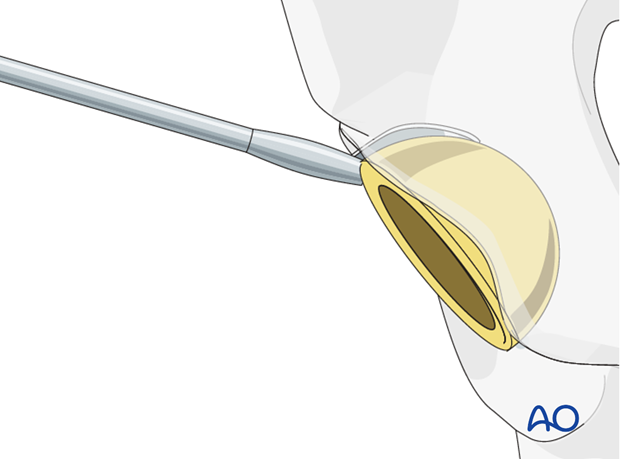
4. Fracture assessment
Assess the location, stability, and extension of the fracture(s) by visual inspection. If necessary, intraoperative imaging may also be used.
Posterior wall fracture
The most common fracture pattern involves the posterior wall of the acetabulum. If the posterior column is not involved, this type of fracture is managed with revision to a multi-hole porous cup.
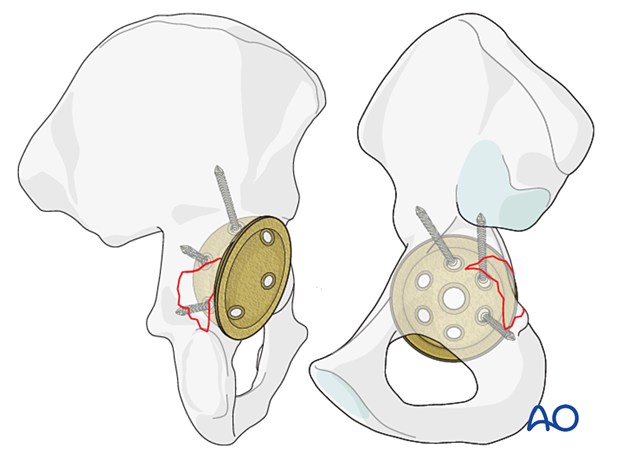
Posterior wall and column fracture
If the posterior column fracture appears clinically stable, revision of the cup without ORIF is indicated.
If it is unstable, perform internal fixation of the column prior to insertion of the new cup.
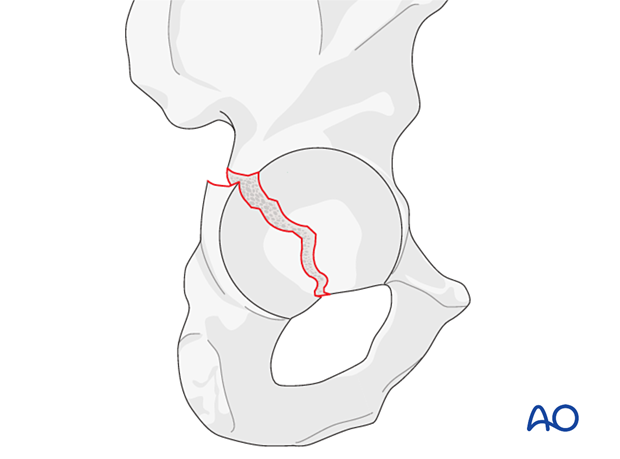
Other fracture patterns
The fracture patterns may be difficult to classify. However, the treatment principles are identical to the management of any acetabular fracture.
It is important to maintain and to reestablish column stability and acetabular containment of the cup.
5. Cup revision and fracture fixation
Pitfall: Cup oversizing
Determine the appropriate size for the new cup carefully. The new cup should have stable and sufficient contact with the anterior and the posterior columns. Oversizing of the cup could create fracture extension and displacement without gaining additional cup press-fit stability.
If a significant increase in cup size seems to be indicated (more than one cup size larger than pre-planned), the need of ORIF should be suspected.
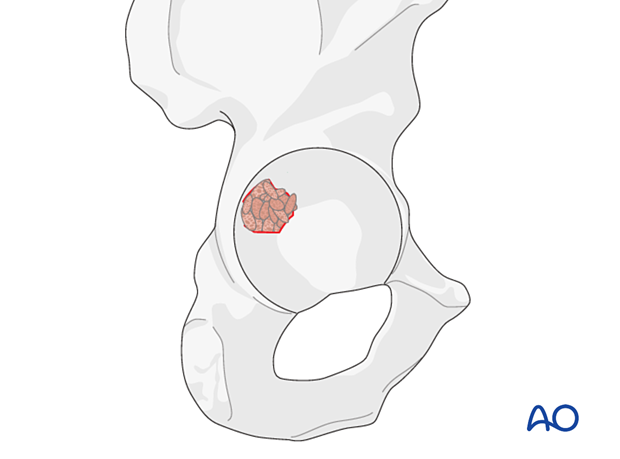
Option: bone graft
Bone graft is generally not required. However, if a defect is present, the surgeon can use the autograft from the acetabular reaming of the primary cup.
New cup positioning
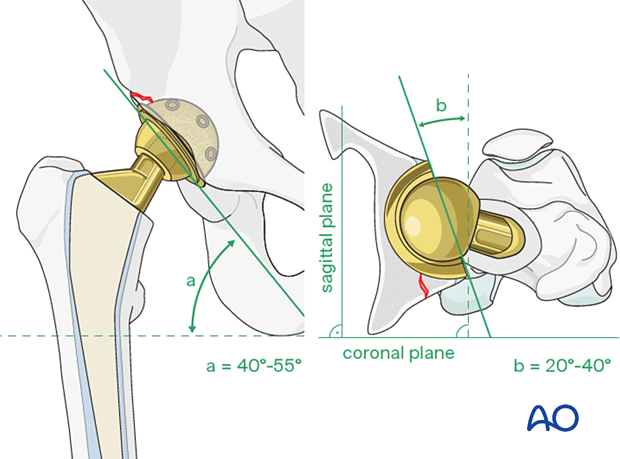
Insert the new cup following the recommended position (inclination) and orientation (anteversion) guidelines.
The accepted "safe zone" is:
- cup inclination 40° to 55° (a)
- cup anteversion 20° to 40° (b)
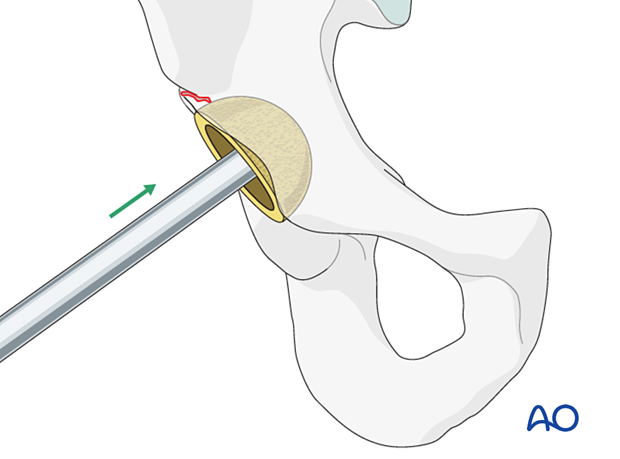
New cup insertion
The appropriate cup is inserted using implant system specific instruments.
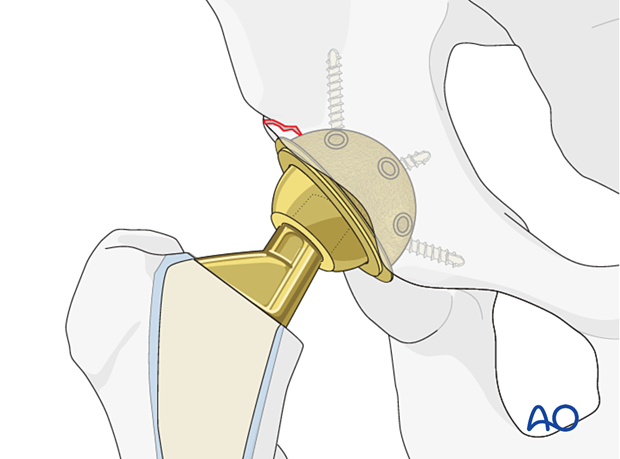
Adjunct screw fixation
The cup is secured with multiple screws that than engage both the anterior and posterior columns, on each side of the fracture.

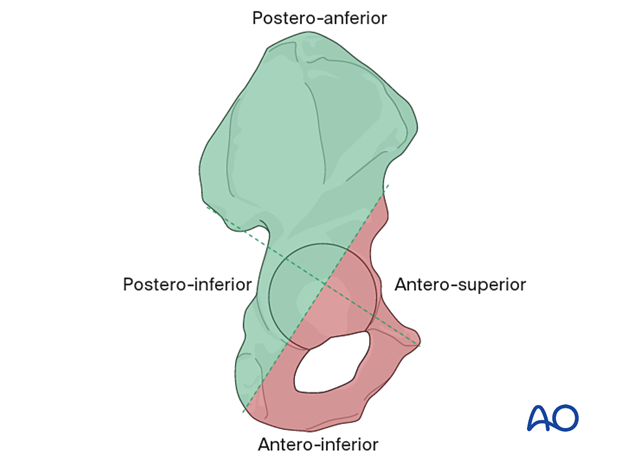
Safe zones for screw implantation
Avoid placing screws into the antero-superior and antero-inferior zones when possible, and towards the medial wall of the acetabulum.
When required, critical evaluation of drill and screw depth is required. Consider oscillation of drill bit to prevent neurovascular injuries.
Continue with hip replacement as preoperatively planned.
6. Aftercare following revision to a multihole pressfit cup
Physiotherapy guidelines
Routine physiotherapy protocols for elective total hip arthroplasty is followed.
Early mobilization with protective weight bearing (50%) is recommended for 6 to 8 weeks until sufficient fracture healing.
Hip dislocation precautions must be given to the patient.
Imaging
Postoperative radiographs should be made at 2 to 3 weeks to determine maintenance of satisfactory cup fixation stability and no fracture progression or displacement.
Follow-up radiographs should be made at 10 to 12 weeks after surgery to determine sufficient cup fixation stability and no further fracture displacement to increase the weight bearing status, and physical activities.
Future follow-up is similar to the routine and standard protocol for total hip arthroplasty.
