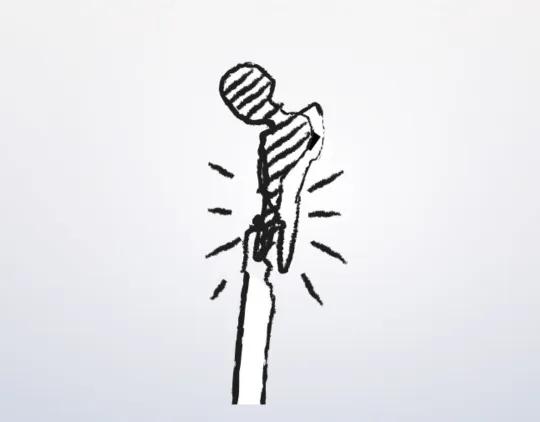
Revision of cup to antiprotrusio cage
1. Principles
Use the antiprotrusio cage in the following situations:
- Restoration of cup containment must be established.
- Restoration of acetabular column stability must be established.
- Minimize fracture progression and comminution.
Cup stability
Cup stability is determined by visual and manual examination.
Intraoperative X-ray should be utilized.
Removal of the cup should be considered if there is any question about stability.
2. Approach and exposure
The surgical management of these periprosthetic acetabular fractures involves using the standard surgical approaches for total hip arthroplasty, such as:
- Anterior intrapelvic approach
- Anterolateral approach
- Direct anterior approach
- Posterolateral approach
- ASIS osteotomy
- Kocher-Langenbeck approach
- Ilioinguinal approach
These approaches can be performed with the patient in lateral or supine positioning.
The surgeon should have full visualization of both the anterior and the posterior walls/columns of the acetabulum. This is critical to fully assess the extent of the fracture lines and patterns.
This would also allow for the most safe and efficient removal of the failed cup.
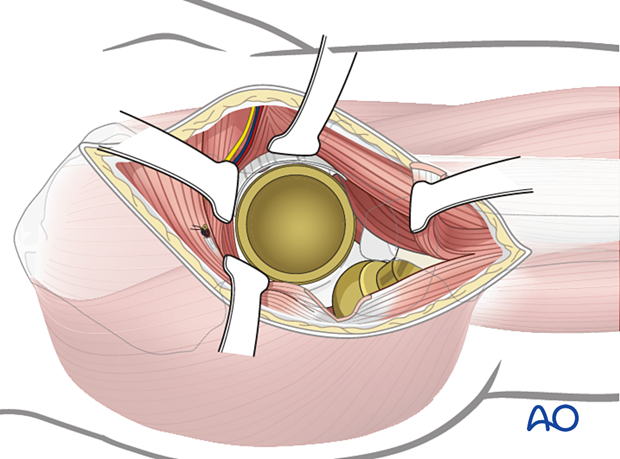
Fracture exposure
The surgical technique requires extensile exposure of the ilium and the ischium. Take care to protect the neurovascular structures that are at risk.
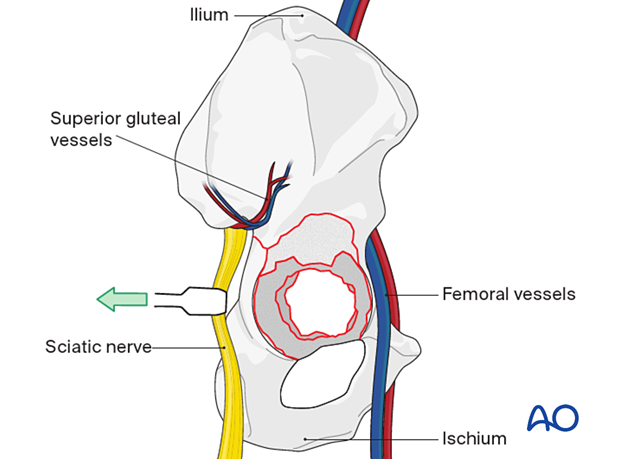
3. Cup removal
Liner removal
The cup liner is removed prior to cup removal.
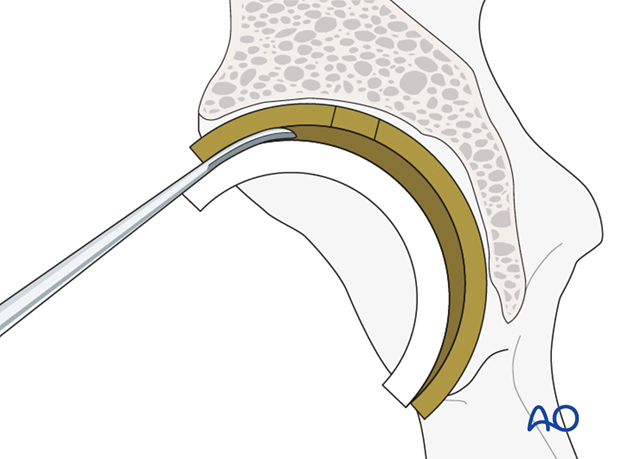
Cup screw removal
Ensure that all the cup screws are removed prior to attempting to remove the cup itself.
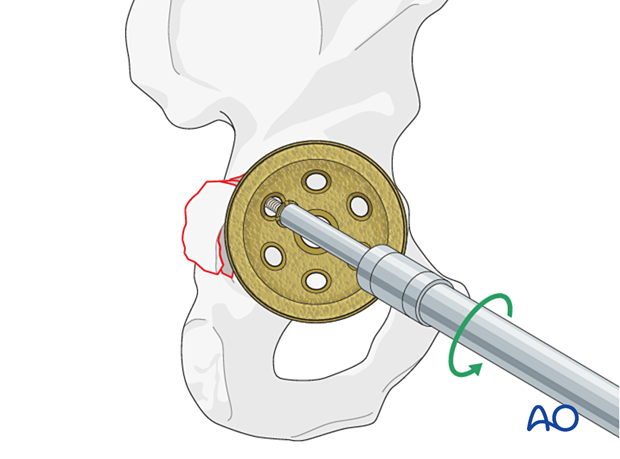
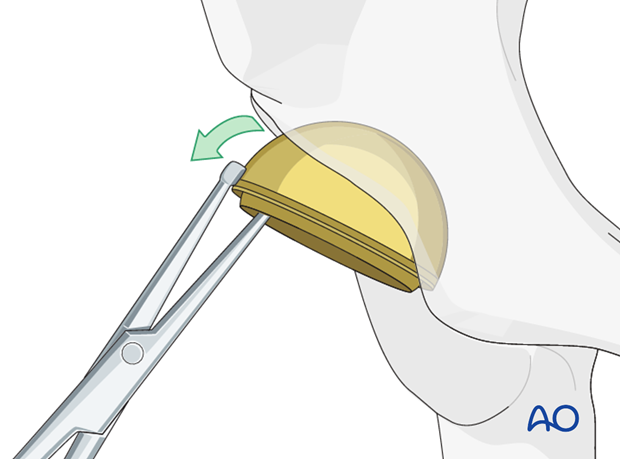
Acetabular component removal
The acetabular component is removed. Details on how to remove an acetabular cup, and any associated screws, are described in the basic technique for acetabular cup removal.
4. Fracture assessment
The fracture patterns may be difficult to classify.
It is important to maintain and to reestablish column stability and acetabular containment of the cup.
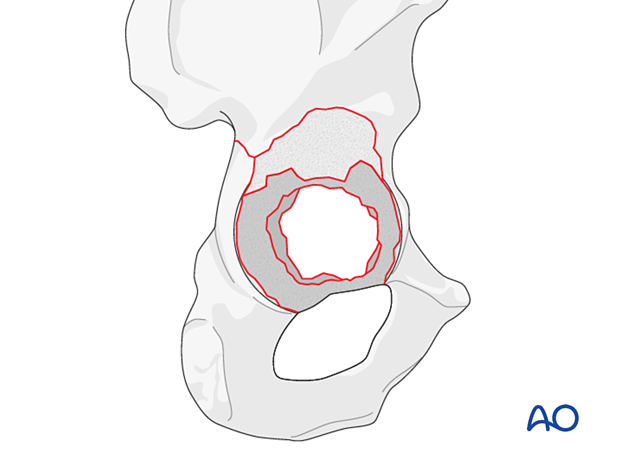
These challenges are different from the simpler segmental defects. The use of metal augments or cortical bone grafts is no longer sufficient and the use of an antiprotrusio cage is required.
5. Cup revision and fracture fixation
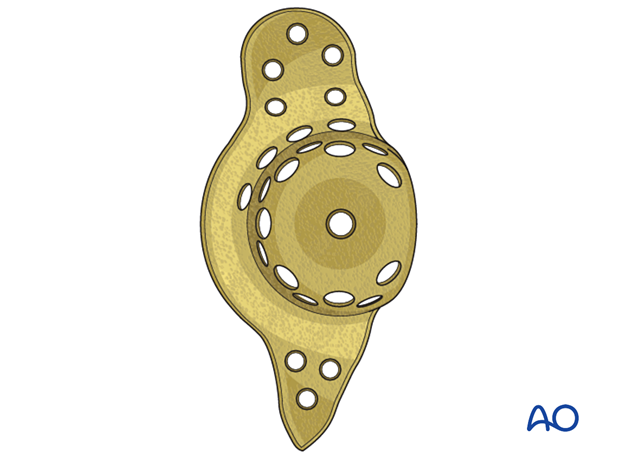
Use the antiprotrusio cage in combination with nonstructural bone graft.
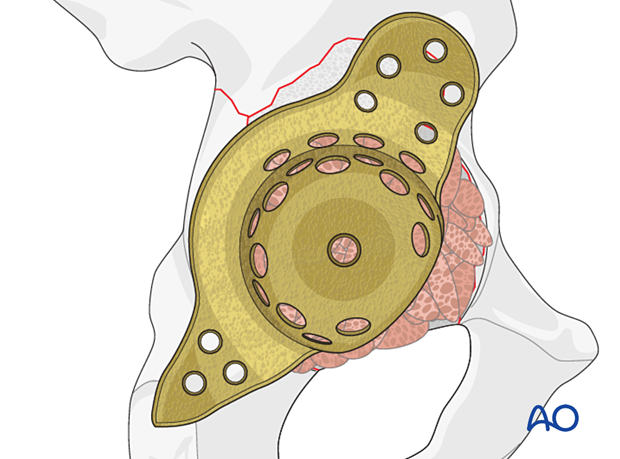
Implant sizing
Choose the appropriate size that matches the dimension of the patient acetabulum. Ensure sufficient proximal and distal flanges to achieve secure fixation into the ilium and the ischium.
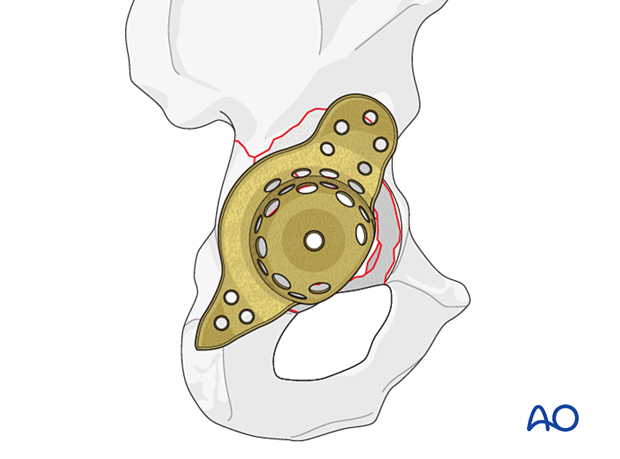
Bone graft insertion
The defects are often too large for the patient's own bone from the acetabular reaming or the resected femoral head to be sufficient for grafting. Allograft bone may be required.
Bone grafts should be placed into the acetabular defects prior to insertion and fixation of the pelvic reinforcement device.
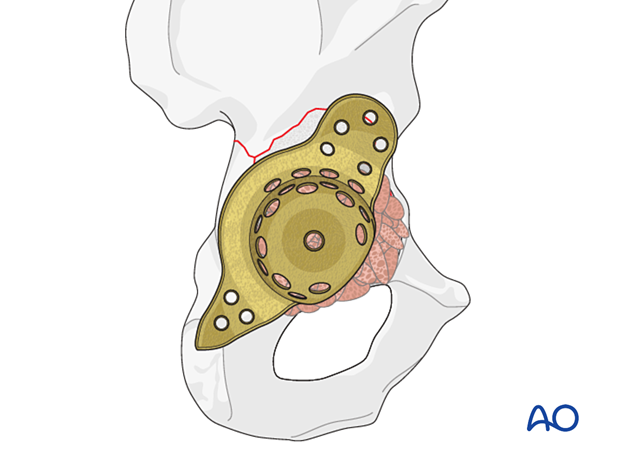
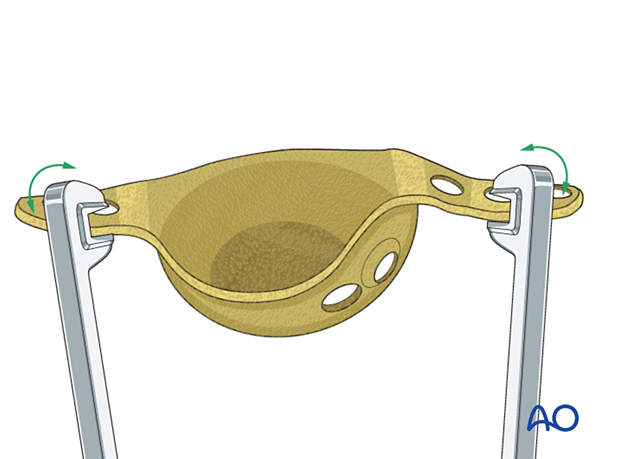
Implant contouring
Contour the cage to fit the pelvis. This will require the use of plate bending instruments.
Cage insertion
After placement of the bone graft, insert the cage and secure it to the pelvis with multiple screws.
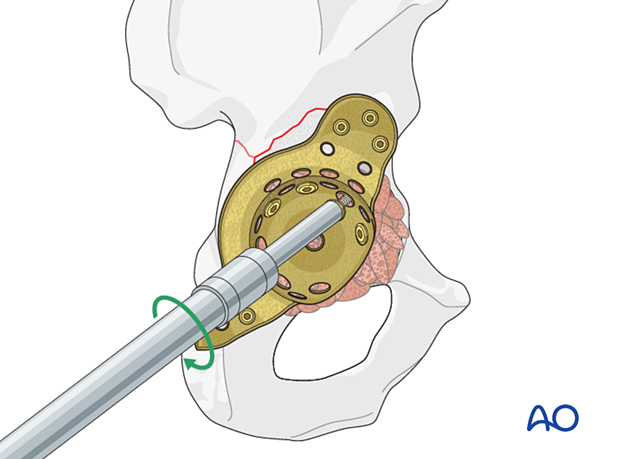
Safe zones for screw insertion
Avoid inserting screws into the antero-superior and antero-inferior zones when possible. However, if necessary, critical evaluation of drill and screw depth is required. Consider oscillation of drill bit to prevent neurovascular injuries.
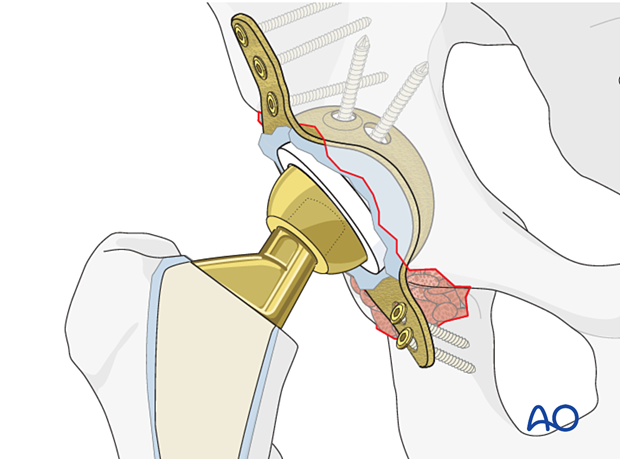
Liner insertion
The manufacturers would provide the appropriate sizing chart to best match each liner to cage size.
The liner is cemented into the cage.
The surgeon should determine the most optimal position of the new liner which will be cemented into the cage.
The accepted "safe zone" is:
- cup inclination 40° to 55°
- cup anteversion 20° to 40°
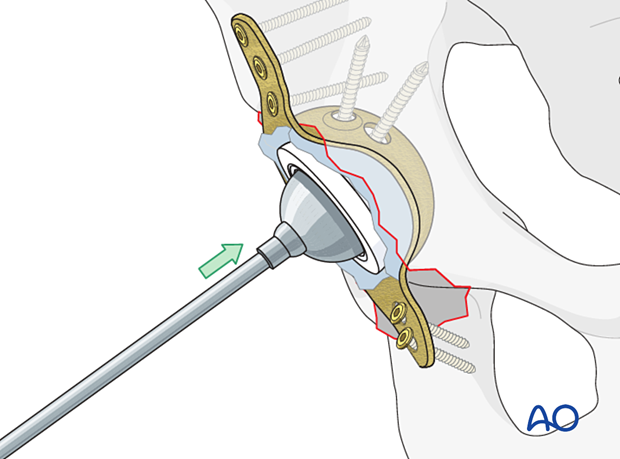
Hip reduction
Continue with hip replacement as preoperatively planned.

6. Aftercare following revision to a protrusio cup
Physiotherapy guidelines
Routine physiotherapy protocols for elective total hip arthroplasty is followed.
Early mobilization with protective weight bearing (50%) is recommended for 10 to 12 weeks until sufficient fracture healing.
Hip dislocation precautions must be given to the patient.
Imaging
Postoperative radiographs should be done at 2 to 3 weeks to determine maintenance of satisfactory cage and cup fixation stability and no fracture progression or displacement.
Follow-up radiographs should be done at 8 to 10 weeks after surgery to determine sufficient cup fixation stability and no further fracture displacement to increase the weight bearing status, and physical activities.
The follow-up radiograph should be done at 5 to 6 months after surgery to assess for healing of the defects and the fractures.
Future follow-up is similar to the routine and standard protocol for total hip arthroplasty.
