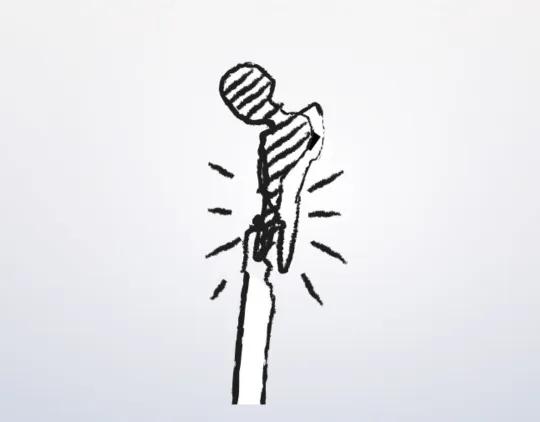
Proximal femoral replacement
1. Principles
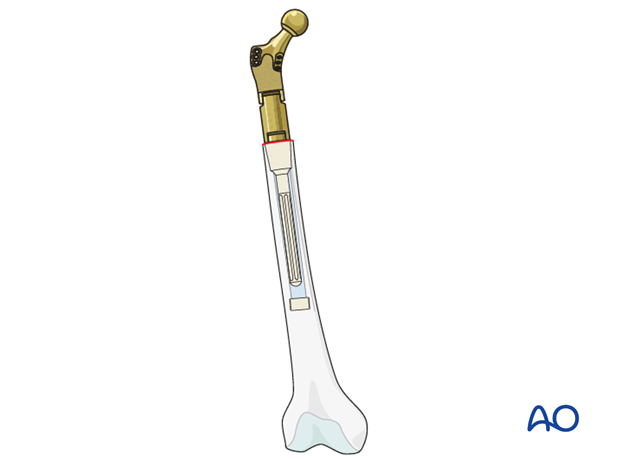
It is important to achieve rigid stem fixation, to reestablish symmetrical leg length, and appropriate anteversion of the new stem in the femur.
Hip joint stability can be achieved by reattaching the hip abductor mechanism to the prosthesis or using constrained devices.
2. Approach
The surgeon should use the surgical approach that is the most familiar to him/her for any total hip arthroplasty, such as:
- Anterolateral approach
- Direct anterior approach
- Iliofemoral (Smith-Petersen) approach
- Posterolateral approach
- Trochanteric osteotomy
- Extended trochanteric osteotomy
These approaches can be performed with the patient in a lateral or supine position.
The proximal fracture fragments are removed which would facilitate exposure to the hip joint, stem removal, and access to the femoral shaft. The greater trochanter fragment with the attached hip abductors should be preserved for later reattachment to the new stem if possible.
3. Implant removal
Acetabular cup assessment
Following adequate exposure to the hip joint, the surgeon should assess the position and the fixation stability of the acetabular cup.
The accepted "safe zone" is:
- cup inclination 40° to 55° (a)
- cup anteversion 20° to 40° (b)
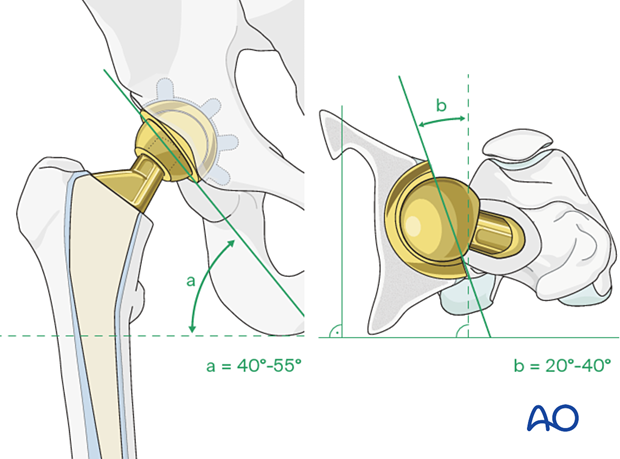
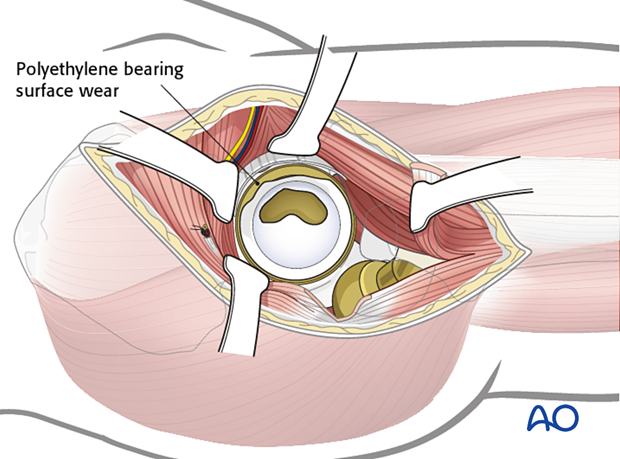
The surgeon should also assess for liner wear. If there is significant wear, liner revision should be done.
Femoral stem removal
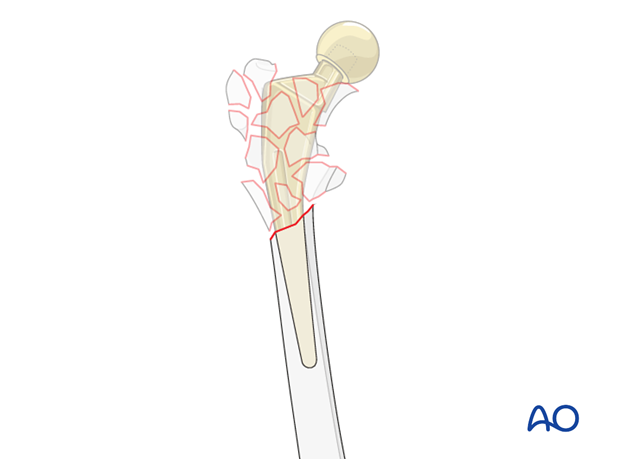
The femoral stem is removed with the proximal femoral fracture fragments.
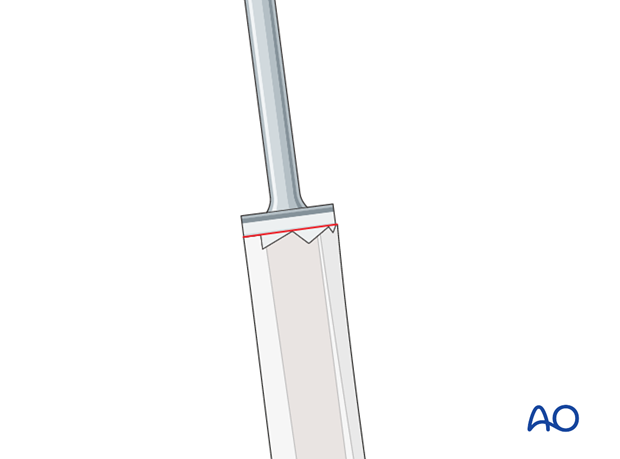
Resect additional bone in the distal fragment with a saw if necessary. The resection level can be smoothened out with a planer.
If there is any residual cement in the distal fragment, it can be removed with the cement removal osteotomes and reverse hooks.
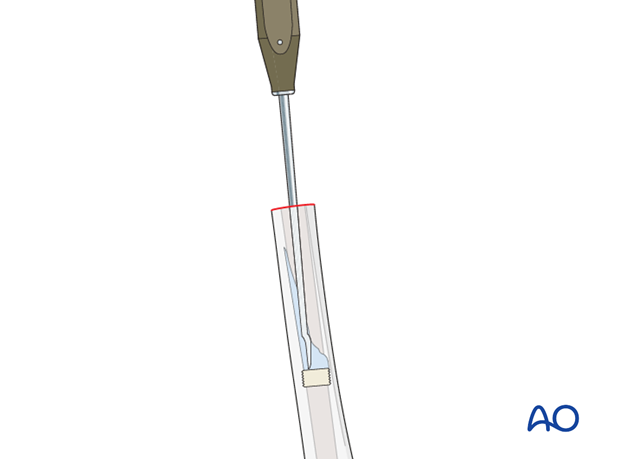
On occasion, a high-speed burr may be necessary to remove residual cement.

4. Femoral preparation
Implant selection
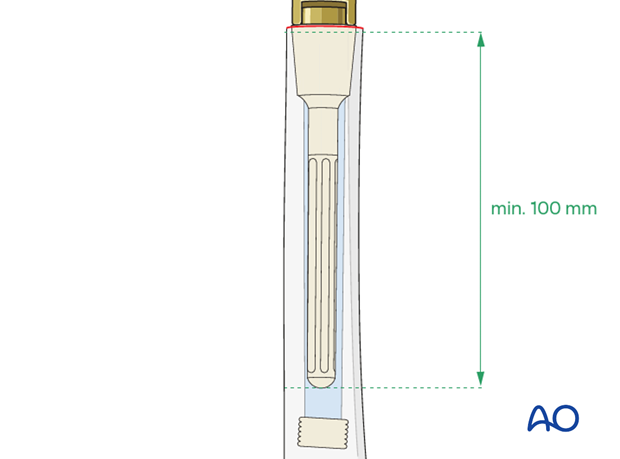
The new distal stem must be of sufficient length to achieve rigid fixation into the remaining diaphyseal femur fragment.
In general, the stem length is at least 100 mm or longer for both cemented or uncemented fixation.
Each implant manufacturer has specific recommendations and surgical technique for the specific device.
The diameter of the new stem is determined by the fit of the reamer during the femoral canal preparation.
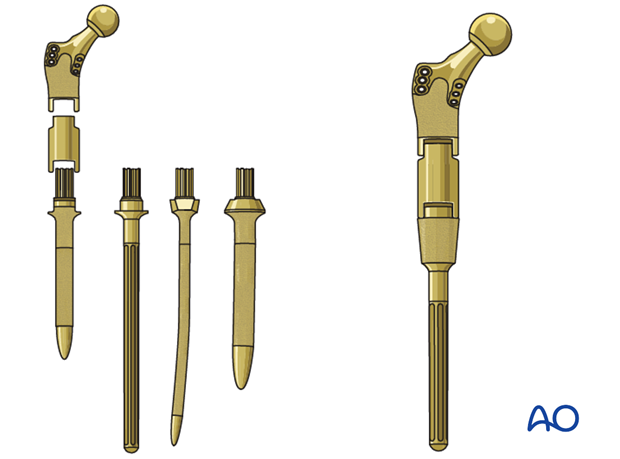
These implant systems are modular. Many options are available with regard to the length, and the diameter of both the stem, the intercalary and the proximal segments.
Femoral canal reaming
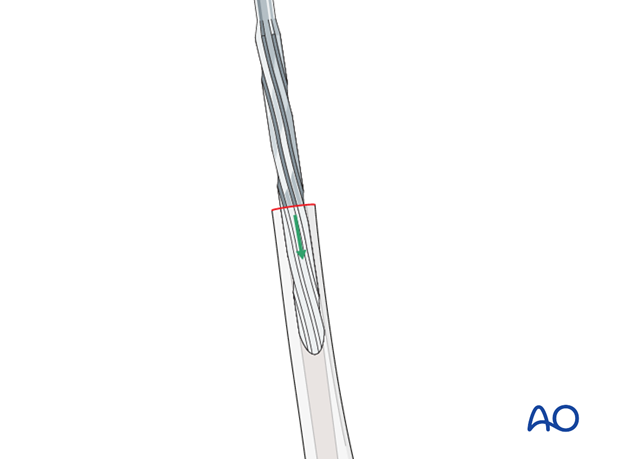
The femoral canal is reamed using specific reamers provided by the device manufacturer. The depth of reaming is determined by the selected stem length which is based upon preoperative templating and the intraoperative bone resection level.
The surgeon should ream in sequence, from the smallest diameter reamer to the largest diameter reamer that would achieve ideal stable fixation of the new stem.
Distal fragment protection
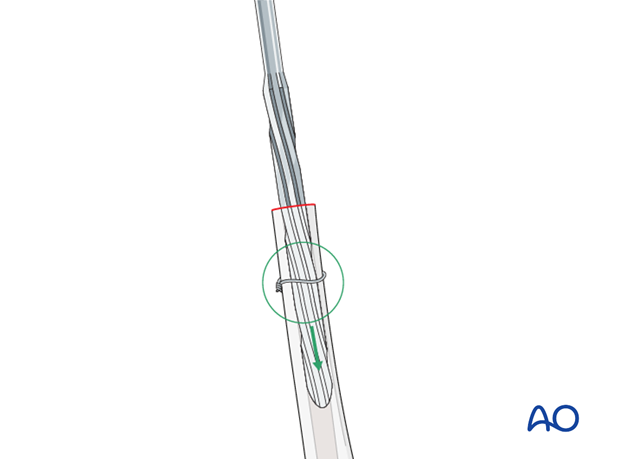
The distal fragment may be protected with clamps or provisional wires/cables during the reaming process to avoid further fractures or comminution.
Trial construction
A proximal femur replacement requires precise alignment of the distal stem in order to align the proximal body with the appropriate femoral anteversion.
A trial prosthesis of appropriate length, and offset is constructed. It is inserted, and a hip reduction is performed to confirm adequate reconstruction.
It is critical to mark the trial position prior to its removal.
5. Cement injection and new implant insertion
Stem assembly
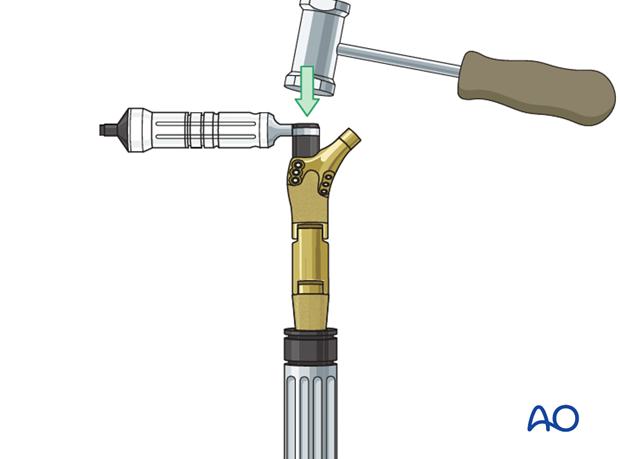
The surgeon should follow the proper sequence and the techniques recommended by the device manufacturer to assemble the different segments of the complex modular stem system.
Cementing technique
The surgeon should follow standard and routine surgical techniques for cement mixing, injection, and stem insertion for cemented total hip arthroplasty.
A cement restrictor, placed a centimeter or so below the prosthesis, allows the cement to be pressurized. The depth of the restrictor can be guided based upon the trial components.
Before inserting cement, clean the canal with irrigation and an appropriate brush. Place a temporary dry sponge in the canal, to be removed just before the cement is inserted.
By mixing the cement liquid and powder in a low-pressure container, air bubbles are avoided, and the cement is stronger.
Cement injection into the medullary canal
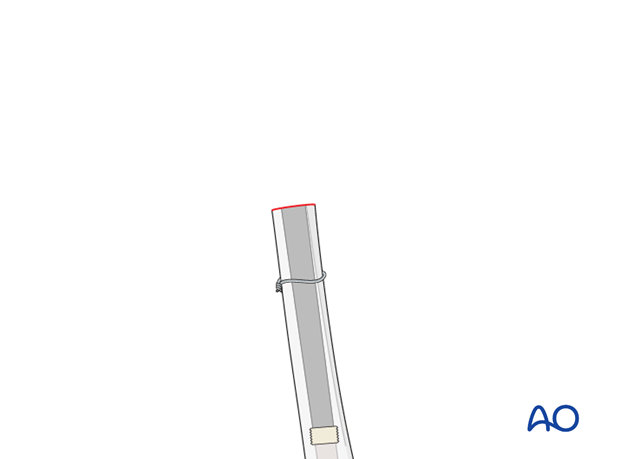
The prepared medullary cavity is filled from bottom to top with a cement gun, as illustrated. Withdraw the cement gun as the medullary canal fills. Avoid mixing blood or air with the cement.
Compressing the cement before and by prosthesis insertion pushes it into the surrounding bone, thus improving its bonding strength.
Stem insertion
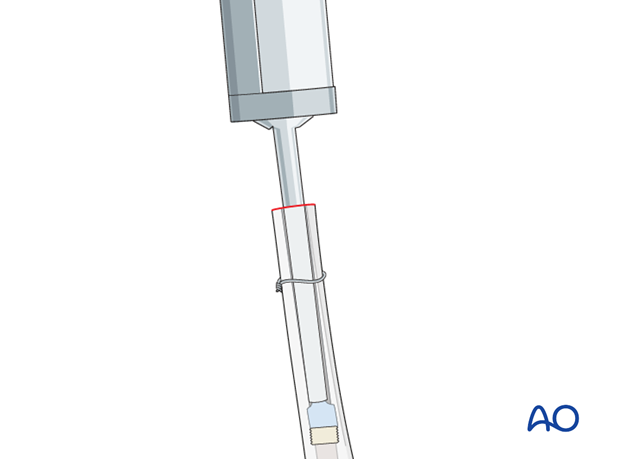
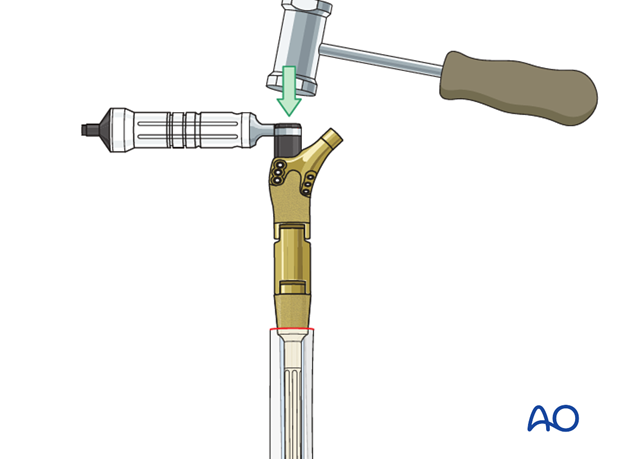
Before the cement hardens, the stem is inserted with the correct rotation (anteversion). It must be placed to the appropriate, predetermined depth. Once the stem is seated, allow the cement to set undisturbed. Trim off any excessive cement, and carefully remove all cement fragments from the hip joint and the surrounding wound.
Hip reduction
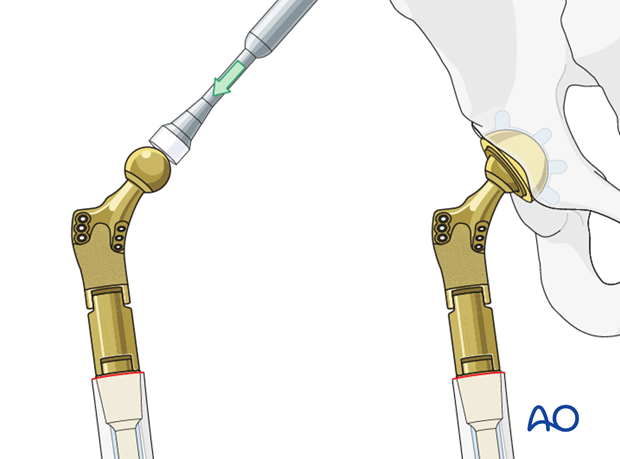
The surgeon should do a trial reduction with the proper head (diameter and neck length).
With the hip reduced, confirm the range of motion, leg length, and hip stability. Adjust the neck and head if necessary.
Once satisfactory, attach the definitive femoral head to the stem, and reduce the hip. Confirm complete reduction, stability, and range of motion.
6. Management of the hip abductors
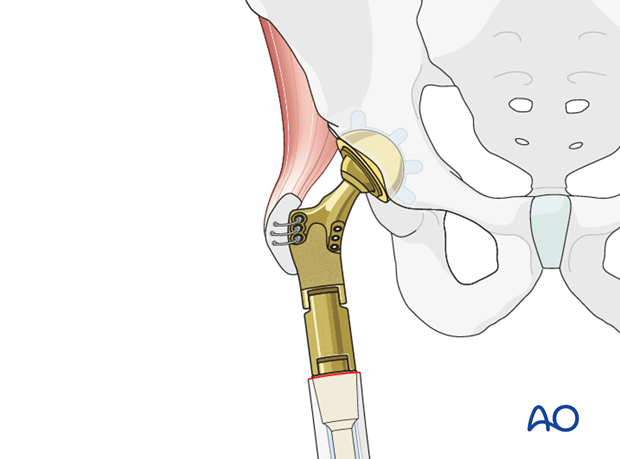
Intact greater trochanter fragment available
If there is an intact greater trochanter bone fragment with the attached hip abductors, this fragment can be sutured or wired to the designated portion of the proximal replacement stem.
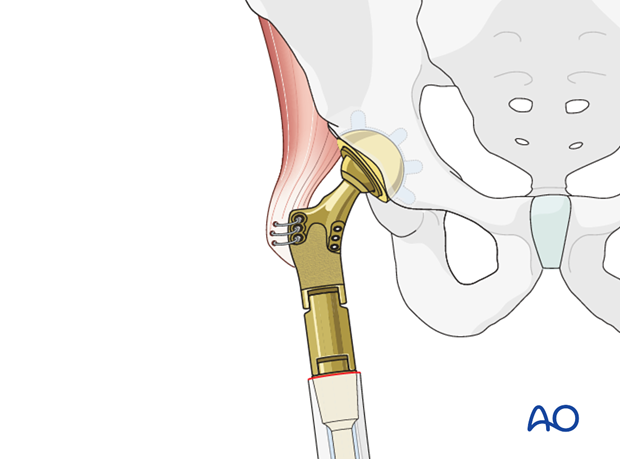
No intact bony fragment available
If there is no bony fragment, the hip abductor tendon can be sutured to the designated portion of the proximal replacement stem, using surgical techniques similar to the repair of major tendon ruptures, such as the patella tendon, the quadriceps tendon, etc.
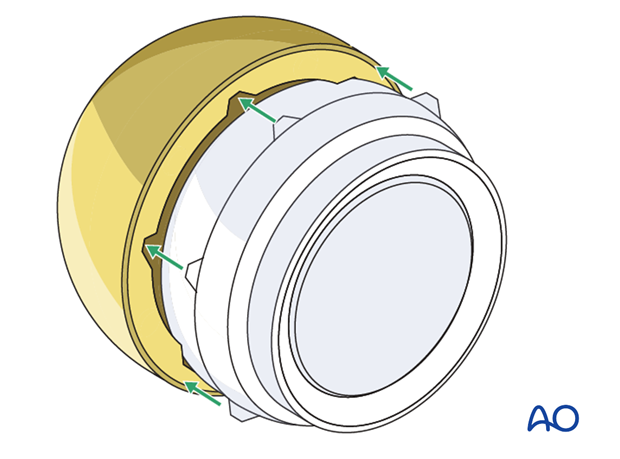
Abductor insufficiency
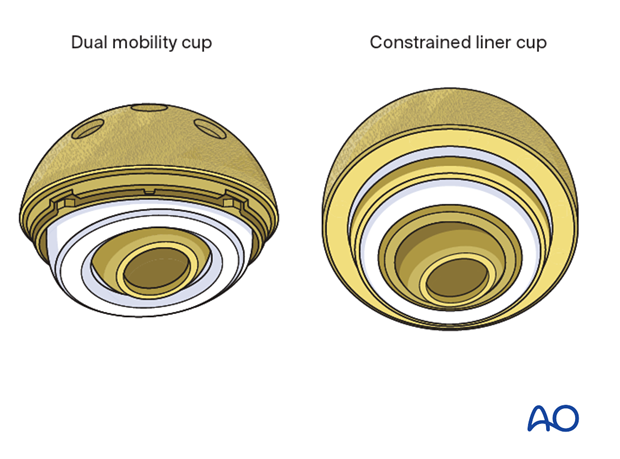
When the greater trochanter or the abductor tendon itself cannot be salvaged, the surgeon may choose to use constrained bearing. This may require revision of the acetabular cup.
Caution should be taken when placing a constrained bearing in an acutely placed acetabular cup.
7. Aftercare following a femoral revision
Physiotherapy guidelines
Routine physiotherapy protocols for elective total hip arthroplasty is followed.
Early mobilization is recommended. Weight bearing status is individualized based upon fixation and implant stability.
Hip dislocation precautions are given to the patient.
Imaging
Postoperative radiographs can be made at 2 to 3 weeks to determine no evidence of stem subsidence or dislocation.
Future follow-up is similar to the routine and standard protocol for total hip arthroplasty.
