ORIF - Plate fixation
1. General considerations
Introduction
Plating with precontoured periarticular locking plates provides angular-stable fixation and is the most commonly used method of distal humeral fracture fixation.
Treatment principle
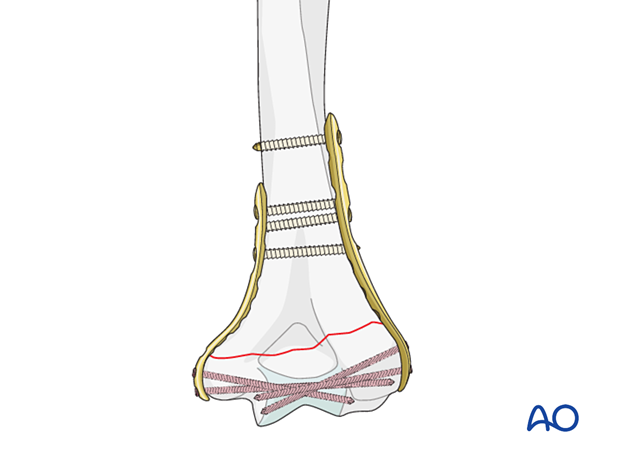
This fracture pattern is fixed with a combination of a lateral and medial plate.
Column screws (through the plate)
In fractures with very short distal segments, additional stability can be gained by inserting long, distal-to-proximal column screws.
When planning the insertion of column screws, possible conflicts between screw tracks must be taken into account.
Triangle-of-stability concept
The mechanical properties of the distal humerus are based on a triangle of stability, comprising the medial and lateral columns and the articular block (see also the anatomical concepts).
In principle, for extraarticular fractures, the side of the triangle with the simplest fracture is fixed first.

Plate selection
Precontoured anatomical plates have been designed. If these are not available, a reconstruction plate is used both on the medial and the lateral sides. If a stronger plate is required, a small-fragment compression plate may be used, but this is more difficult to contour.
Since the distal fragment is short and the bone quality usually poor, fixation with conventional implants is difficult and anatomical plates with locking head screws are strongly recommended.
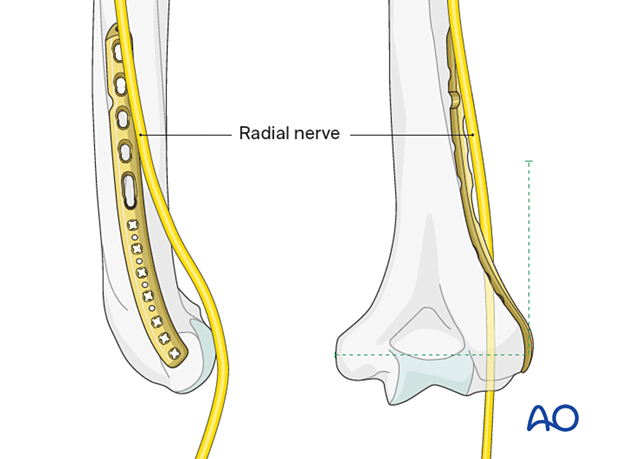
Note: ulnar nerve at risk
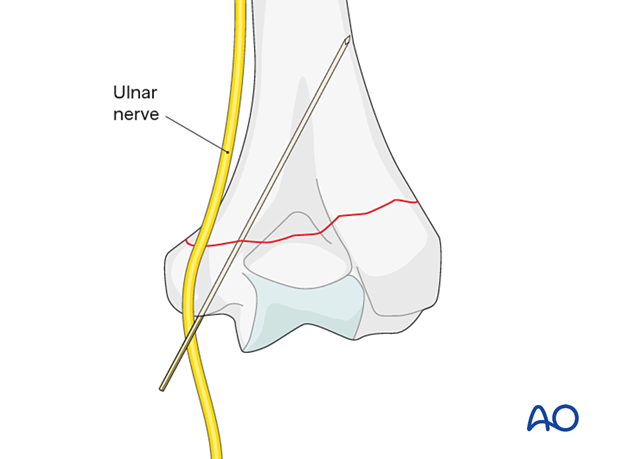
Note: radial nerve at risk
2. Patient preparation and approaches
Patient positioning
This procedure is normally performed with the patient either in a prone position or lateral decubitus position.
Approaches
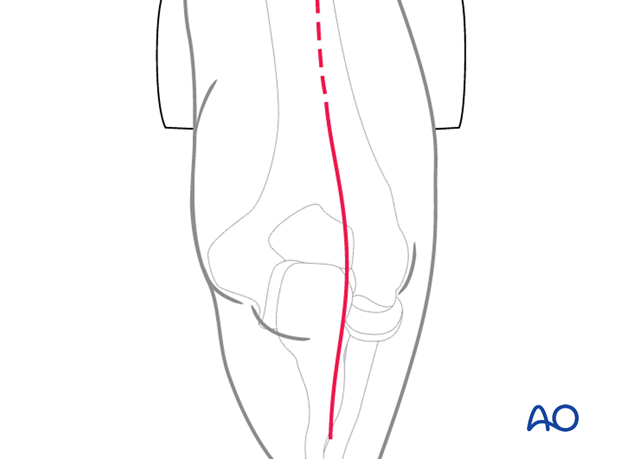
A posterior triceps-split approach is preferred. However, triceps-on or triceps-elevating approaches may be used on surgeon’s preference.
3. Reduction and temporary fixation
Reduction
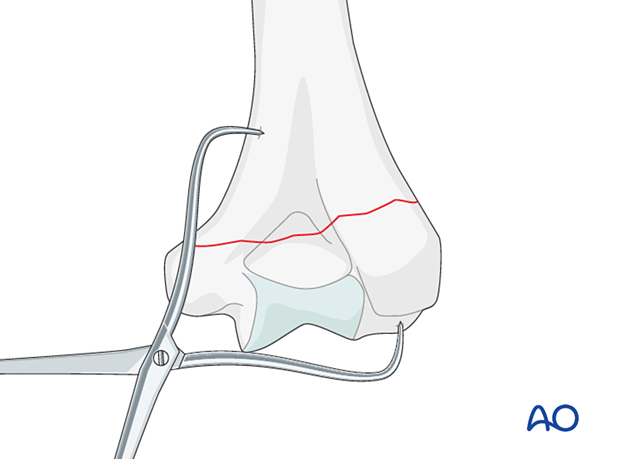
Manually reduce the distal fragment to the radial and ulnar columns.
Ensure an accurate alignment of the articular block to the shaft (see also the anatomical concepts).
Pearl: Joystick
Temporary fixation
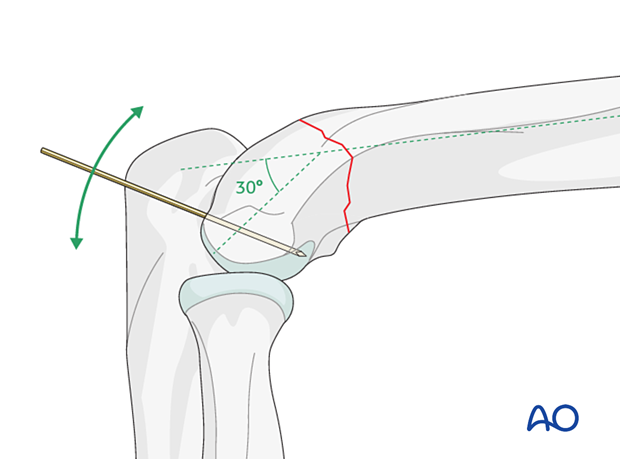
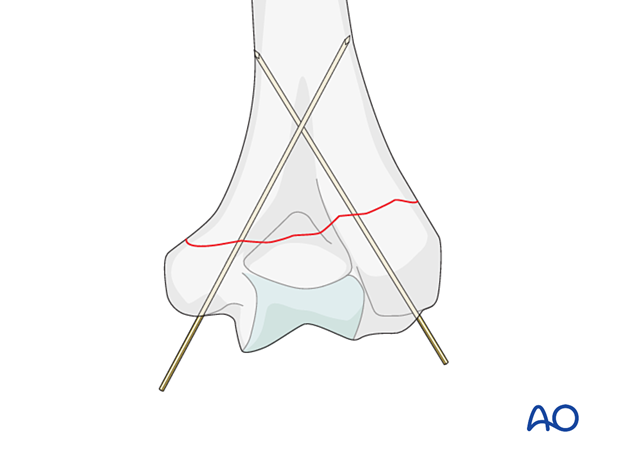
Temporarily hold the reduction with two K-wires introduced from the distal fragment into one or both columns.
If necessary, check the reduction and provisional fixation with image intensification.
4. Plate fixation
Basic techniques
The basic technique for application of anatomical plates is described in:
If precontoured anatomical plates are not available, see the basic technique for application of reconstruction plates.
Lateral plate application
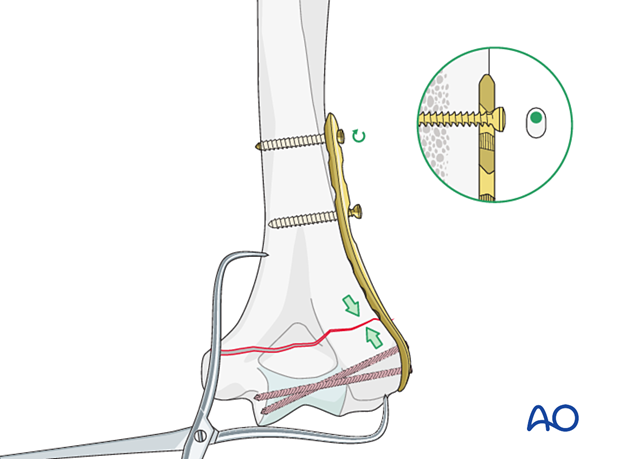
Apply a lateral plate first in compression mode as this is easier to accomplish.
Medial plate application
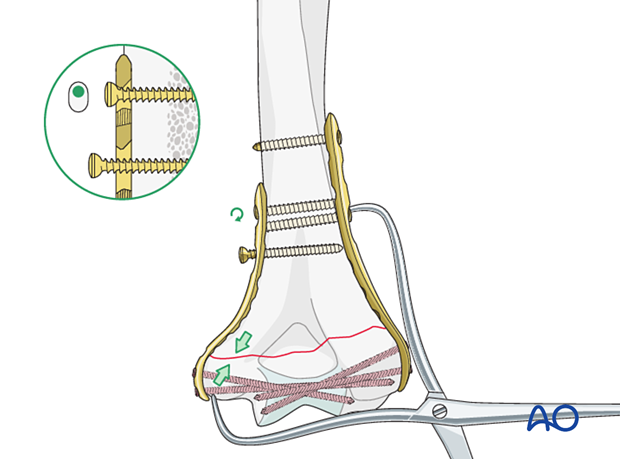
Apply a medial plate in compression mode.
Column screw insertion
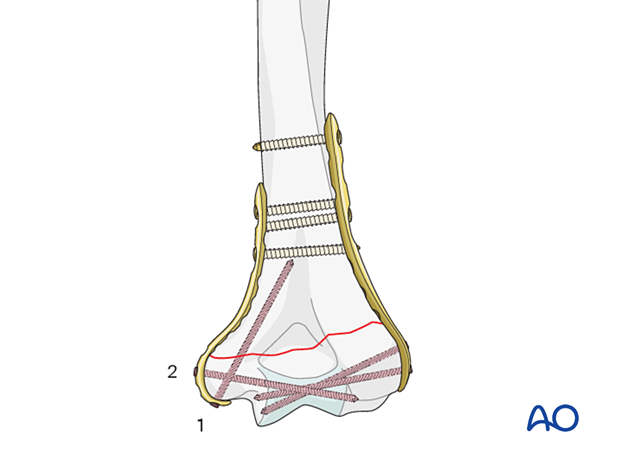
In fractures with very short distal segments, insert a long, distal-to-proximal, 3.5 mm column screw through or outside the plate.
Take care of potential conflict between screws tracks.
Insert the column screw (1) before the distal articular screw (2) to the articular block.

5. Final assessment
Visually inspect the fixation and manually check for fracture stability.
Repeat the manual check under image intensification.
Ensure the ulnar nerve is not unstable or tethered on implants throughout a full range of motion.
6. Aftercare
Introduction
The rehabilitation protocol consists usually of three phases:
- Rehabilitation until wound healing
- Rehabilitation until bone healing
- Functional rehabilitation after bone healing
Immediate aftercare
The arm is bandaged to support and protect the surgical wound.
The arm is rested on pillows in slight flexion of the elbow so that the hand is positioned above the level of the heart.
Short-term splinting may be applied for soft-tissue support.
Neurovascular observations are made frequently.
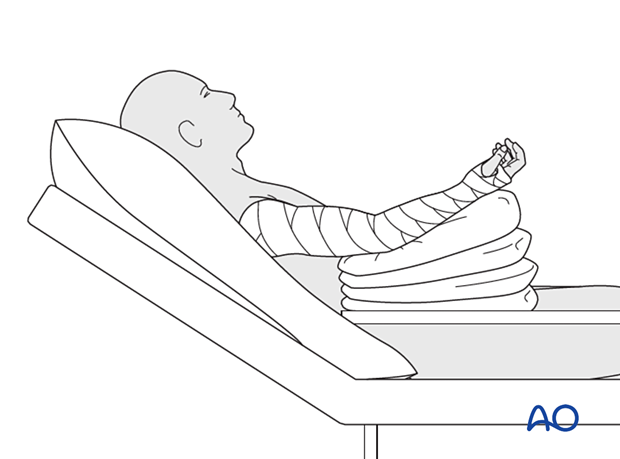
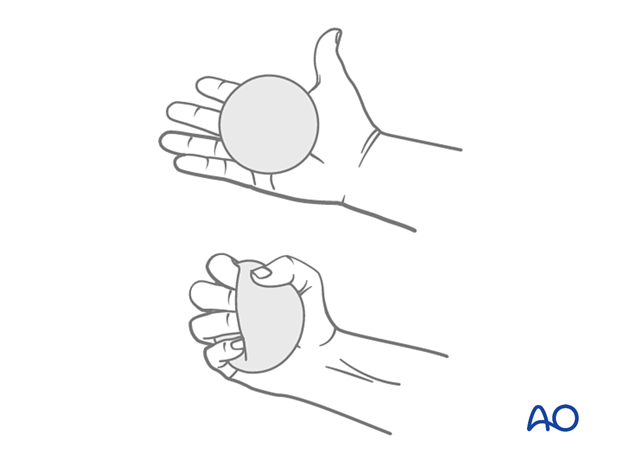
Hand pumping and forearm rotation exercises are started as soon as possible to reduce lymphedema and to improve venous return in the limb. This helps to reduce postoperative swelling.
Mobilization until wound healing
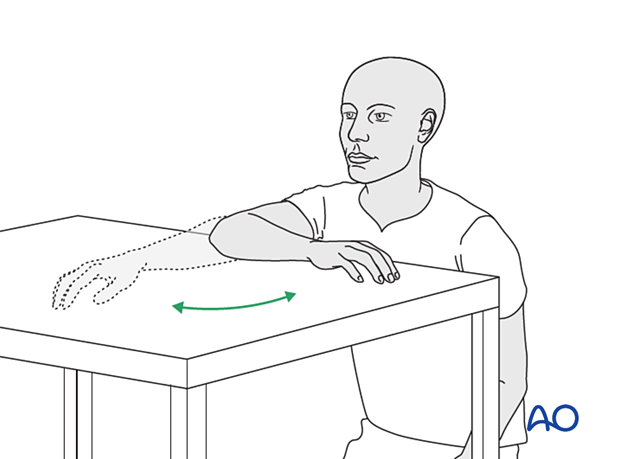
Gravity-eliminated active assisted exercises of the elbow should be initiated as soon as possible, as the elbow is prone to stiffness:
- The bandages are removed, and the arm rested on a side table
- Flexion/extension of the arm at the elbow is encouraged in a gentle sweeping movement on the tabletop as far as comfort permits (as illustrated)
- Full pronation and supination in protected arm position is encouraged
- Exercises are performed hourly in repetitions, the number of which is governed by comfort
- Between periods of exercise, the elbow is rested in the elevated position for at least the first 48 hours postoperatively
- Keep the arm elevated between periods of exercise until the wound has healed
Rehabilitation until bone healing
Active patient-directed range-of -motion exercises should be encouraged without the routine use of splintage or immobilization.
Avoid forceful motion, repetitive loading, or weight-bearing through the arm.
A simple compressive sleeve can provide proprioceptive feedback which can help regain motion and avoid cocontraction.
No load-bearing (ie, pushing, pulling, or carrying weights) or strengthening exercises are allowed until early fracture healing is established by x-ray and clinical examination.
This is usually a minimum of 8–12 weeks after injury. Weight-bearing on the arm should be avoided until bony union is assured.
The patient should avoid resisted extension activities, especially after a triceps-elevating approach or olecranon osteotomy.
Rehabilitation after bone healing
When the fracture has united, a combination of active functional motion and kinetic chain rehabilitation can be initiated.
Active assisted elbow motion exercises are continued. The patient bends the elbow as much as possible using his/her muscles while simultaneously using the opposite arm to gently push the arm into further flexion. This effort should be sustained for several minutes; the longer, the better.
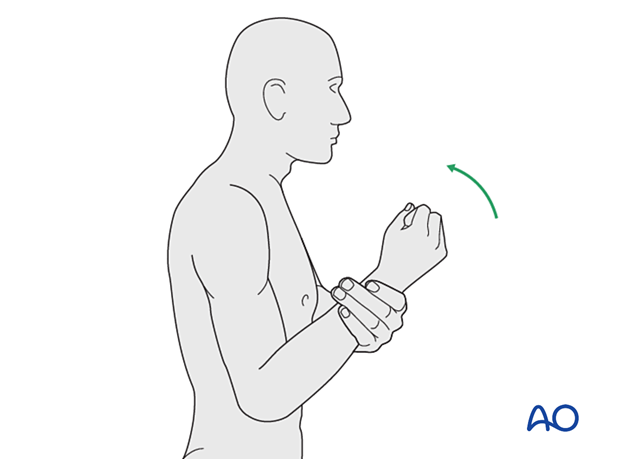
Next, a similar exercise is performed for extension.

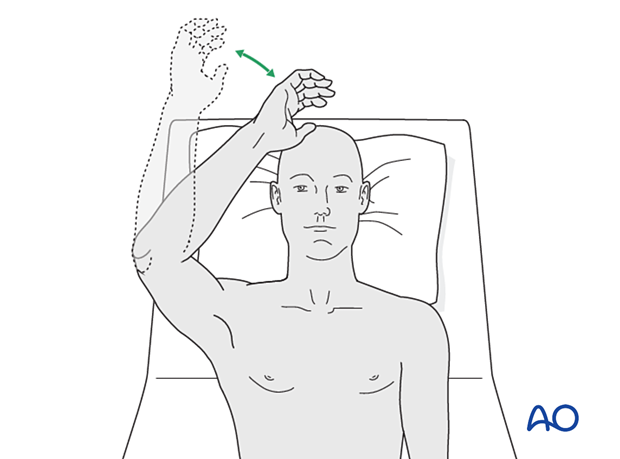
If the patient finds it difficult to accomplish these exercises when seated, then performing the same exercises when lying supine can be helpful.
Implant removal
Generally, the implants are not removed. If symptomatic, hardware removal may be considered after consolidated bony healing, usually no less than 6 months for metaphyseal fractures and 12 months when the diaphysis is involved. The avoidance of the risk of refracture requires activity limitation for some months after implant removal.
7. Case
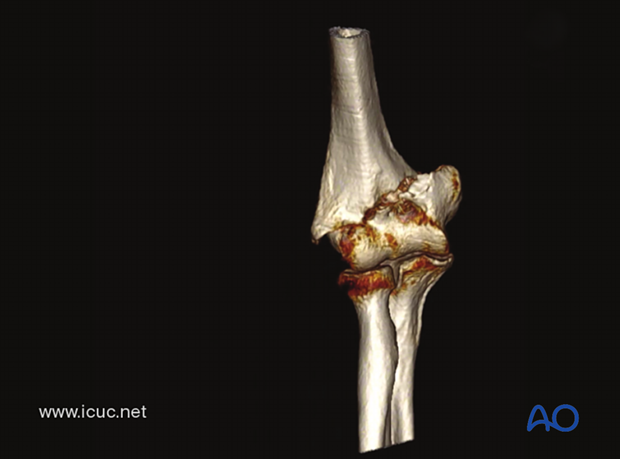
This 3D-CT shows a low transcondylar/supracondylar distal humeral fracture. As there is no significant articular involvement, it is classified as an A-type fracture.
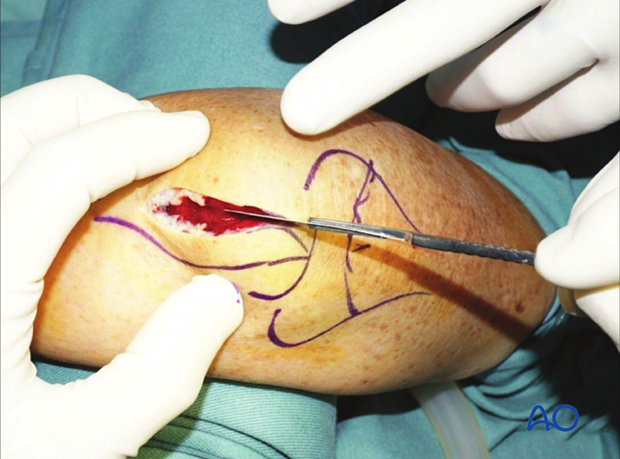
Anatomic landmarks are drawn for the surgical incision and the distal humerus is exposed via a direct posterior approach.
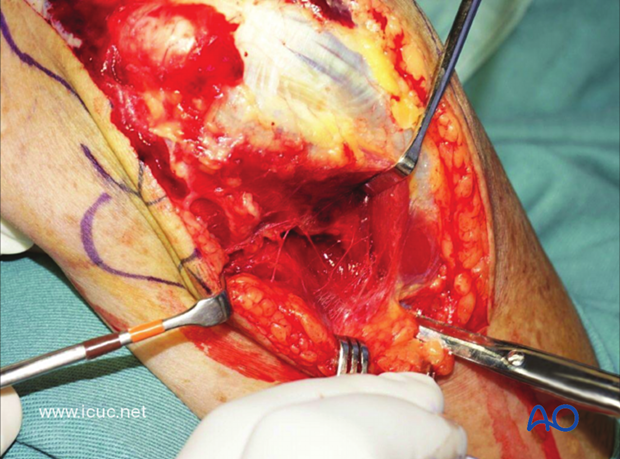
The first task is to carefully dissect medially to identify and protect the ulnar nerve.
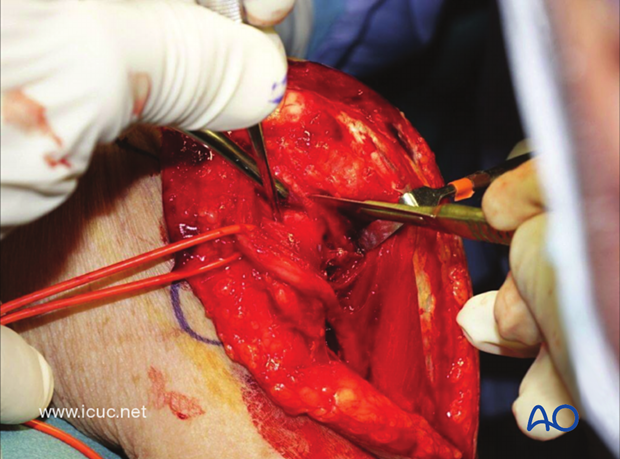
The ulnar nerve has been identified and protected. This image also shows dissection of the olecranon for osteotomy placement.
The clamp is distracting the humeral ulnar joint and demonstrating the position for the ulnar osteotomy.

This image shows the oscillating saw, starting the osteotomy which will be completed with a small osteotome.
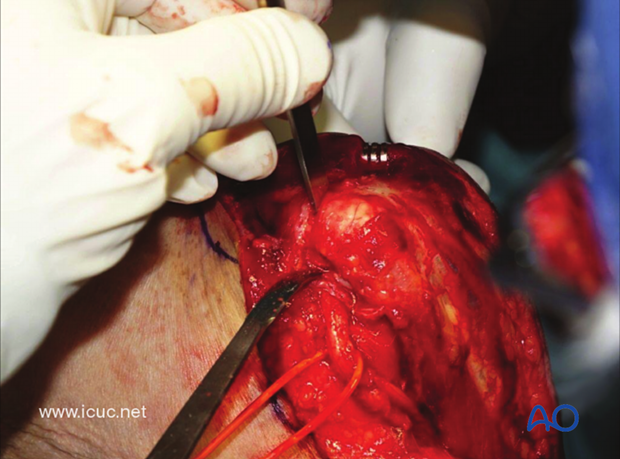
Here the osteotomy has been completed with the triceps still attached to the right-hand portion of the olecranon.
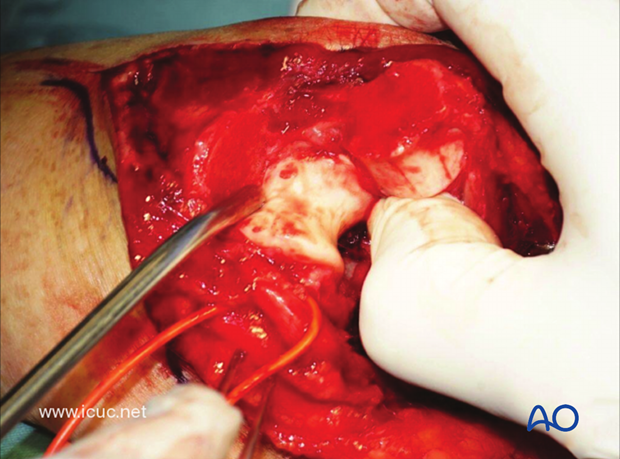
The main articular epiphyseal fragment is held with a clamp.
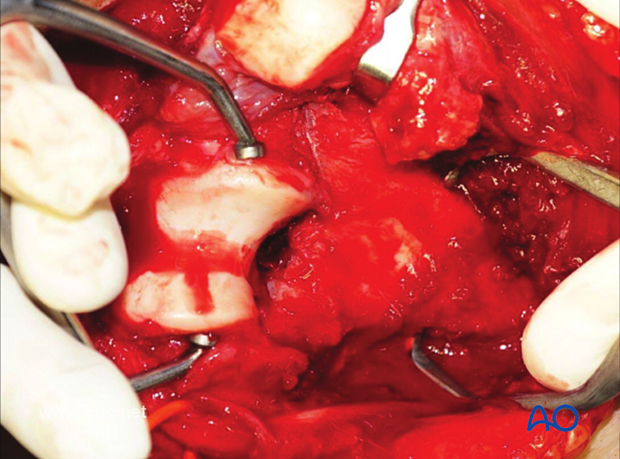
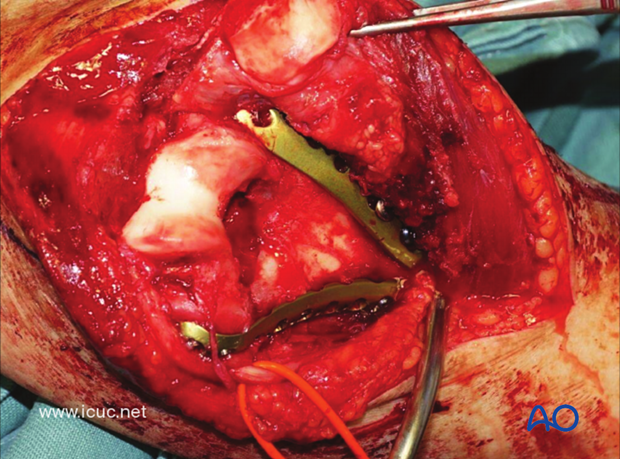
With the fracture reduced, the medial LCP is carefully applied beneath the protected ulnar nerve. The fracture can be seen in this image as it enters the olecranon fossa.
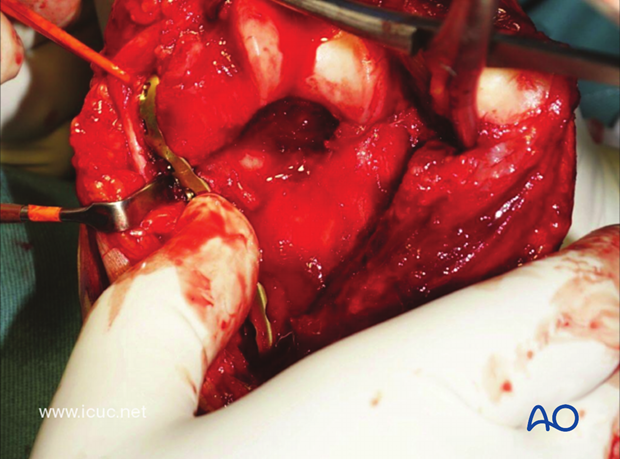
This image shows the careful protection of the ulnar nerve and the use of the variable angle drill guide and the VA- LCP.
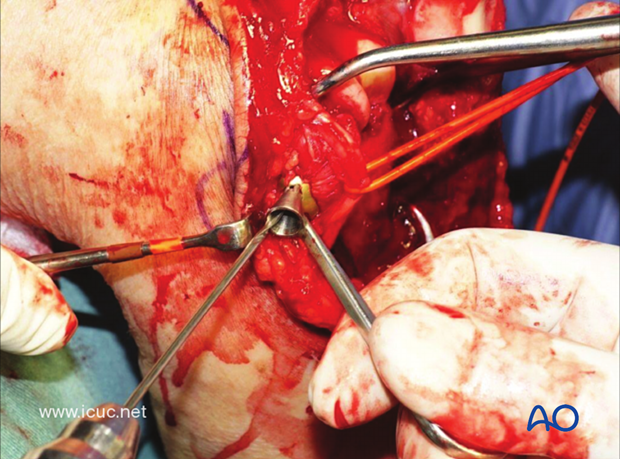
Once medial stability has been achieved the posterior LCP is applied to the lateral column at 90° to the medial plate.
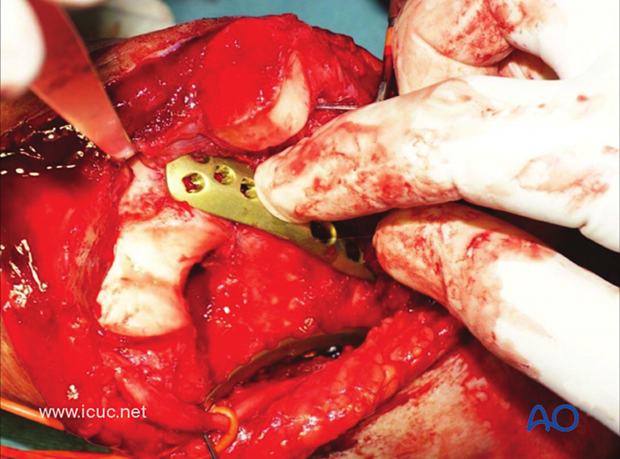
When drilling this back to front screw, the surgeon must be careful not to penetrate the capitellar joint surface but should be as deep as possible with the screw length, especially in osteoporotic bone.
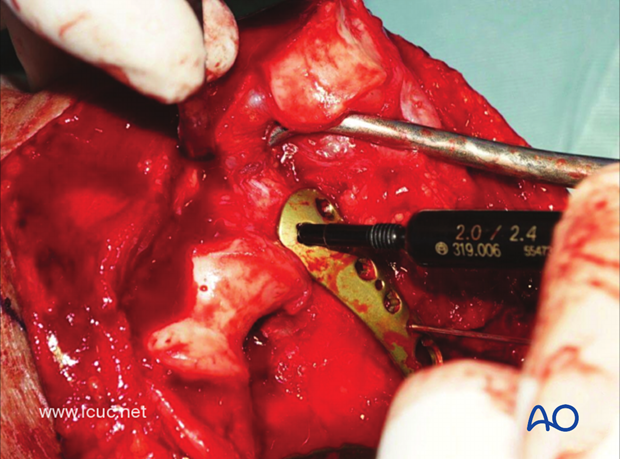
In these fractures, the fixation is often tenuous. The LCP design should allow at least three points of screw fixation in each of the two plates, above and below the fracture.
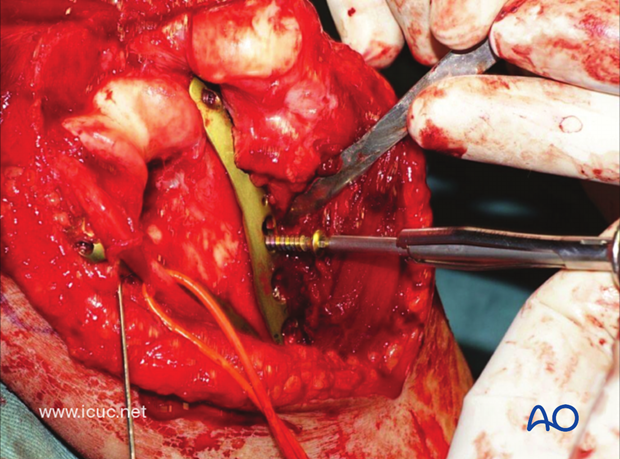
This image shows the fracture reduced and good fixation proximal and distal to the fracture.
The ulnar nerve will lie in the cubital tunnel and run directly over the plate.
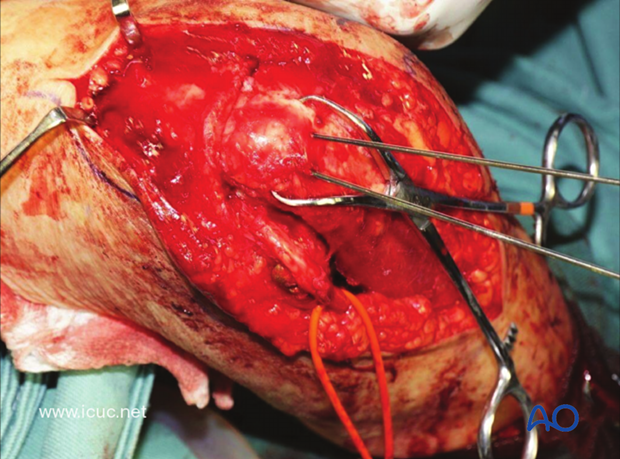
The olecranon osteotomy is then reduced and held with longitudinal K-wires.
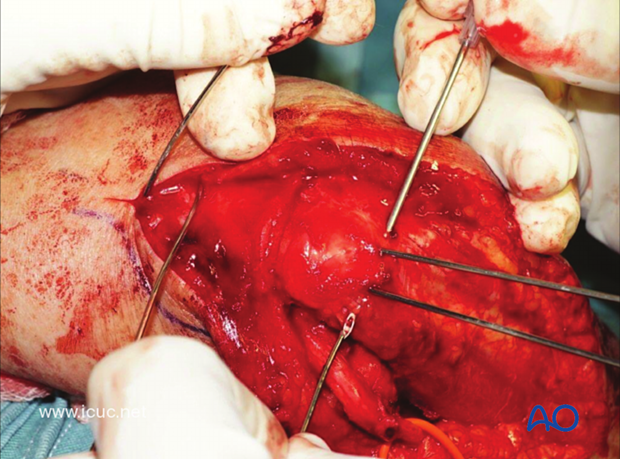
A heavy gauge needle is passed behind the longitudinal K-wires and used as a wire passer for the cerclage compression wire.
This wire was referred to as a “Tension band wire”. We now prefer the term “Cerclage compression wire ”.
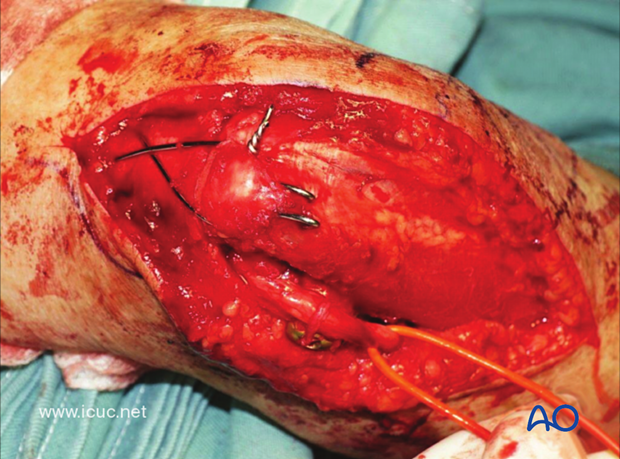
The posterior cerclage compression wire can be seen reducing the olecranon osteotomy with the ulnar nerve back in the cubital tunnel lying over the medial LCP.
The K-wires have been cut and the ends turned over, ready to be hammered into the bone under the triceps.
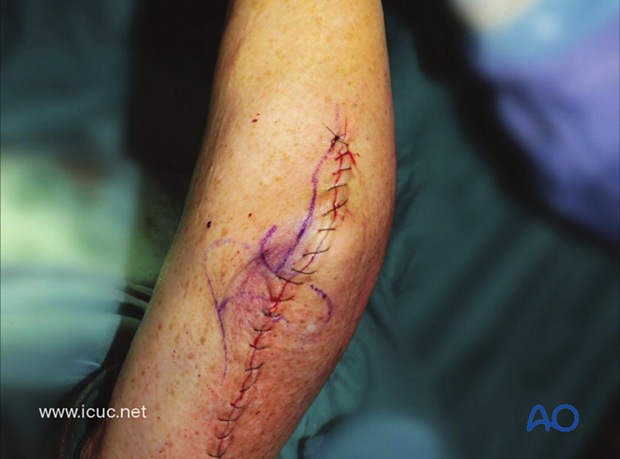
The incision has been closed.
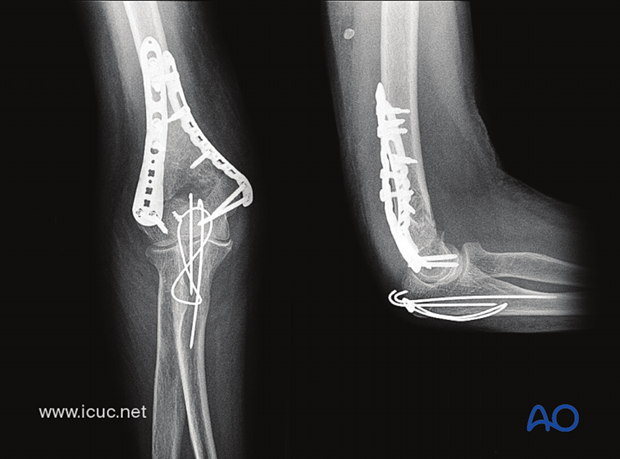
Two-week X-rays.
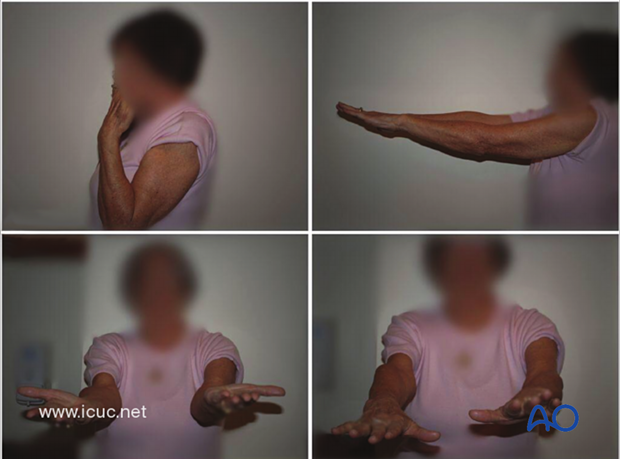
Two-week clinical images showing restoration of all motion except elbow flexion.

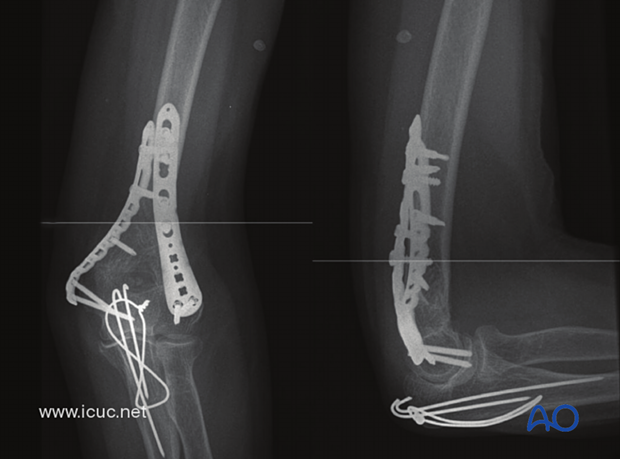
Final X-ray images at 14 weeks showing satisfactory union.
Excellent final clinical result.
