ORIF - Headless screw and plate fixation (simple osteochondral fragments)
1. General considerations
Treatment principle
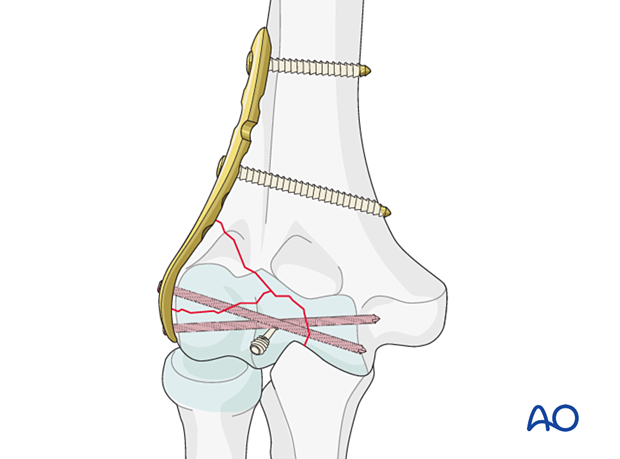
The anterior articular segments are stabilized with headless compression screws.
The articular reconstruction is then supported with a lateral plate or dorsolateral plate with a lateral tab.
The extent of the articular fragmentation towards the medial side will dictate the choice of plate and surgical exposure. An additional medial plate may be necessary.
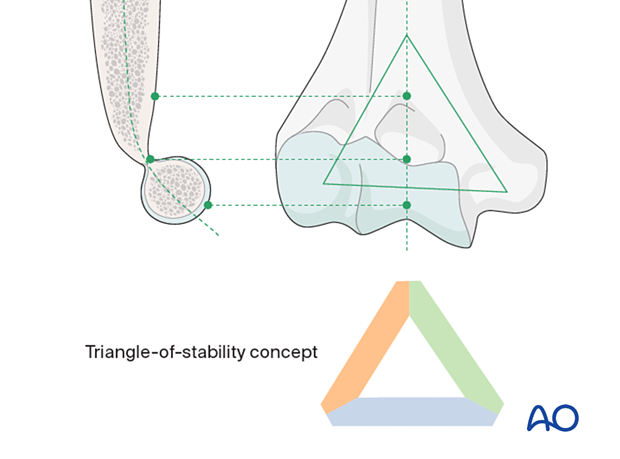
Triangle-of-stability concept
The mechanical properties of the distal humerus are based on a triangle of stability, comprising the medial and lateral columns and the articular block (see also the anatomical concepts).
Screw selection
In the shaft, 2.7 and 3.5 mm screws are most commonly used.
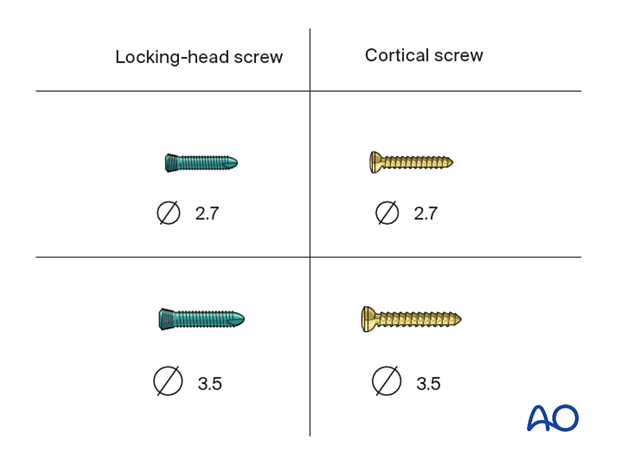
The articular screws are 2.7 mm metaphyseal and VA-LCP locking screws.
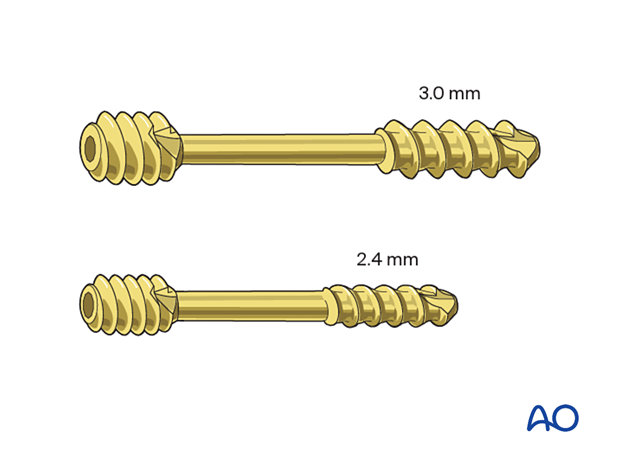
Articular screw dimensions
Headless compression screws are available as 2.4 and 3.0 mm screws. The size and number of headless compression screws used will depend on the complexity of the fracture to be fixed.
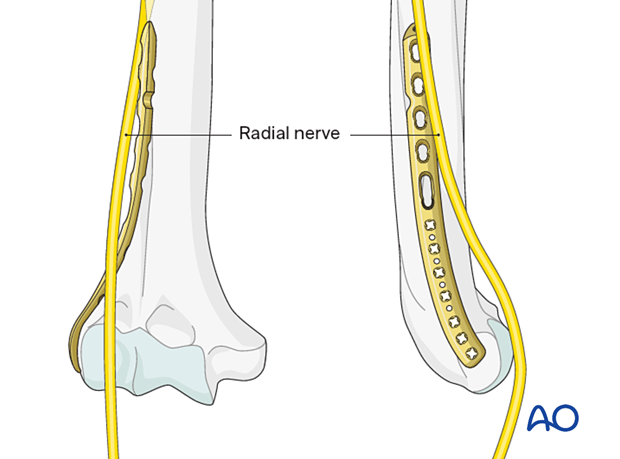
Note: radial nerve at risk
2. Patient preparation and approaches
Patient positioning
If a lateral pate application is indicated, the patient is usually placed in a supine position.
If a dorsolateral plate is to be inserted, the lateral or prone position is preferred.

Approaches
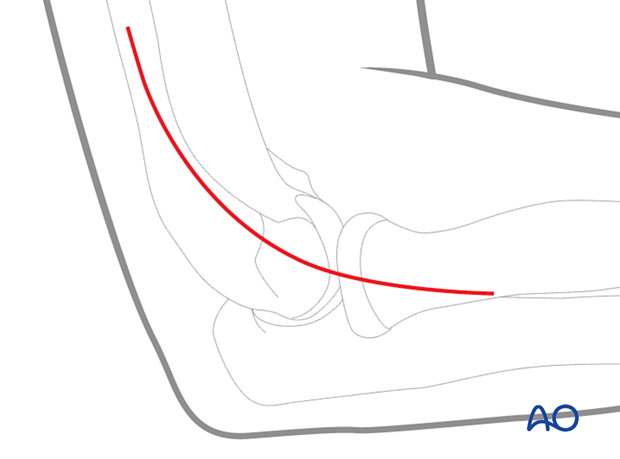
For less complex fractures, ie, simple articular fracture and simple column fracture, the preferred approach is the direct lateral approach for a lateral plate or a paratricipital approach for a dorsolateral plate.
3. Reduction (through lateral approach)
Mobilizing the fragment
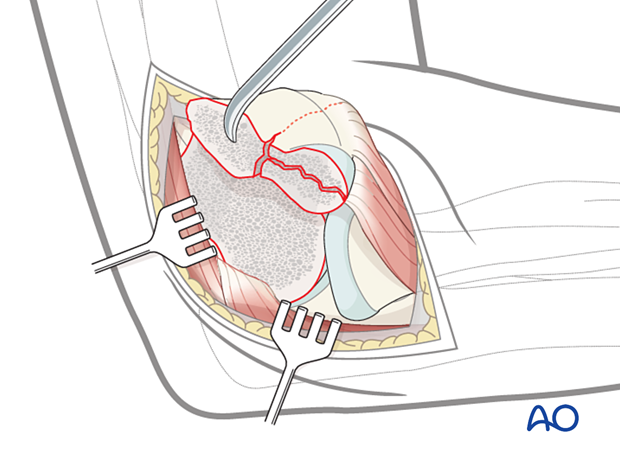
Elevate the triceps and anconeus from the posterior aspect of the lateral column.
Open the fracture site by gently retracting the fragment anteriorly.
Clearing the fracture site
Clear the fracture of any hematoma, loose pieces of bone, or interposed tissue.
Inspect the joint surfaces to ensure that there is no additional intraarticular fracture extension.
Reduction
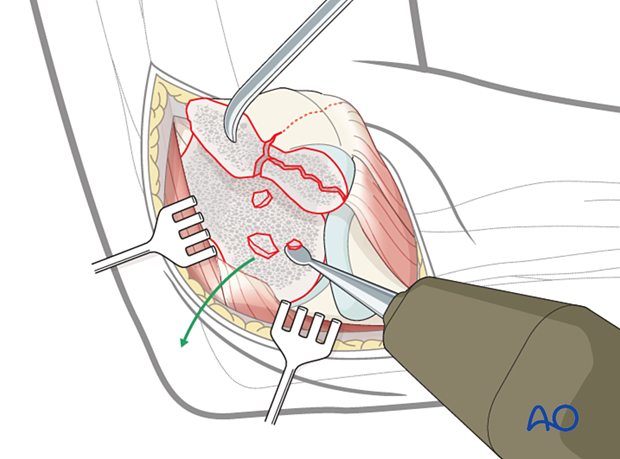
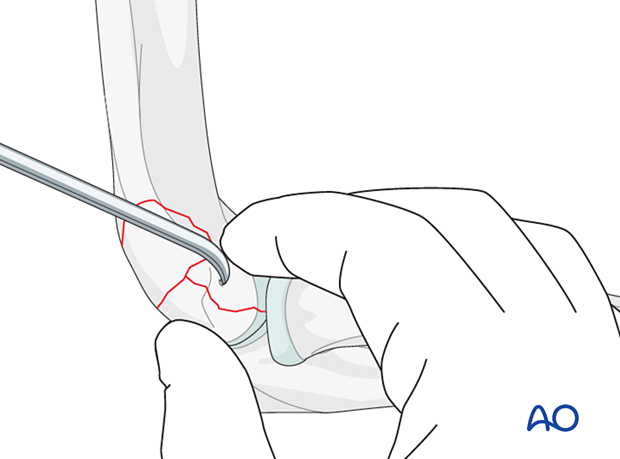
Align the fracture and maintain reduction with a small hook or pick.
Monitor fracture reduction by realigning the metaphyseal fracture lines.
Depending on the extent of exposure, check the anterior and posterior fracture lines, including the articular surface.
Provisional fixation with K-wires
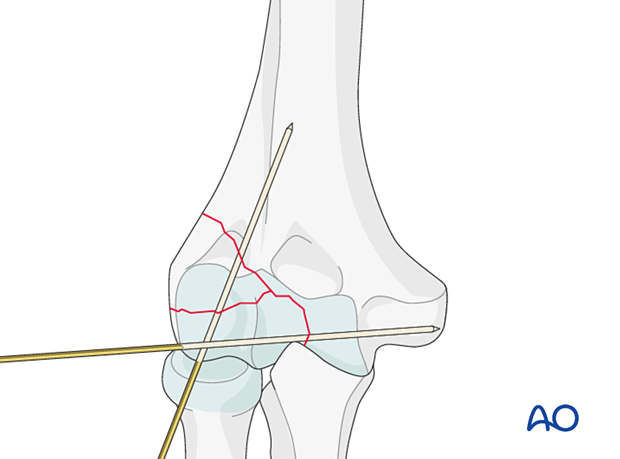
Maintain the reduction with smooth K-wires at least 1.6 mm in diameter. Insert the wires so they do not hinder plate placement.
Provisional wires may also be inserted through a plate screw hole or adjacent to the plate.
If necessary, check the reduction and provisional fixation with image intensification.
4. Fixation of articular fragments
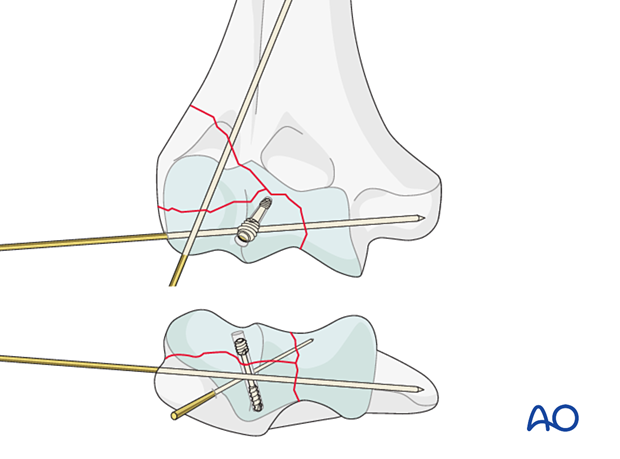
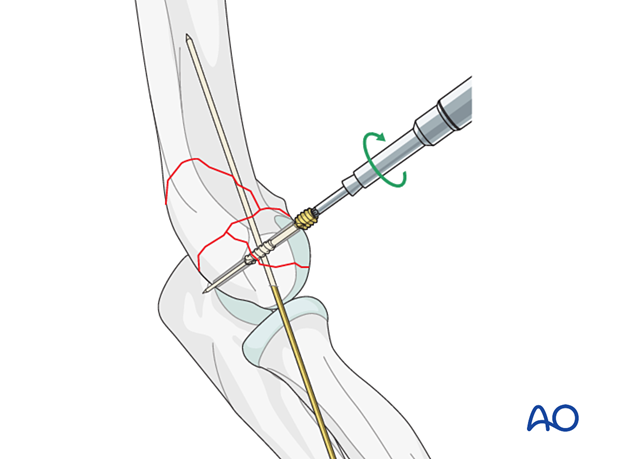
Secure the entirely articular fragments with buried headless screws, small threaded K-wires, or absorbable pins.
This illustration shows the insertion of a headless double-pitch screw.
Headless screw fixation
PrincipleComplete the entire sequence of drilling and screw insertion for each screw before inserting the next screw.
Insert the guide wire.
Drill the pilot hole for the screw to the appropriate depth, using the cannulated drill bit placed over the guide wire.
Take care when removing the drill not to dislodge or remove the K-wire.
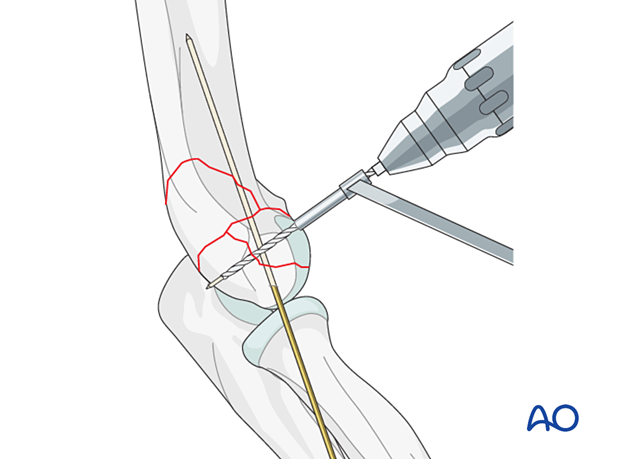
Insert the chosen screw over the wire, then remove the guide wire.
Insert the subsequent screws in the same way.
5. Fixation of lateral condyle
Repair of the lateral epicondyle
Small epicondylar fractures may benefit from fixation with a cerclage wire that incorporates the soft-tissue attachments.
This wire was referred to as a “Tension band wire”. We now prefer the term “Cerclage wire”.
Basic techniques
The basic technique for application of anatomical plates is described in:
If precontoured anatomical plates are not available, see the basic technique for application of reconstruction plates.
Plate application
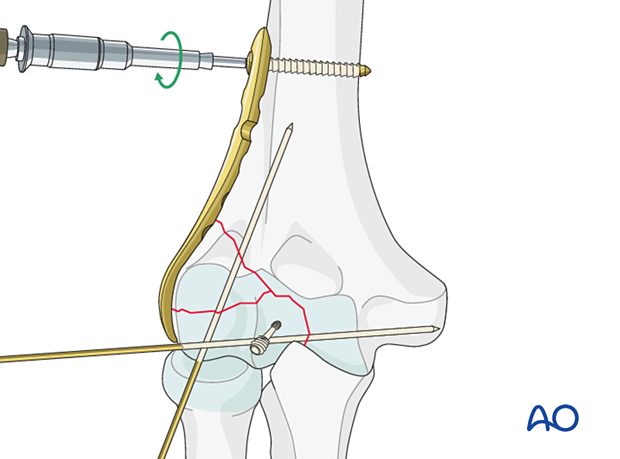
Apply a lateral plate.
Hold the plate with a cortical screw in the combihole proximal to the fracture.
Distal screw insertion
The distal screws must avoid the olecranon fossa and the articular surface.
Use a 2.0 mm drill to drill a pilot hole across the fracture site in the condylar mass.
Insert the screw with the appropriate length.
Insert a second locking screw in the same way.
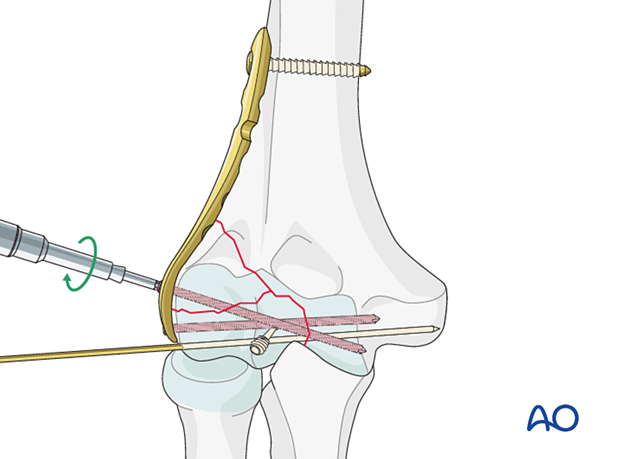
Final screw insertion
Insert proximal screws (3.5 mm) bicortically in neutral mode to anchor the plate in the humeral shaft.
Remove the K-wires.
Confirm fracture alignment and implant placement using image intensification.
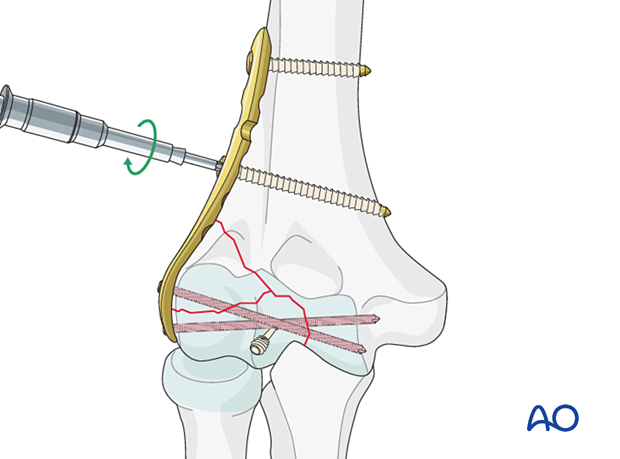
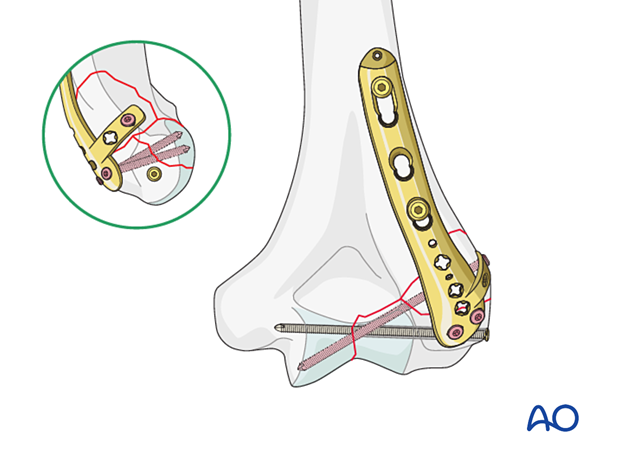
6. Alternative: dorsolateral plate with independent lag screw
If a dorsolateral plate has been chosen for neutralization, first apply compression with a lateral-to-medial lag screw.
The basic technique for application of anatomical plates is described in:
The order of plate screw insertion may vary. In general, the basic technique is followed. A cortical screw is inserted in the gliding hole to place the plate provisionally. It is then best to insert the most distal screw to ensure that the plate is not placed too distally.
Check the plate position under image intensification before finalizing plate fixation.
7. Final assessment
Visually inspect the fixation and manually check for fracture stability.
Repeat the manual check under image intensification.
8. Aftercare
Introduction
The rehabilitation protocol consists usually of three phases:
- Rehabilitation until wound healing
- Rehabilitation until bone healing
- Functional rehabilitation after bone healing
Immediate aftercare
The arm is bandaged to support and protect the surgical wound.
The arm is rested on pillows in slight flexion of the elbow so that the hand is positioned above the level of the heart.
Short-term splinting may be applied for soft-tissue support.
Neurovascular observations are made frequently.
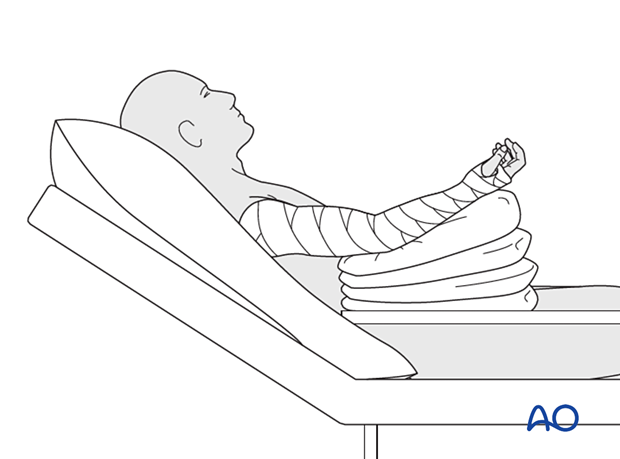
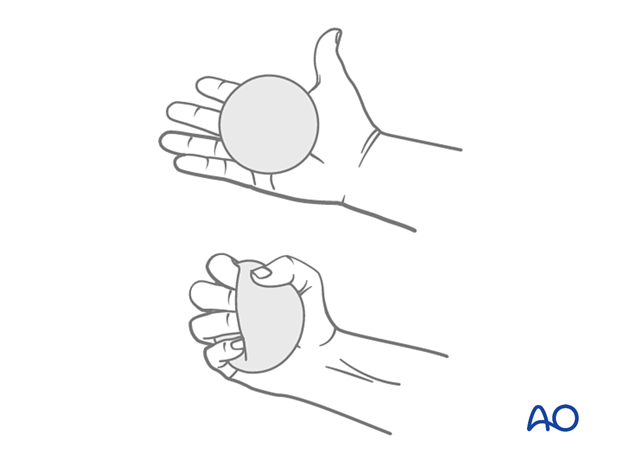
Hand pumping and forearm rotation exercises are started as soon as possible to reduce lymphedema and to improve venous return in the limb. This helps to reduce postoperative swelling.
Mobilization until wound healing
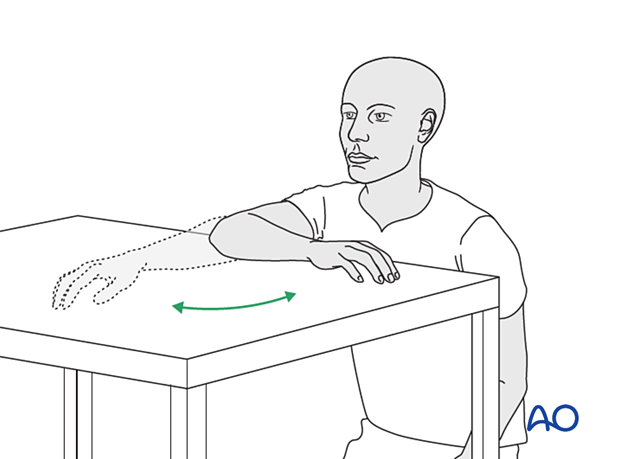
Gravity-eliminated active assisted exercises of the elbow should be initiated as soon as possible, as the elbow is prone to stiffness:
- The bandages are removed, and the arm rested on a side table
- Flexion/extension of the arm at the elbow is encouraged in a gentle sweeping movement on the tabletop as far as comfort permits (as illustrated)
- Full pronation and supination in protected arm position is encouraged
- Exercises are performed hourly in repetitions, the number of which is governed by comfort
- Between periods of exercise, the elbow is rested in the elevated position for at least the first 48 hours postoperatively
- Keep the arm elevated between periods of exercise until the wound has healed
Rehabilitation until bone healing
Active patient-directed range-of -motion exercises should be encouraged without the routine use of splintage or immobilization.
Avoid forceful motion, repetitive loading, or weight-bearing through the arm.
A simple compressive sleeve can provide proprioceptive feedback which can help regain motion and avoid cocontraction.
No load-bearing (ie, pushing, pulling, or carrying weights) or strengthening exercises are allowed until early fracture healing is established by x-ray and clinical examination.
This is usually a minimum of 8–12 weeks after injury. Weight-bearing on the arm should be avoided until bony union is assured.
The patient should avoid resisted extension activities, especially after a triceps-elevating approach or olecranon osteotomy.
Rehabilitation after bone healing
When the fracture has united, a combination of active functional motion and kinetic chain rehabilitation can be initiated.
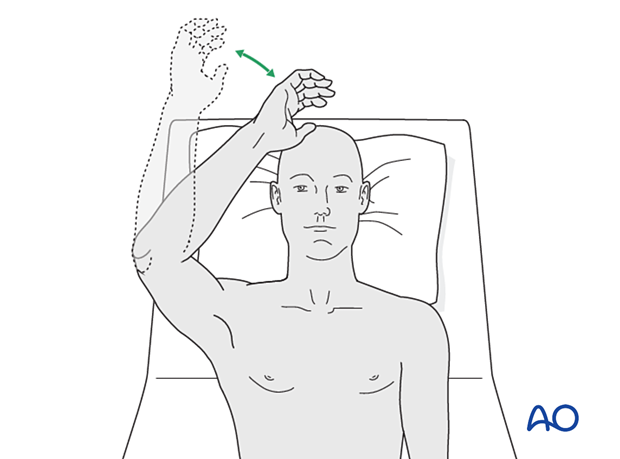
Active assisted elbow motion exercises are continued. The patient bends the elbow as much as possible using his/her muscles while simultaneously using the opposite arm to gently push the arm into further flexion. This effort should be sustained for several minutes; the longer, the better.
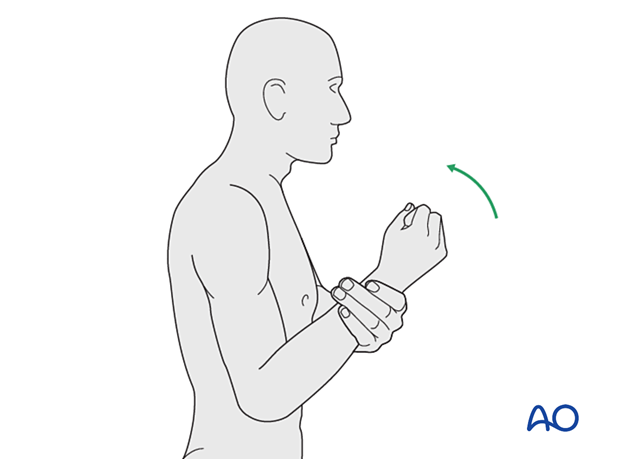
Next, a similar exercise is performed for extension.

If the patient finds it difficult to accomplish these exercises when seated, then performing the same exercises when lying supine can be helpful.
Implant removal
Generally, the implants are not removed. If symptomatic, hardware removal may be considered after consolidated bony healing, usually no less than 6 months for metaphyseal fractures and 12 months when the diaphysis is involved. The avoidance of the risk of refracture requires activity limitation for some months after implant removal.


