ORIF, two load sharing plates
1. Principles
Biomechanics of the symphysis
The mandibular symphysis undergoes rotational forces (twisting or torsional) during its function and fixation strategies must take this into account.
When using anything less stable than a reconstruction plate, two points of fixation should be applied. This can be:
- Two lag screws
- Two plates
- 3D plate (such as a ladder, box, or strut plate)
- A single stronger plate in combination with an arch bar
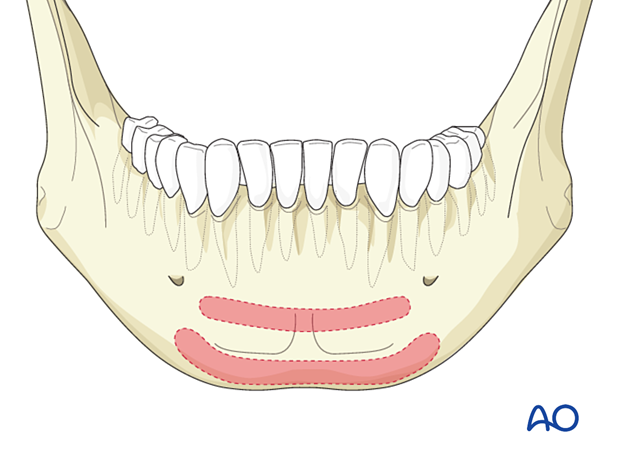
The illustration shows Champy's ideal lines of osteosynthesis for symphysis fractures.
Special considerations
The following special considerations may need to be considered:
Teaching video
AO Teaching video on two-plate fixation
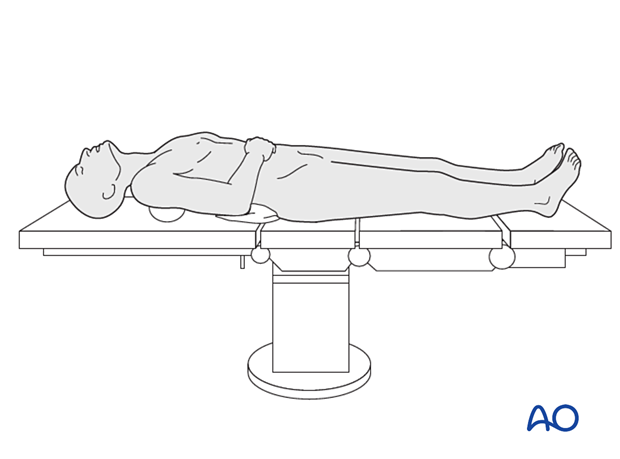
This procedure is typically performed with the patient placed in a supine position.
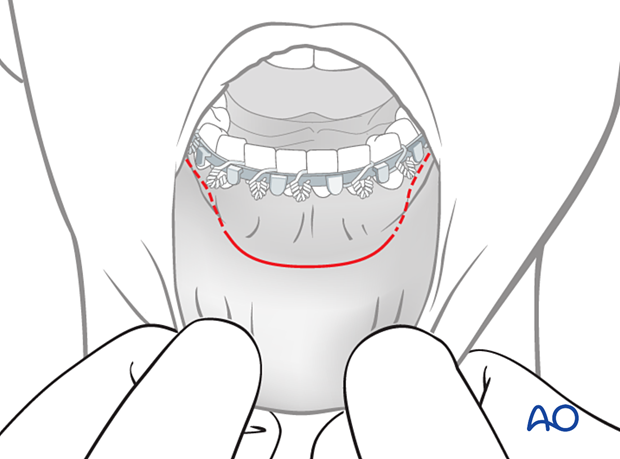
For this procedure, the transoral approach to the symphysis is typically used.
2. Reduction
Preparation for reduction
The fracture is exposed, and arch bars are applied.
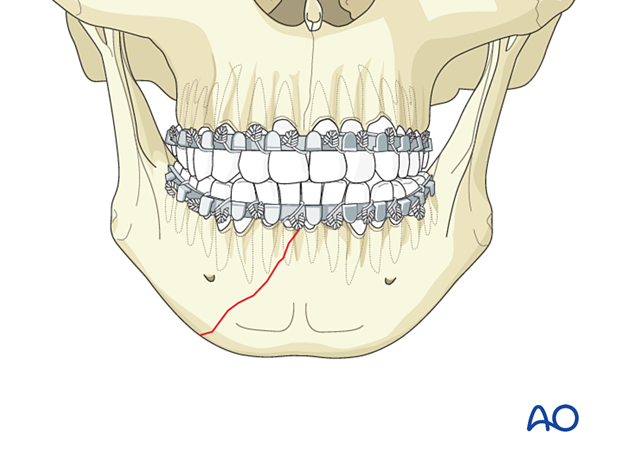
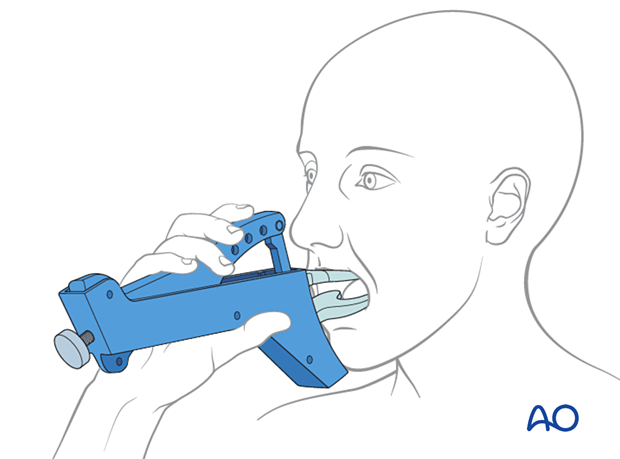
Drilling monocortical holes for placement of reduction clamp
It is necessary to drill a monocortical hole below the teeth' apices on both sides of the fracture to help place the reduction forceps.
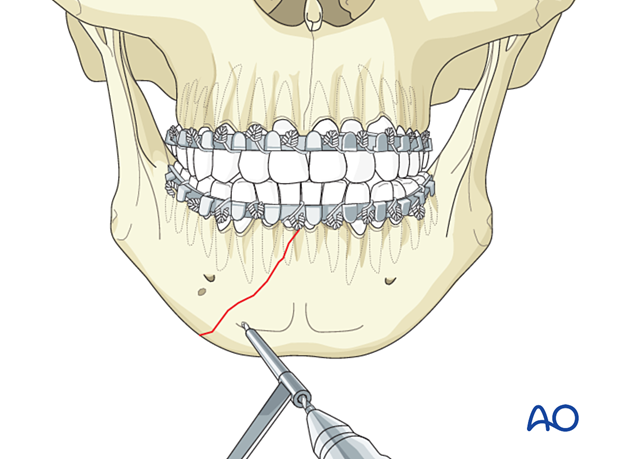
Clamp application
Manipulate the mandibular fragments until anatomic reduction is achieved. Apply the reduction forceps and then place the patient into occlusion with MMF.
Some surgeons prefer to place the patient into occlusion and apply MMF before using the reduction forceps.
The clamp must be placed perpendicular to the fracture line to prevent fracture displacement when tightening the reduction clamp.
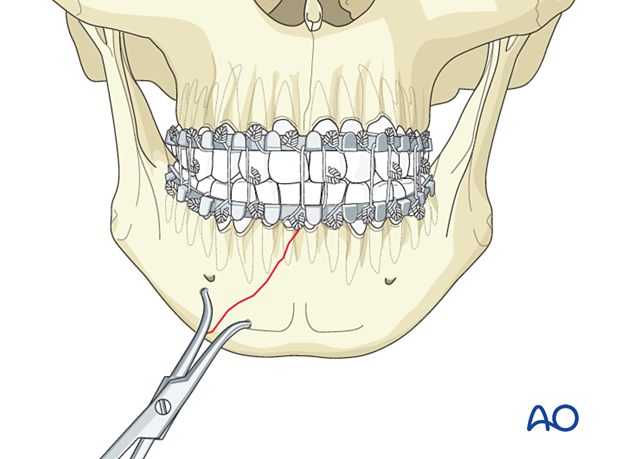
3. Fixation
Choice of implant
The choice of implant is according to surgeon preference. Simple (linear) fractures can easily be treated with miniplates. However, these are often associated with additional injuries in the mandibular arch, and the surgeon may elect to use more rigid fixation. Locking plates with different profiles offer increased stability and can still be placed using the same surgical approach.
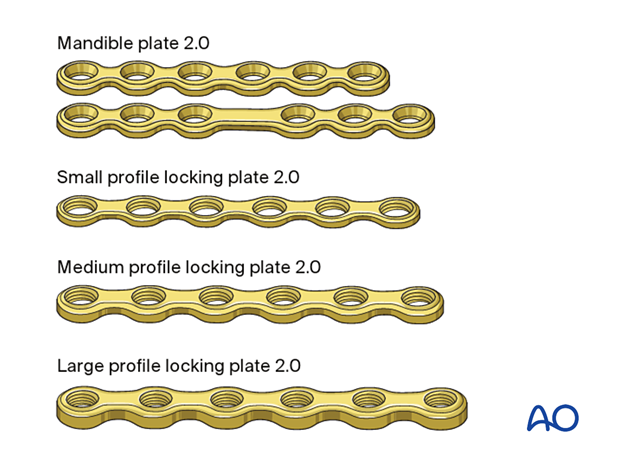
Plate contouring
Apply the first plate to the superior border of the mandible.
Contour the plate using bending pliers.
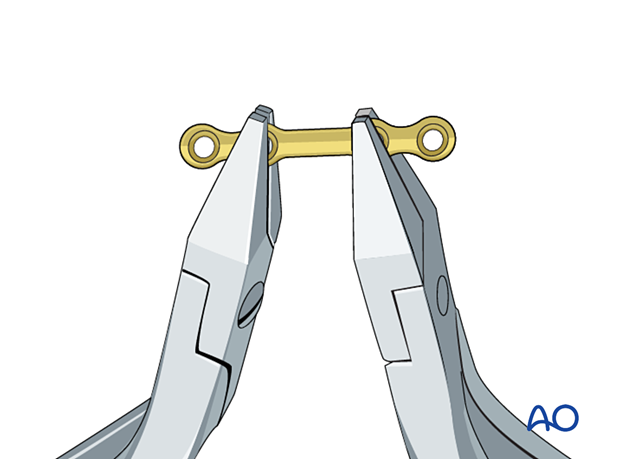
Application of the first plate
Plate locationPlace the first miniplate below the apices of the tooth roots.
Occasionally, the plate must be positioned higher on the mandible. The surgeon must ensure that the plate holes are positioned to avoid injury to the tooth roots (as illustrated).
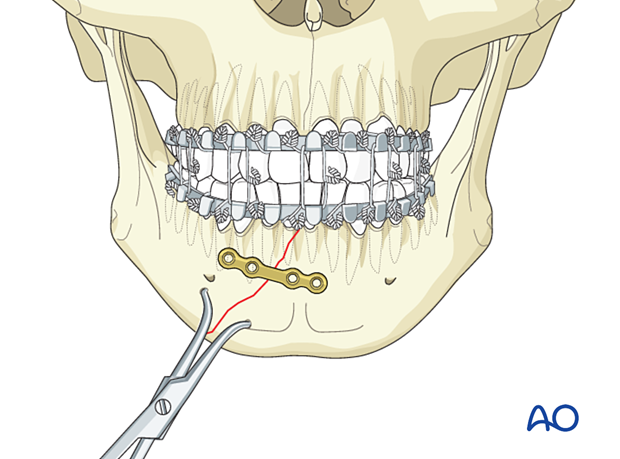
Use the appropriate drill bit with a 6 mm stop to drill monocortically through the plate hole next to the fracture.
Great care must be taken when drilling in this area as tooth roots can be just below the cortex and can be damaged using a 6 mm drill bit with a stop.
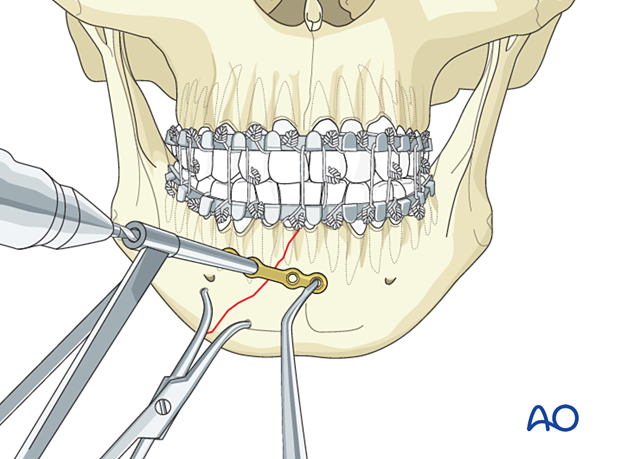
Insert a 6 mm screw but do not fully tighten it until the final reduction and plate position are confirmed.
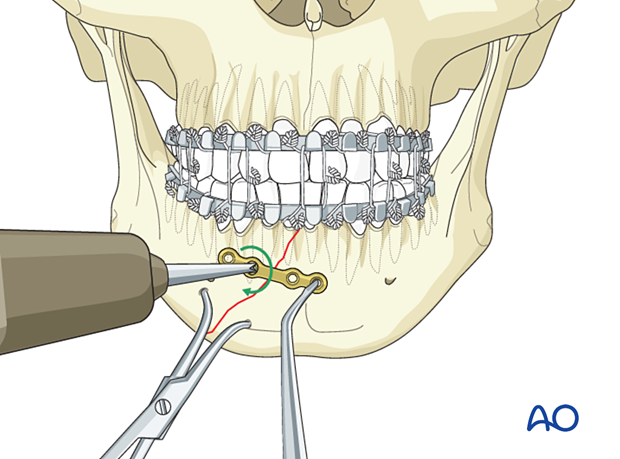
Insert a second screw on the other side of the fracture in the same way.
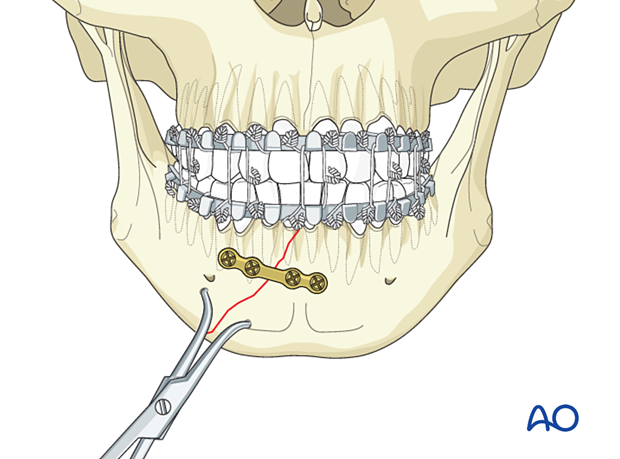
Tighten both screws.
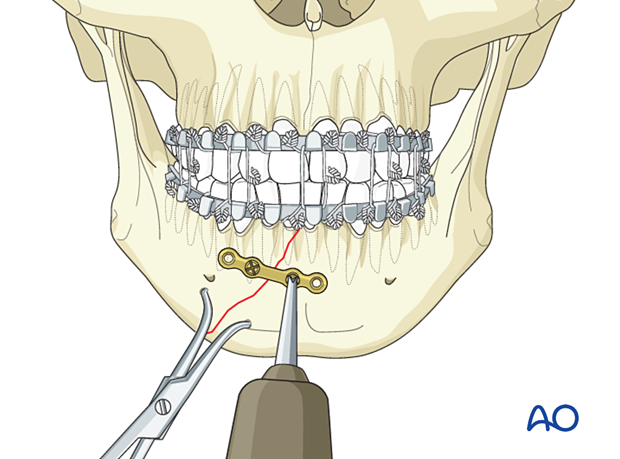
Drill and insert the remaining screws.
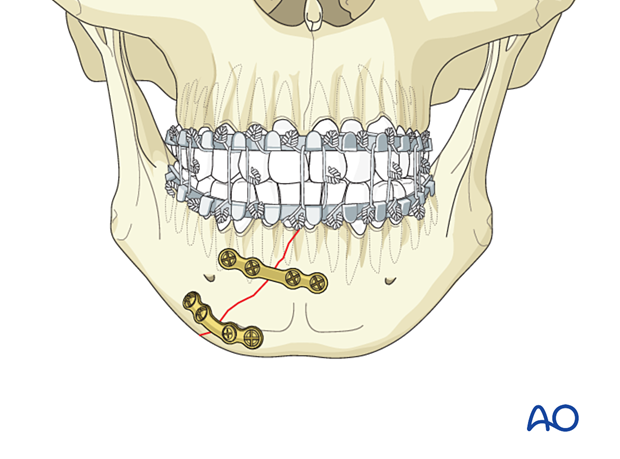
Application of the second plate
It may be necessary to remove the bone clamp. Position the plate a few millimeters superior to the mandible's inferior border and insert the screws following the same sequence as above.
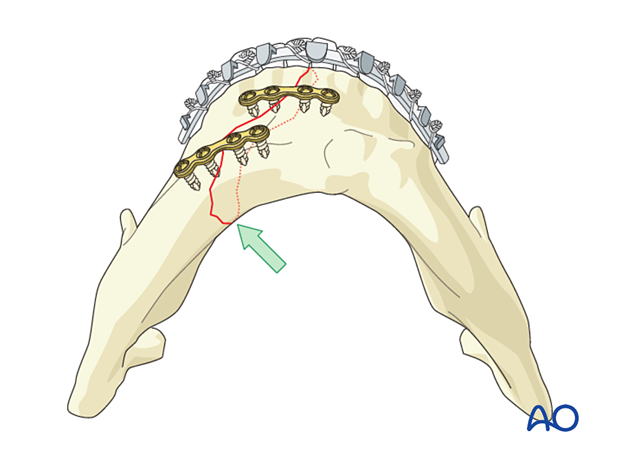
Confirmation of reduction
Confirm adequate reduction. There must be no gap in the lingual aspect. Such a gap would lead to occlusal disturbance and mandibular widening or splaying (green arrow).
MMF is released, and the occlusion is checked.
Because two miniplates have been applied, the arch bars may be removed.
4. Case example
Diagnosis
Routine diagnosis of this type of fracture should include x-rays taken in two planes at 90° to each other; the minimum requirement is a PA view and a panoramic view.
CT scan has become the standard imaging used to diagnose mandibular fractures.
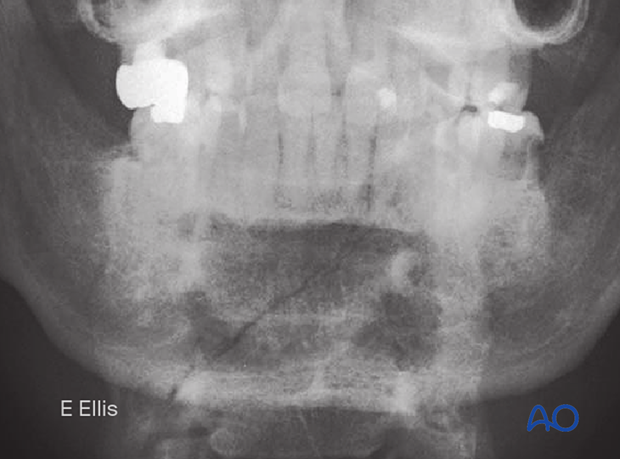
Note that the fracture begins between the central incisors and extends posteriorly as it approaches the inferior border.
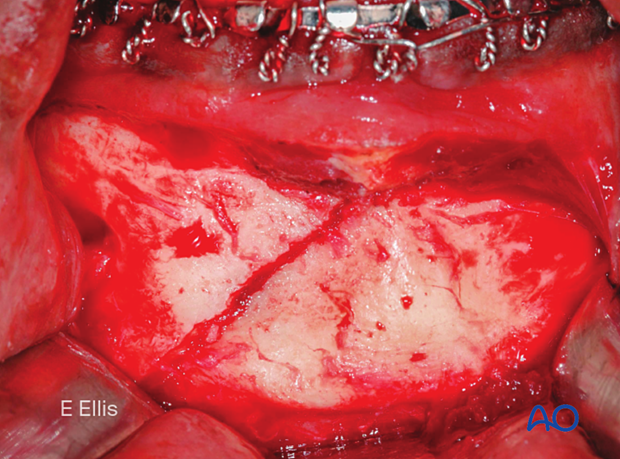
Completed osteosynthesis
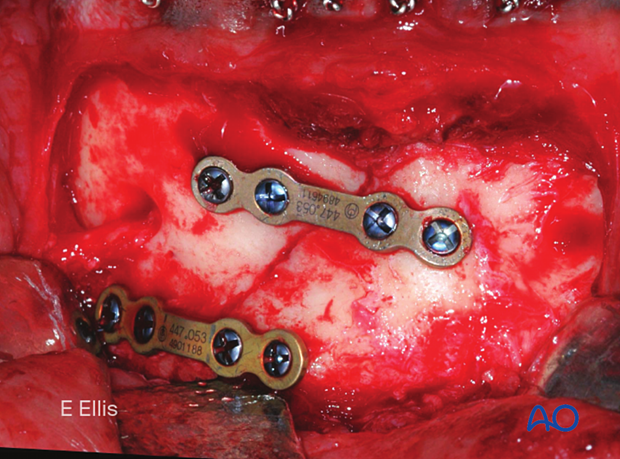
This clinical picture shows fracture fixation with two mandibular miniplates 2.0.
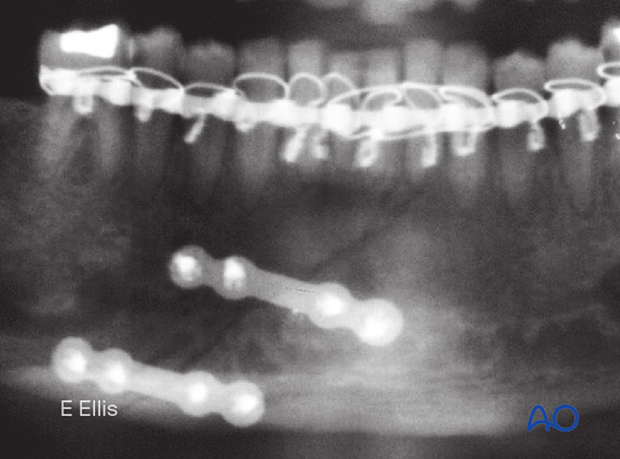
X-ray shows the completed osteosynthesis. It should be noted that this fixation is adequate, and the arch bar can be removed.
5. Aftercare following ORIF of mandibular symphysis, body, angle, and ramus fractures
Use of jaw bra
If significant degloving of the soft tissues of the mandible has occurred, there may be a consideration for using a jaw bra or similar support dressing.
Arch bars
If arch bars or MMF screws are used intraoperatively, they are usually removed at the conclusion of surgery if proper fracture reduction and fixation have been achieved. Arch bars may be maintained postoperatively if functional therapy is required or if required as part of the fixation.
X-Rays
Postoperative x-rays are taken within the first days after surgery. In an uneventful course, follow-up x-rays are taken after 4–6 weeks.
Follow up
The patient is examined approximately 1 week postoperatively and periodically thereafter to assess the stability of the occlusion and to check for infection of the surgical wound. During each visit, the surgeon must evaluate the patient's ability to perform adequate oral hygiene and wound care and provide additional instructions if necessary. Many patients need to be seen regularly for replacement of their intermaxillary elastics and to encourage range of motion in their TMJ in the later course of the treatment.
Follow-up appointments are at the discretion of the surgeon and depend on the stability of the occlusion on the first visit. If a malocclusion is noted and treatable with training elastics, weekly appointments are recommended.
The patient should be warned to continue routine follow up with their dentist. Fractures near the dental roots can often result in delayed loss of tooth viability, requiring periapical films and additional dental procedures.
Malocclusion
If a malocclusion is detected, the surgeon must ascertain its etiology (with appropriate imaging technique). If the malocclusion is secondary to surgical edema or muscle splinting, training elastics may be beneficial. The lightest elastics as possible are used for guidance, because active motion of the mandible is desirable. Patients should be shown how to place and remove the elastics using a hand mirror.
If the malocclusion is secondary to a bony problem due to inadequate reduction or hardware failure or displacement, elastic training will be of no benefit. The patient must return to the operating room for revision surgery.
Basic postoperative instructions
DietDepending upon the stability of the internal fixation, the diet can vary between liquid and semi-liquid to “as tolerated”, at the discretion of the surgeon. Any elastics are removed during eating.
Patients having only extraoral approaches are not compromised in their routine oral hygiene measures and should continue with their daily schedule.
Patients with intraoral wounds must be instructed in appropriate oral hygiene procedures. The presence of the arch-bars and any elastics makes this a more difficult procedure than normal. A soft toothbrush (dipping in warm water makes it softer) should be used to clean the surfaces of the teeth and arch-bars. Any elastics are removed for oral hygiene procedures. Chlorhexidine oral rinses should be prescribed and used at least three times each day to help sanitize the mouth. Chlorohexidine may cause staining of the teeth and should not be used longer than necessary. For larger debris, a 1:1 mixture of hydrogen peroxide (0.25%)/chlorhexidine (0.12%) can be used. The bubbling action of the hydrogen peroxide helps remove debris. A water flosser, providing a water jet, is a very useful tool to help remove debris from the wires. If a this is used, care should be taken not to direct the jet stream directly over intraoral incisions as this may lead to wound dehiscence.
Physiotherapy can be prescribed at the first visit and opening and excursive exercises begun as soon as possible. Goals should be set, and, typically, 40 mm of maximum interincisal jaw opening should be attained by 4 weeks postoperatively. If the patient cannot fully open his mouth, additional passive physical therapy may be required such as Therabite® or tongue-blade training.
