Humeral revision with allograft
1. Principles
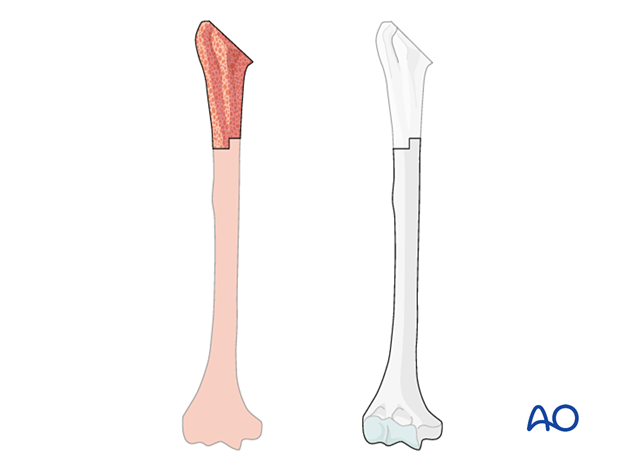
The primary principle is to obtain a stable humeral component fixed in the distal segment and to restore bone stock in the proximal segment.
A surgical plan should be in place in case glenoid revision is required.
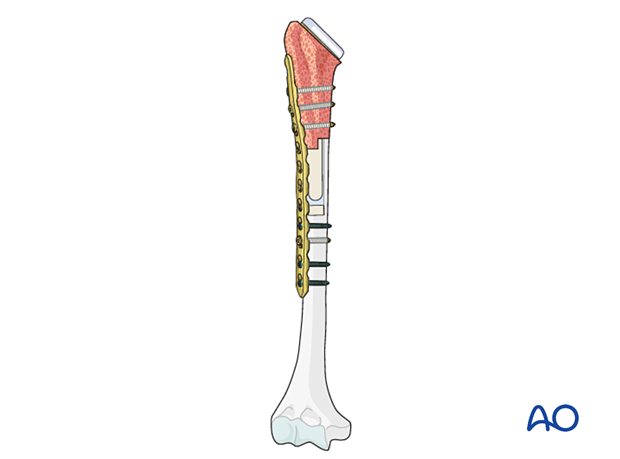
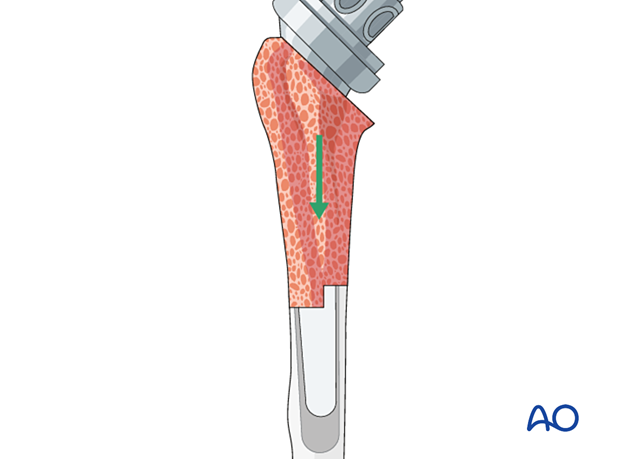
The illustration shows a humeral revision with allograft.
This concept is known as an allograft-prosthetic-composite (APC).
2. Preparation
The patient is positioned in the beach chair position, appropriately draped. A limb positioner can be used.
Patient positioning should be discussed with the anesthetist.

A humeral allograft of sufficient size must be available. Revision implants and instruments should also be present.
3. Approach
The standard approach is an extended deltopectoral approach.

4. Glenoid decision making
Reverse configuration
The glenoid component is assessed for security of fixation and can usually be retained.
5. Implant removal
The humeral implant may be easily removed. A humeral osteotomy may be required.
6. Allograft prosthetic composite technique
The medullary canal is prepared using standard instruments. Residual cement and the cement restrictor, if present, is removed.
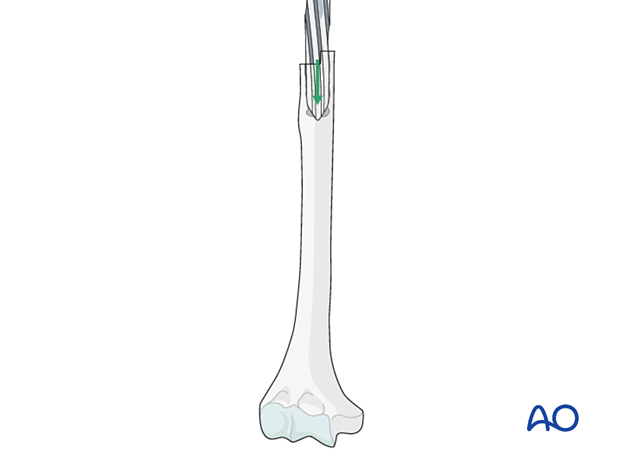
The defect is measured with a trial in place.
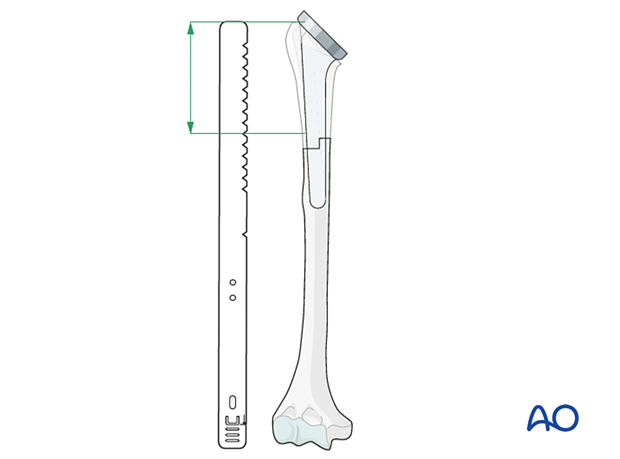
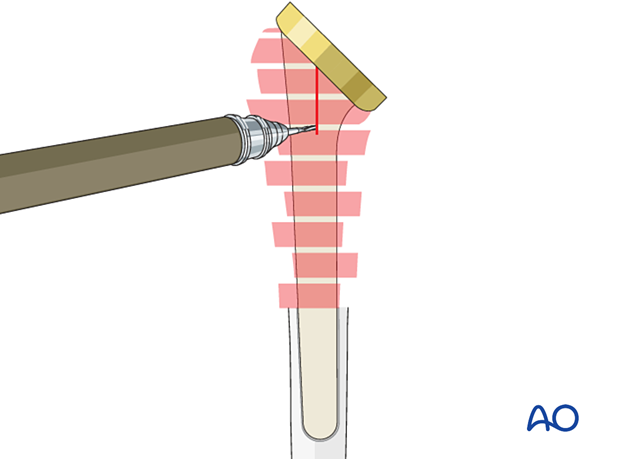
The allograft is prepared for prosthetic implantation using implant-specific instrumentation.
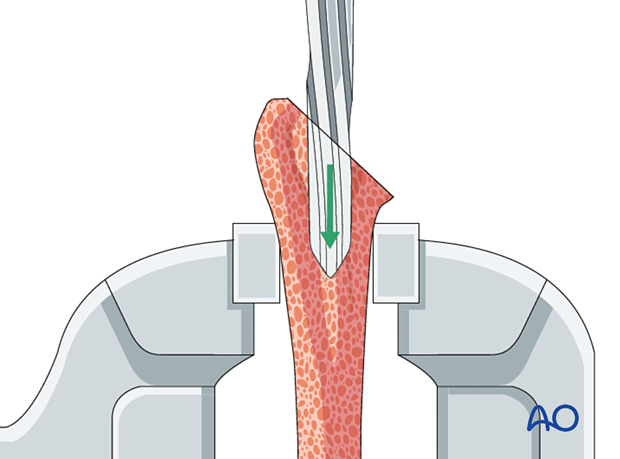
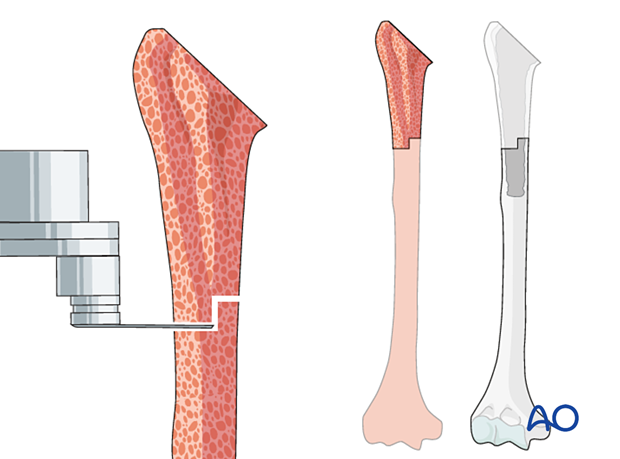
The allograft is cut according to the measured bone deficiency.

The trial implant is inserted into the allograft in the correct alignment.
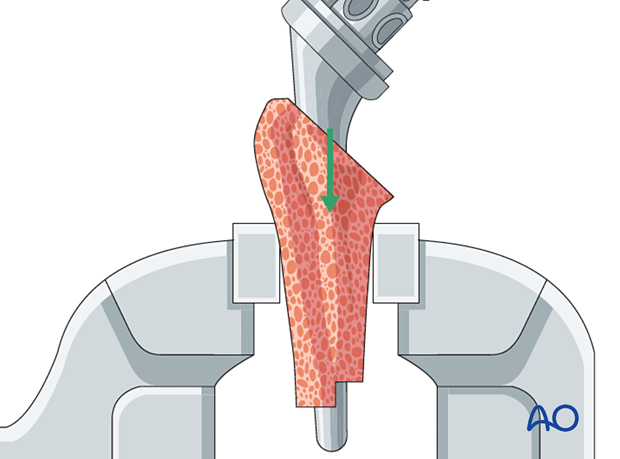
The allograft with trial component is inserted into the distal humeral shaft, and length and orientation are assessed.
7. Insertion of the definitive implant
The allograft is secured to the distal humeral shaft using the compression plate technique.
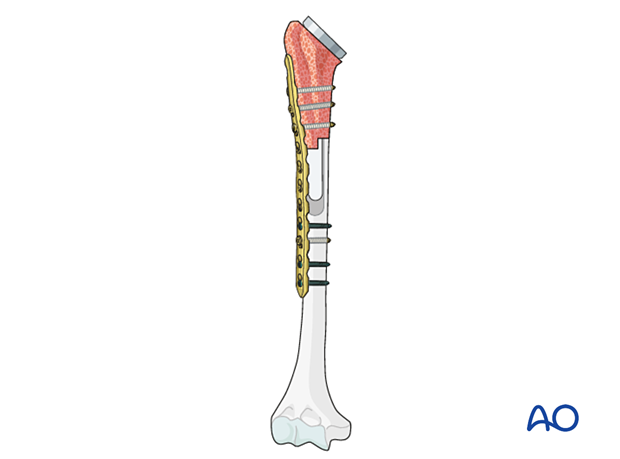
The trial component is removed, leaving the graft in place.
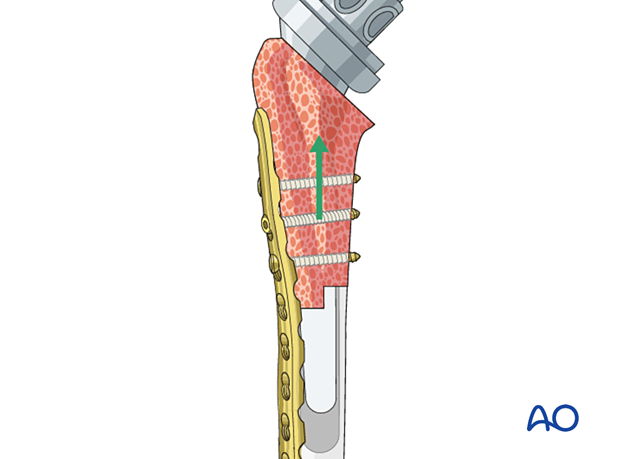
A cement restrictor is inserted. Cement is introduced into the distal humeral shaft using a long cement introducer and backfill technique.
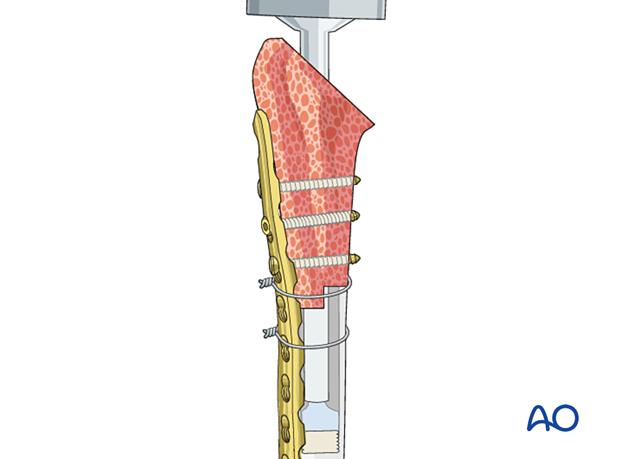
The definitive humeral component is implanted into the allograft-humeral construct.
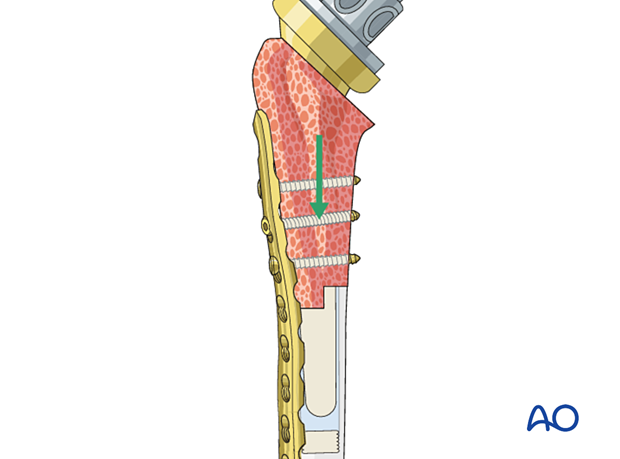
This illustration shows the definitive construct.

8. Soft tissue repair
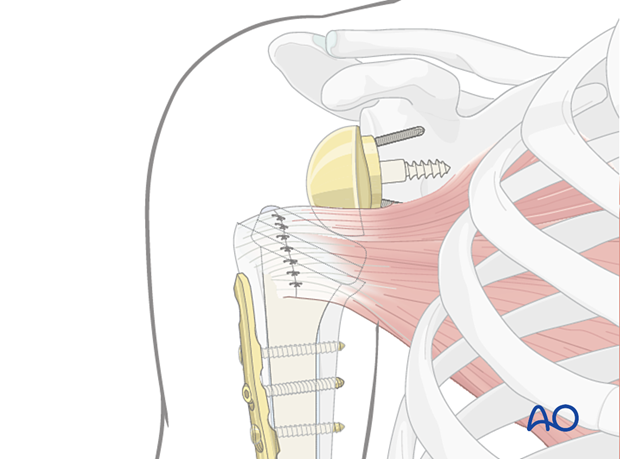
Any remaining rotator cuff tendons should be attached to the allograft using a preferred technique.
9. Shoulder joint stability
Stability of a reverse total shoulder replacement can be improved by:
- Repair of the greater and/or lesser tuberosities
- Repair of the subscapularis tendon
- Using a retentive polyethylene humeral liner
- Revising the glenosphere
10. Stability verification
Stability of the total shoulder replacement and fracture fixation is assessed by passive movement of the limb through a functional range of movement to include internal rotation (placing the hand by the ipsilateral hip), elevation (placing the hand on the vertex of the head), and external rotation in mid-range elevation (reaching forward).
If necessary, image intensification whilst performing these movements may be helpful.
11. Aftercare
Postoperative phases
The aftercare can be divided into four phases of healing:
- Inflammatory phase (week 1–3)
- Early repair phase (week 4–6)
- Late repair and early tissue remodeling phase (week 7–12)
- Remodeling and reintegration phase (week 13 onwards)
Full details on each phase can be found here.


