Arthroscopic screw fixation
1. Principles
General considerations
Screw insertion in lag fashion under arthroscopic control is performed using routine technique.
Prognosis is dependent on accurate articular reduction, minimal articular defects, and in turn, minimal postoperative osteoarthritis development.
Reduction of the fracture (if necessary) is achieved through flexion of the carpal region. Frontal fractures of the intermediate facet of the third carpal bone are repaired with a 3.5 mm cortex screw.

2. Preparation and approach
This procedure is performed with the patient placed in either lateral recumbency or dorsal recumbency, through the arthroscopic approach.

3. Arthroscopic evaluation and debridement
Lavage
In acute fractures there is frequently marked hemarthrosis and lavage will be necessary to permit visibility. This is performed by placing an egress cannula through the lateral instrument portal.

Arthroscopic evaluation
The dorsal compartment of the middle carpal joint should then be evaluated completely and any additional lesions noted.

Debridement
All loose separated tissues are debrided at the fracture site.
4. Needle placement
Insertion of needles
The proximal medial and lateral margins of the fracture are defined by arthroscopically guided percutaneous insertion of hypodermic needles.

It is important that these needles are placed perpendicular to the dorsal surface of the carpus to accurately delineate the fracture width.

An 18 gauge spinal needle is then placed midway between these two needles close and parallel to the proximal articular surface and directed across the midpoint of the fracture as close to 90 degrees as possible. This needle is the most important directional guide for implant placement.

Once the spinal needle has been placed, an additional 18 gauge needle is inserted into the carpometacarpal joint.
A flexed LM and skyline radiographic views are taken to provide the proximal-distal location of the lag screw.

5. Screw fixation
Stab incision
Based on the radiographs a stab incision is placed over the dorsal aspect of the third carpal bone half way between the spinal needle and the needle in the carpometacarpal joint.

Drilling the glide hole
The glide hole is drilled across the fragment until it enters the fracture line (the distance is predetermined by measurement by the radiographs).
The drill depth can be verified using an intraoperative radiograph.

Drilling the thread hole
The 2.5 mm drill guide is inserted into the glide hole and the 2.5 mm thread hole drilled through the remaining third carpal bone.
It is recommended that the hole is drilled completely through the entire bone to avoid the screw being longer than the hole which can result In screw breakage.

Countersinking
The hole is lightly countersunk at the dorsal surface and debris is flushed.

Determining screw length
The correct screw length is determined using the depth gauge. The screw is generally 32-36 mm long.

Tapping the hole
The hole is tapped with a 3.5 mm tap protected by the 3.5 mm drill guide. This should be done by hand.

Screw insertion
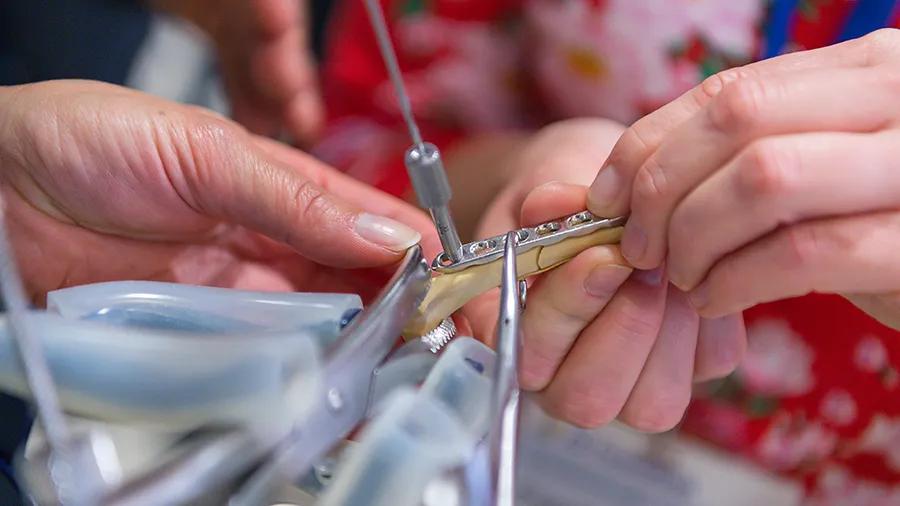
The 3.5 mm screw of appropriate length is inserted. The screw is tightened under arthroscopic visualization.
Pearl: Use two fingers and thumb when doing final tightening, thereby avoiding excessive torque and potential breaking of screw head.

After the screw is tightened any debris or elevated cartilage are removed at fracture line.
Intraoperative radiographs are taken to confirm screw length and correct positioning.

6. Aftercare
All incisions are sutured (only skin sutures are necessary). A sterile bandage is placed on the carpus. Perioperative antibiotics are indicated for 24 h and the horse should be placed on antiinflammatory medication for 5 – 7 days. The horse should be confined to a stall (box) but hand walking is commenced at 2 weeks.
The horse can usually go back into race training at 4 months but only after clinical and radiographic examination and clearance by veterinary surgeon.