

Bridging plate fixation
1. Indications
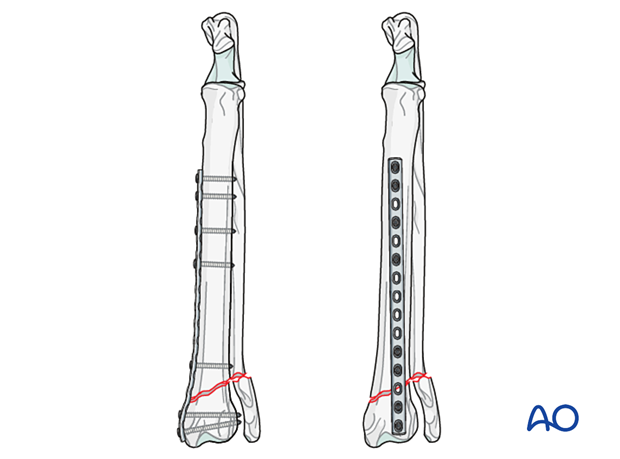
Bridging plates are used for nonreconstructable complex distal radial fractures. The main fragments are stabilized in the correct spatial position, and the plate provides relative stability to the fracture.
2. Preparation and approach
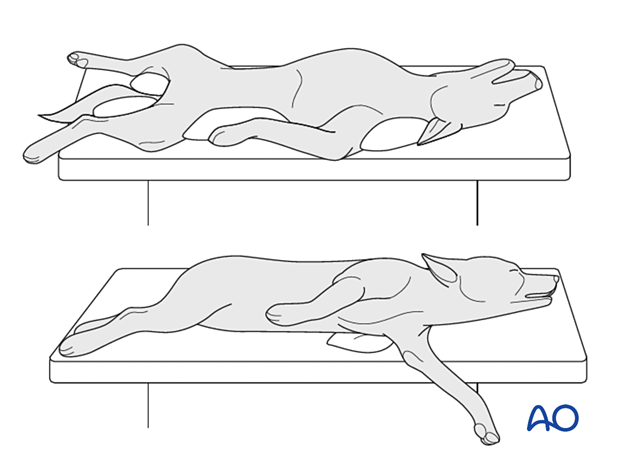
The patient can be in dorsal or in lateral recumbency.
In lateral recumbency, the affected leg should be in contact with the table.
Preparing the entire leg, including the foot, in the surgical field helps in assessing the alignment.
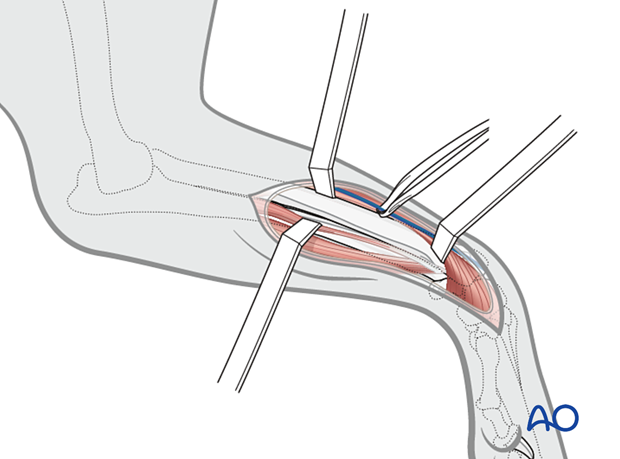
A craniomedial approach to the distal radius is performed. The proximal extent of the approach varies according to the length of the selected plate.
3. Reduction
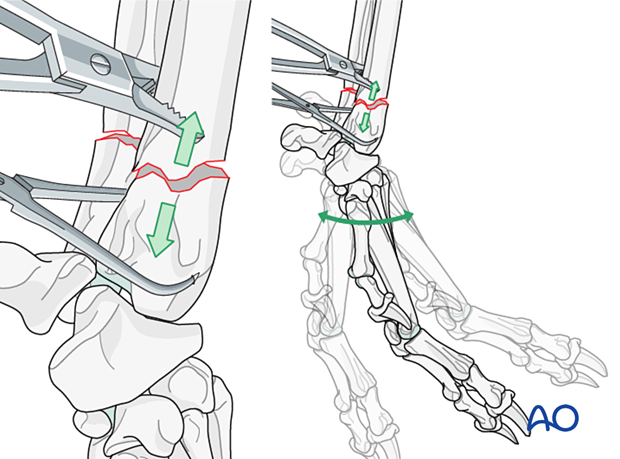
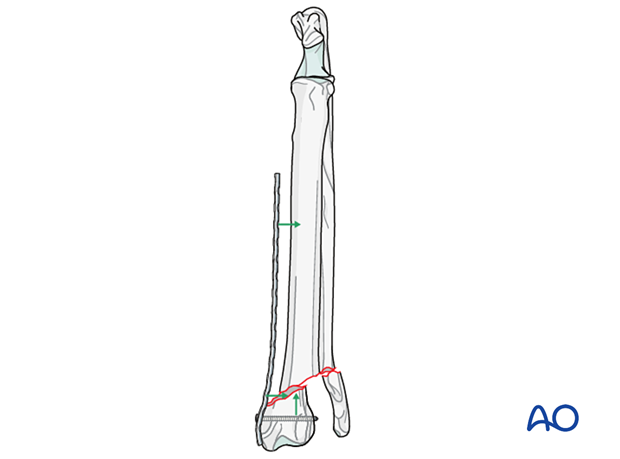
An indirect reduction is achieved by distracting and aligning the major bone segments using bone-holding forceps or other distraction techniques.
It is necessary to check for correct alignment (length and rotation) once the bone length has been restored. Rotational alignment can be judged by palpation or direct visualization of the carpal and elbow joints. Flexing and extending the carpal and elbow joints will help check the repair's alignment. Preparing the entire leg, including the foot in the surgical field helps in assessing the alignment.
Option
Alternatively, the plate can be fixed in the distal fragment first and then used to achieve reduction on the proximal fragment. In this case, the plate should be contoured before application.
4. Fixation
Plate selection
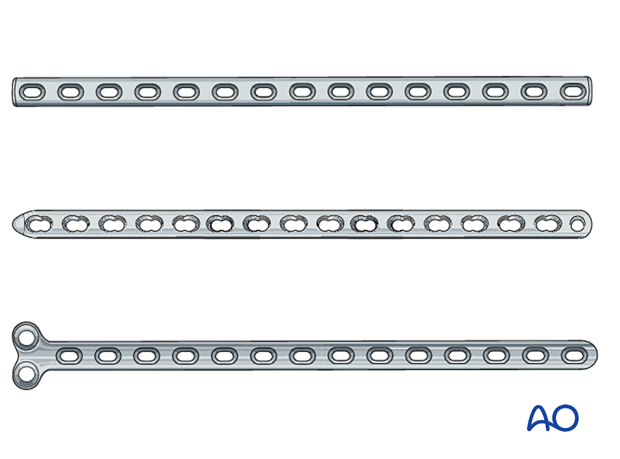
According to the size of the distal fragment, a straight locking or nonlocking plate of the appropriate size should be used in order to have a minimum of two screws in the distal fragment and three screws in the proximal fragment.
Since the bone will not share the load, the plate must withstand all the weight-bearing forces alone. Therefore, a large plate must be selected. In some cases, a specialist plate may be selected (eg, a lengthening plate).
The plate should bridge at least 75% of the length of the radius.
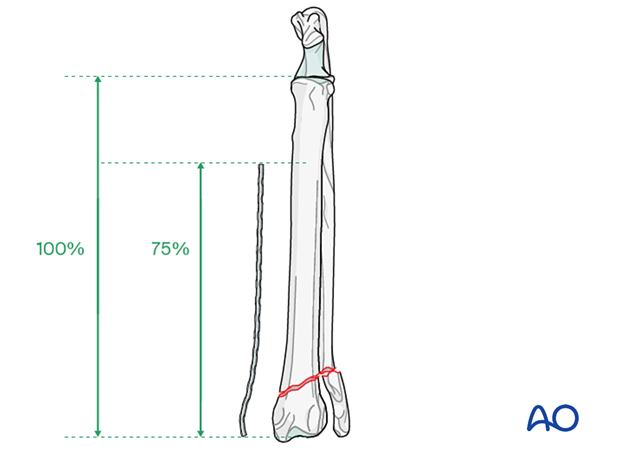
Plate contouring
A plate of appropriate size is contoured to fit the shape of the distal radius, taking into consideration the procurvatum. The degree of procurvatum can vary according to the breed and should be checked in the unaffected leg, if possible.
Straight plate application
The plate is applied on the cranial or medial side of the distal radius depending on the fracture configuration. If two screws can be inserted in the distal fragment with a straight plate, the plate can be positioned either medially or cranially.
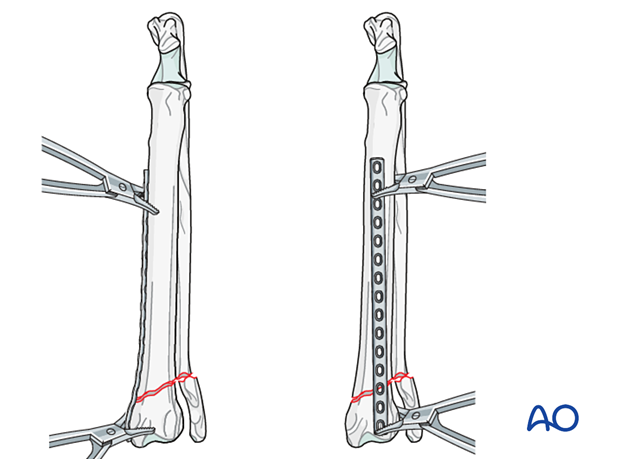
If a T-plate is used to repair these factures in toy and small- to medium-sized dogs, the plate must be positioned on the cranial surface of the radius.
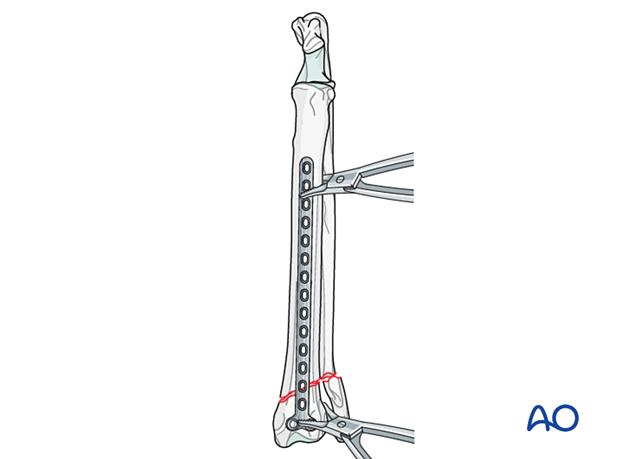
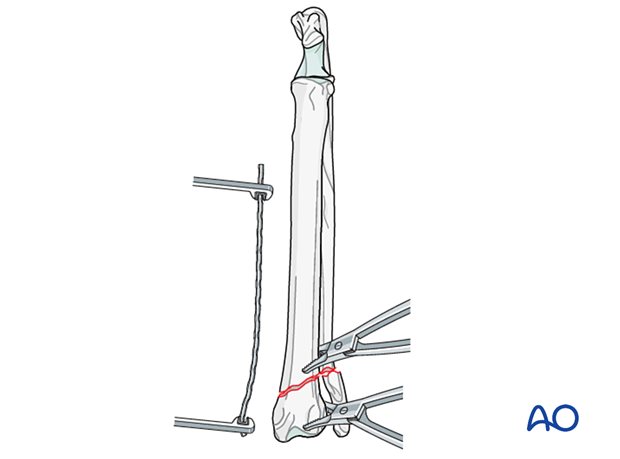
The contoured plate is applied to the radial surface and secured with plate-holding forceps.
The alignment is carefully checked. If required, the alignment is corrected and the plate-holding forceps are repositioned.
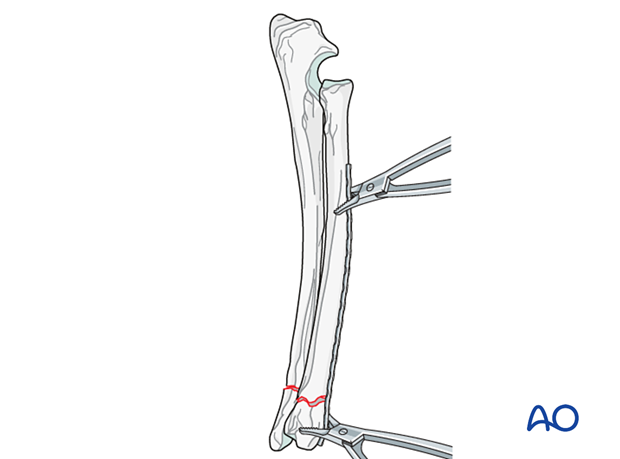
Screw insertion
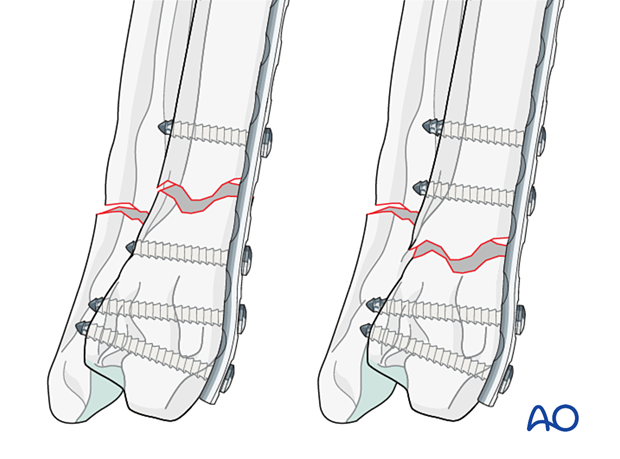
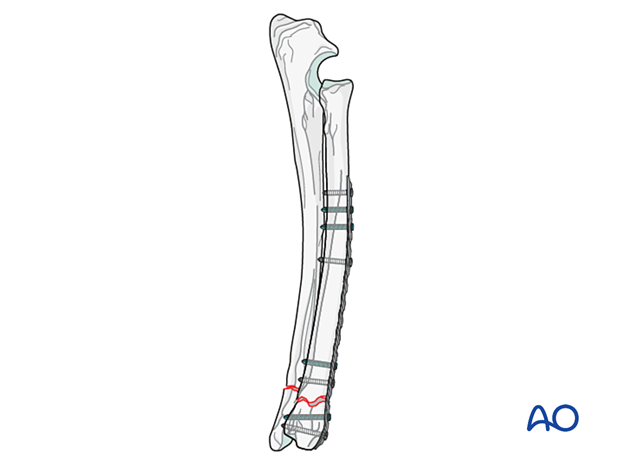
The plate is fixed by inserting at least two bicortical screws in the distal fragment and three in the proximal fragment. For maximum stability placement of the screws should be far-near-near-near-near-far.
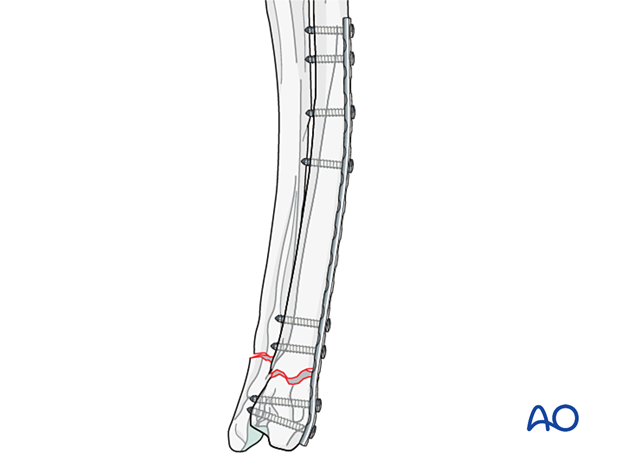
All the screws are inserted in neutral mode.
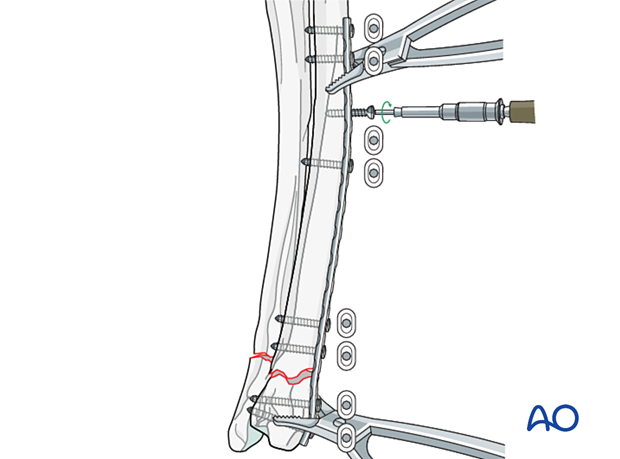
It is not necessary to fill all the available plate holes.
Sometimes, it is not possible to insert three screws in the distal fragment, but a minimum of two screws is required.
Fixation with a locking plate
A locking plate can be used instead of a traditional bone plate. Using a combination of nonlocking and locking screws or locking screws alone can provide adequate fixation.
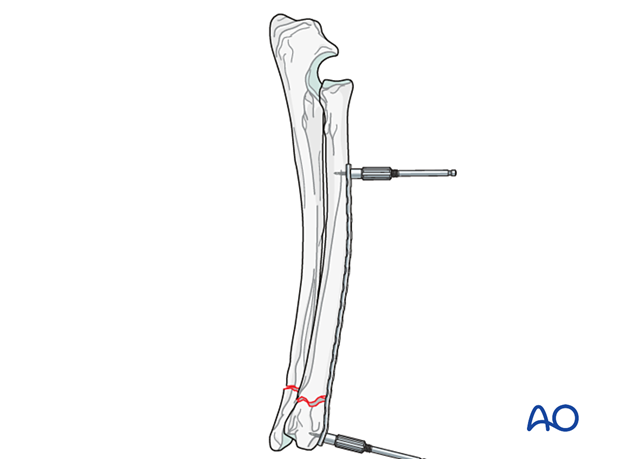
If a locking compression plate (LCP) is used, a push-pull device can be inserted instead of plate-holding forceps in the proximal and distal fragment to temporarily stabilize the plate.
With the temporary fixation in place, plate position and fracture alignment are checked thoroughly and, if necessary, adjusted.
5. Aftercare
Phase 1: 1–3 days after surgery
The aim is to reduce edema, inflammation, and pain.
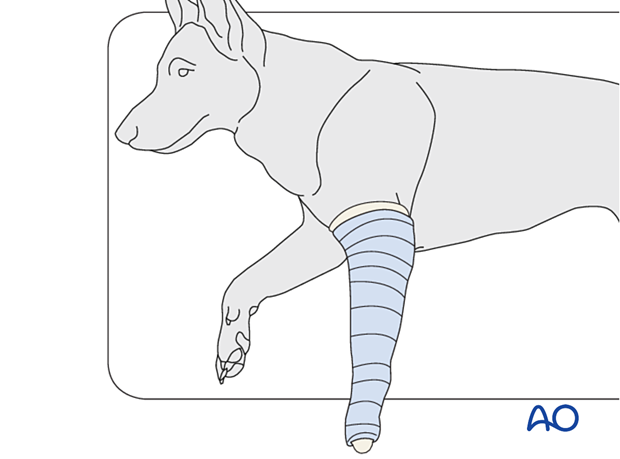
Following appropriate internal fixation, there should be no absolute need for external coaptation for a 23-A2 fracture. If bandaging is used to decrease edema and protect the surgical wound, it should be removed after 24–48 hours to reduce the risk of complications.
Integrative medical therapies, anti-inflammatory medications, and analgesics are recommended.
10–20 minutes of ice therapy is recommended every 8 hours in most cases.
The patient can immediately bear weight, but with strict control of activities.
Phase 2: 4–10 days after surgery
The aim is to resolve hematoma and edema, control pain, and prevent muscle contracture. Anti-inflammatory and analgesic medications may still be needed.
Rehabilitation and integrative medical therapies can be used.
A careful evaluation is recommended if the patient is not starting to use the limb within a few days after surgery.
Phase 3: > 10 days after surgery
The sutures are removed 10–14 days after surgery.
Immature patients should be radiographed every 4 weeks.
A radiographic assessment is performed every 4–6 weeks until bone healing is confirmed, more frequent assessment may be necessary for skeletally immature patients.


