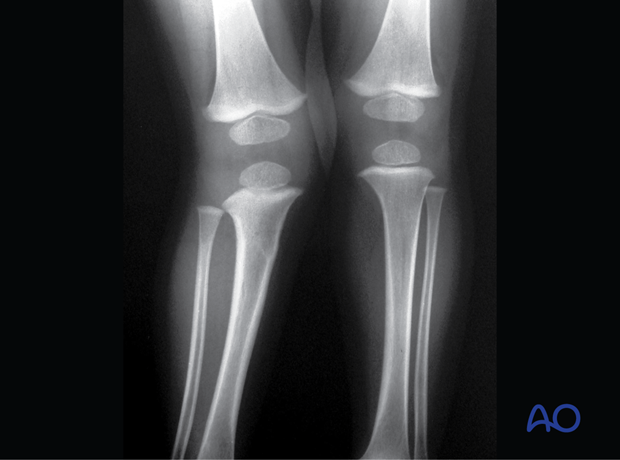
Closed reduction - Screw fixation
1. General considerations
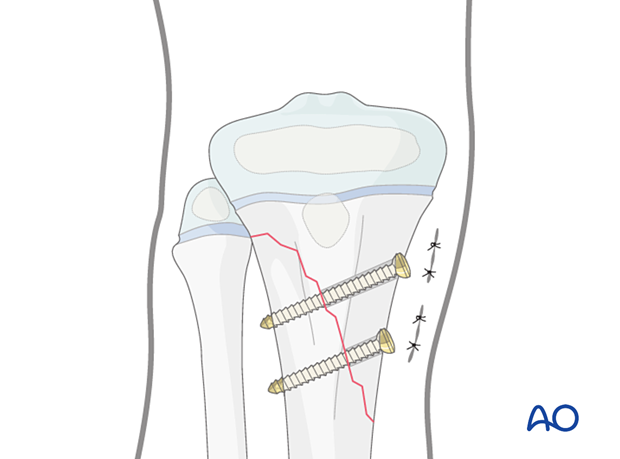
Screw fixation of oblique metaphyseal fractures is indicated in older children with unstable fractures, which cannot be sufficiently stabilized with a cast or K-wires.
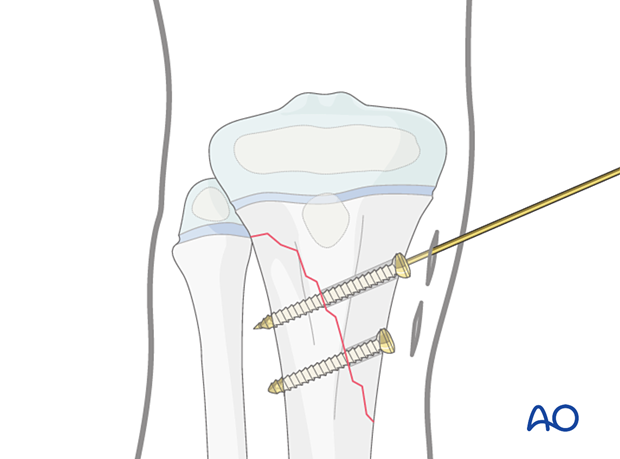
At least two screws should be used. They should be inserted perpendicular to the fracture plane.
Closed vs open reduction
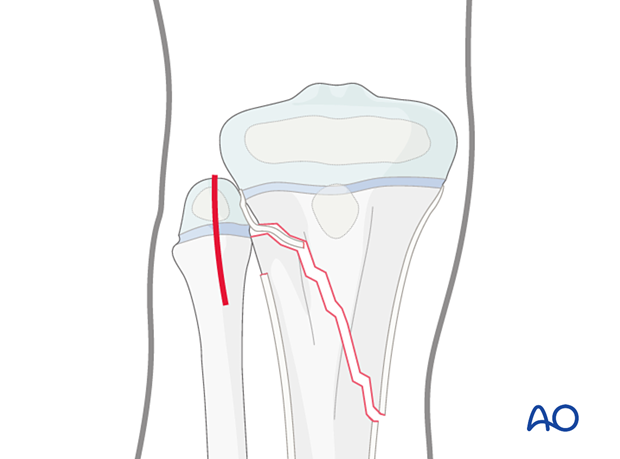
If initial closed reduction is unsuccessful, this is usually due to periosteum entrapped on the side that has failed in tension.
2. Instruments and implants
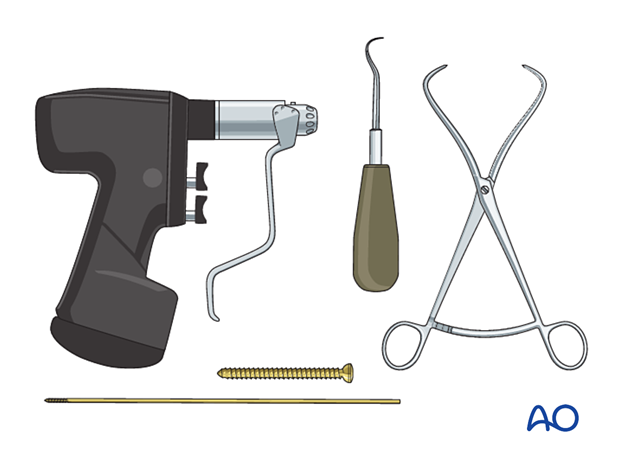
Appropriately sized cannulated or noncannulated lag screws (2.7, 3.5, or 4.0 mm) can be used.
The following equipment is used:
- Screw set or cannulated screw set
- Reduction forceps
- Dental pick
- Drill
- Image intensifier
3. Patient preparation
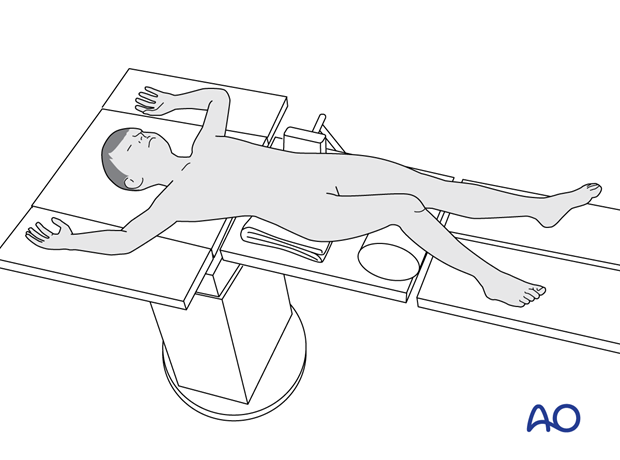
Place the patient in a supine position on a radiolucent table, with a bolster under the ipsilateral flank.
Breaking the table to allow knee flexion may facilitate traction and reduction.
4. Reduction
Gentle, prolonged longitudinal traction should be followed by manipulation of the limb for fracture reduction.
An assistant should be available to apply countertraction.
Correct rotation, angulation, and displacement.
A reduction forceps may be applied percutaneously to hold the reduction.
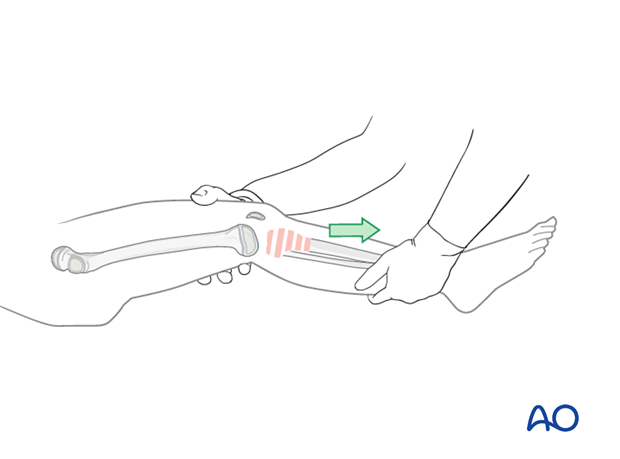
Confirm reduction with an image intensifier.
If a gap remains after reduction, a small open approach may be required to release the periosteum.

5. Fixation
Incision
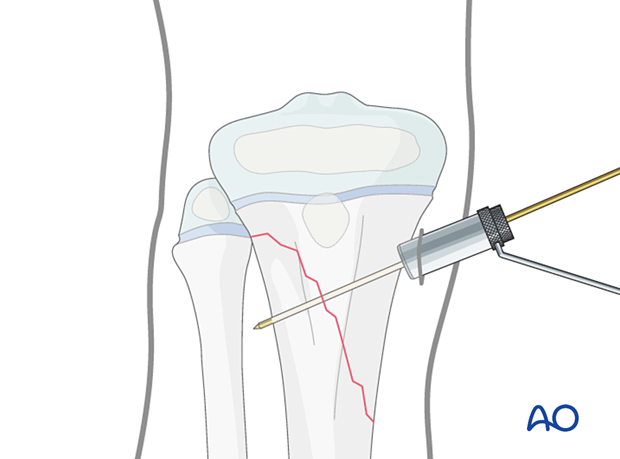
Perform a stab incision at the level of the planned screw insertion.
Spread the underlying soft tissues with blunt dissection and place a tissue protector down to the bone.
Insert the guide wire.
Screw insertion
Insert at least two lag screws in a standard manner.
Make sure the physis and perichondral ring are not compromised.
Confirm reduction, fracture stability, and screw placement with an image intensifier prior to removal of the guide wire.
Wound closure
Close the skin and subcutaneous tissues according to surgeon preference.

6. Final assessment
Confirm fracture reduction and implant position with an image intensifier.
7. Application of a cast
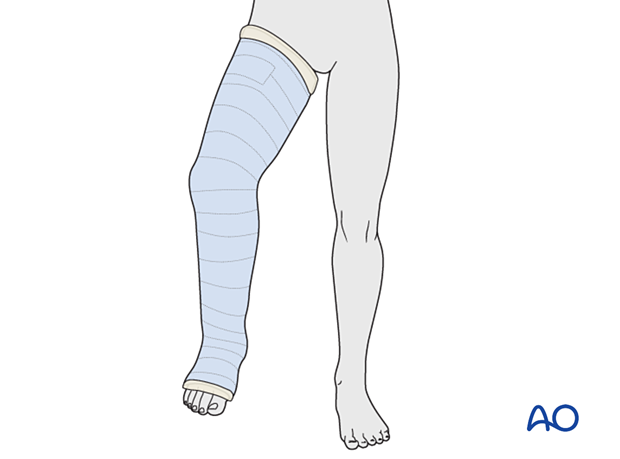
The fixation should be protected with a long leg cast with the knee flexed 30°–45° for 3 weeks.
Alternatively, a knee orthosis may be used.
8. Aftercare
Immediate postoperative care
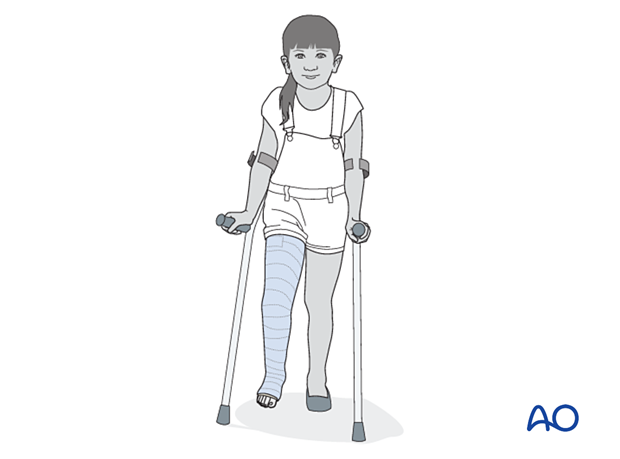
The patient is kept touch-weight bearing.
Older children may be able to use crutches or a walker.
Younger children may require a period of mobilization in a wheelchair.
Neurovascular examination
The patient should be examined frequently in the initial period following the injury, to exclude neurovascular compromise or evolving compartment syndrome.
High-energy fractures are associated with vascular injuries and require careful clinical assessment.
Follow-up
The first clinical and radiological follow-up is usually undertaken at 4–6 weeks.
Mobilization
Weight bearing can be started when clinical and radiological signs suggest a stable fracture, typically 3–4 weeks after injury.
Implant removal
Screw removal is optional and can be performed at least 3–4 months after injury.
Follow-up for growth disturbance and deformity
All patients with fractures of the proximal tibia should have clinical and radiological examination 8–12 weeks postoperatively to confirm healing and alignment.
Clinical examination should be repeated at intervals for at least one year to detect early signs of growth disturbance.
If there is a clinically relevant leg length discrepancy or malalignment, radiological assessment is required.
Check for valgus deformity which may develop over several months with greenstick fractures (Cozenʼs phenomenon). This occurs in younger patients and usually improves within 2 years of injury.
