Open reduction; pin or screw fixation
1. General considerations
Introduction
Reasonable attempts should be made to repair the articular surface, but there may be small osteochondral defects that are not reconstructable.
Larger fragments require ORIF with small screws or sutures.
Specialist techniques to reconstruct the articular surface are available and include osteochondral autograft and allograft transfer.
Implant selection
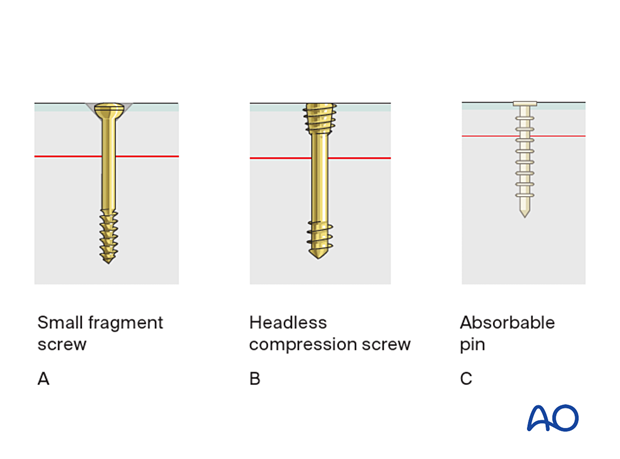
Fixation can be achieved using a small fragment screw system (A or B), absorbable pins (C), or sutures. In general, screws provide better compression of the fracture but require an osteochondral fragment that is sufficiently large to accommodate the screw head.
Irrespective of implant, technique should include measures to ensure that the screw head is not prominent.
2. Patient preparation and approaches
Patient positioning
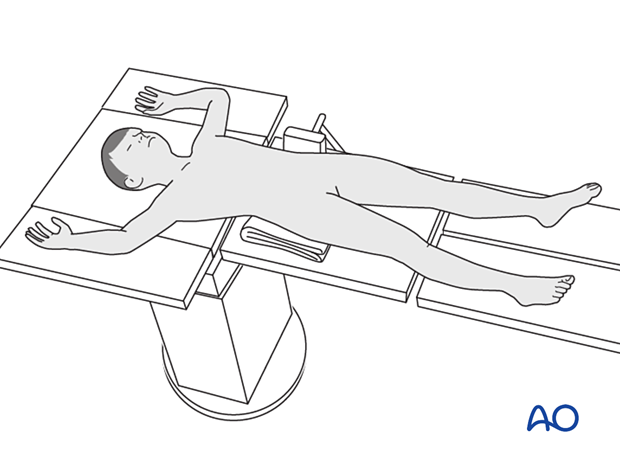
Place the patient in a supine position on a radiolucent table.
Approaches
The fixation of an osteochondral lesion is usually performed through an open approach that depends on the location of the fracture.
When appropriate resources are available, arthroscopically assisted reduction and fixation can be considered.
3. Reduction and temporary fixation
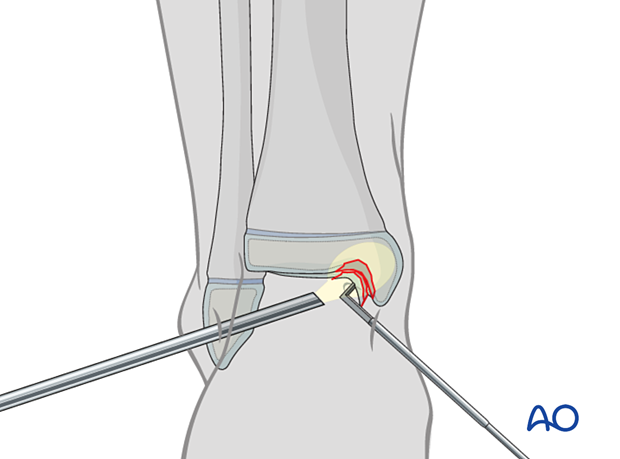
Reduction
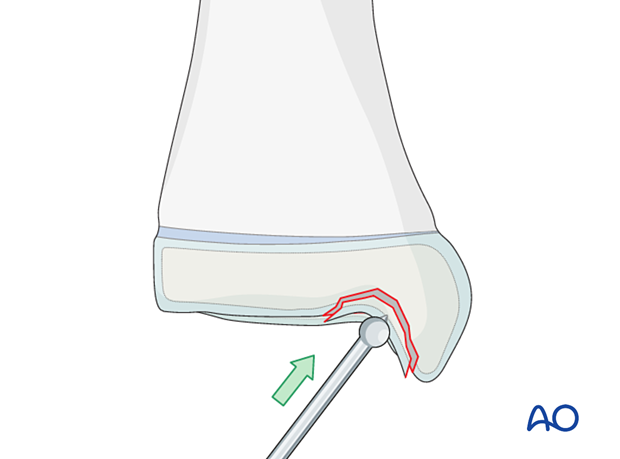
Reduce the fracture with an elevator.
A small ball-spike pusher, K-wire, or dental pick may also be used.
Alternative: reduction under arthroscopic view
Reduce the osteochondral fracture under arthroscopic control.
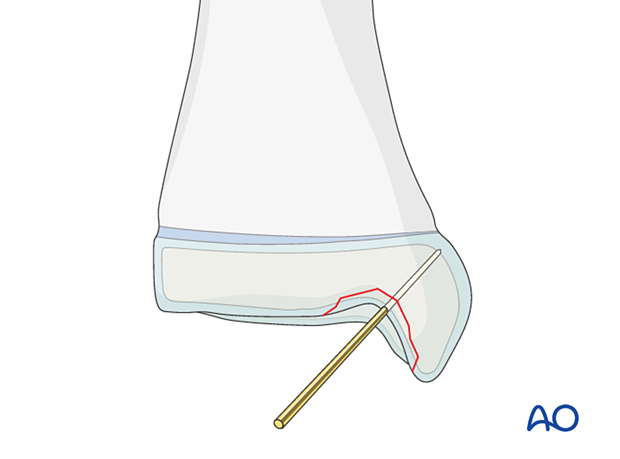
Fixation with K-wire
Insert a K-wire to secure the reduction. Ideally, this should be the correct diameter for cannulated screw insertion. If not, ensure that it does not interfere with the planned screw position.
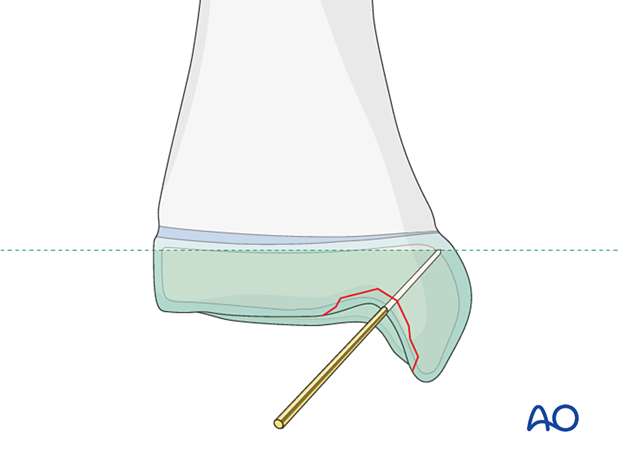
4. Planning for screw/pin fixation
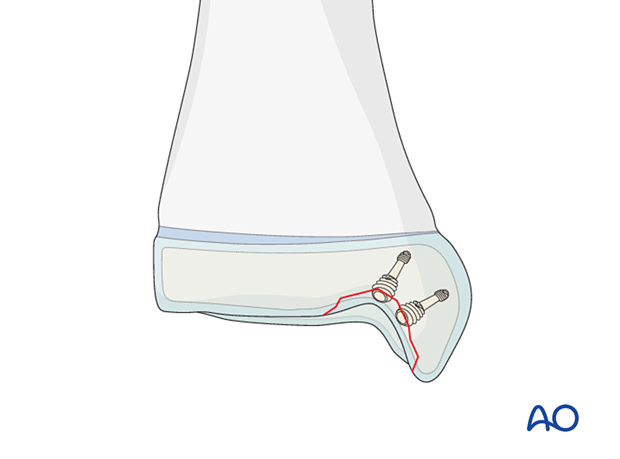
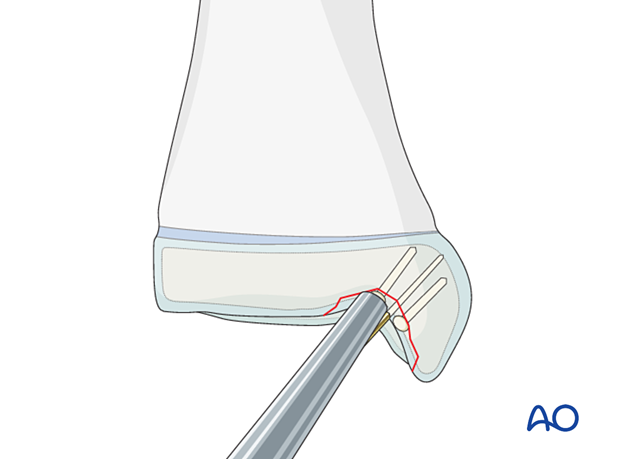
If possible, use two screws, or pins, to prevent fragment rotation.
None of the implants should project above the articular surface.
Take care to modify screw trajectory and length to avoid injury to the physis.
5. Small fragment screws
Insertion of the guide wire
Place the guide wires as near to perpendicular to the fracture plane as possible.
Confirm correct guide-wire placement with an image intensifier.
Countersinking
It is imperative to countersink the screw head.
Countersink manually, deep enough to fully bury the screw head.
Avoid countersinking too deeply into the cancellous bone, which often happens with a power tool.
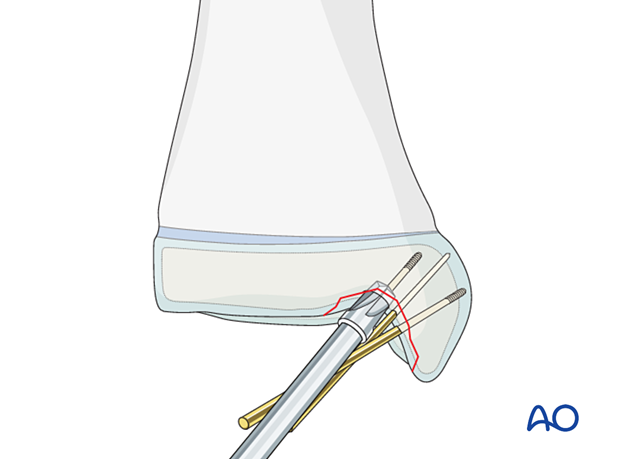
Screw insertion
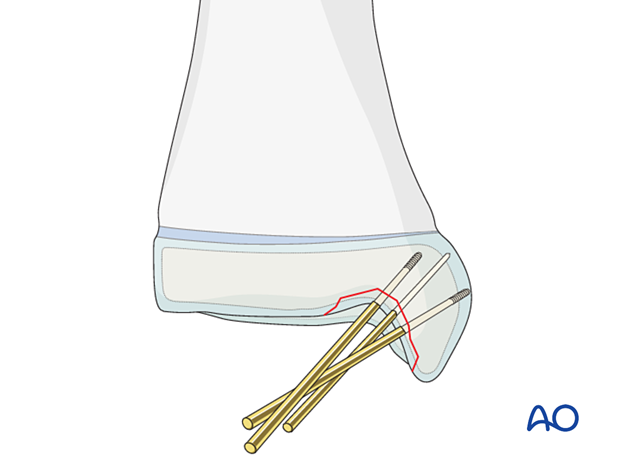
Insert partially threaded screws, which may provide compression.
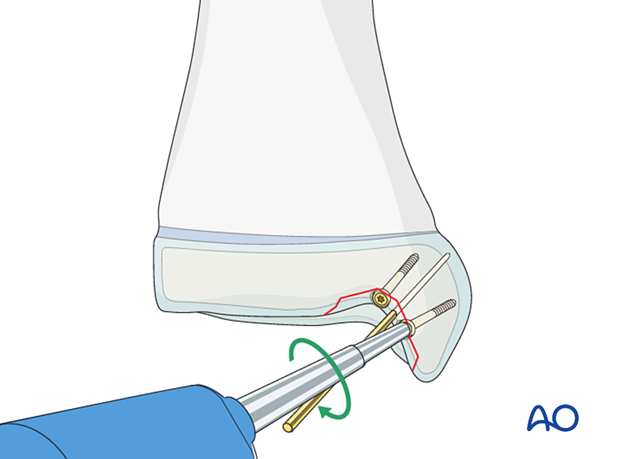
This illustration shows the completed osteosynthesis using small fragment screws.
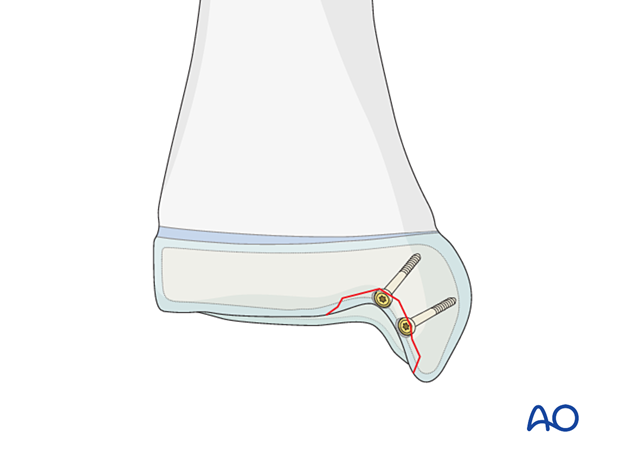
6. Headless compression screw
Insert headless compression screws after predrilling or over a guide wire.
Neither a gliding hole nor countersinking is required.
It is imperative to insert the headless compression screw until the screw head has completely penetrated the cartilage surface.
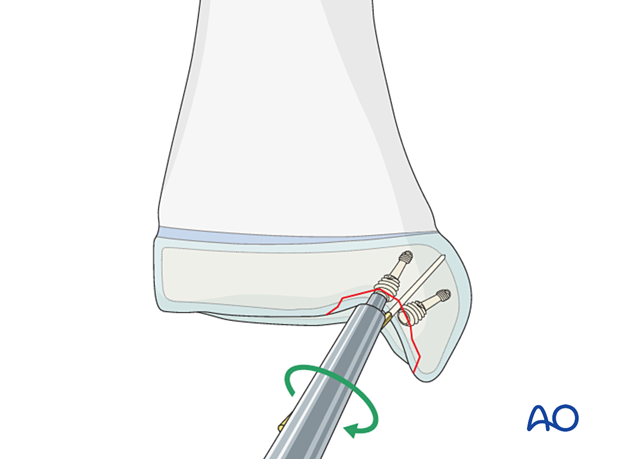
7. Absorbable pin
Absorbable pins require predrilling and gentle impaction during insertion.
8. Final assessment
Use an image intensifier to confirm correct implant positioning and anatomical reduction.
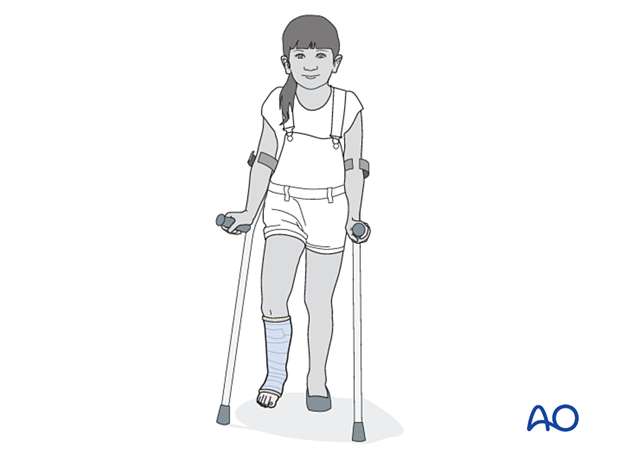
9. Immobilization
A molded below-knee cast or fixed ankle boot is recommended for a period of 2–6 weeks as the strength of fixation may not provide sufficient stability for unrestricted weight bearing.
10. Aftercare
Immediate postoperative care
The patient should get out of bed and begin ambulation with crutches on the day of surgery or the first postoperative day.
In most cases, the postoperative protocol will involve protected weight-bearing in a cast or splint.

Pain control
Patients tend to be more comfortable if the limb is splinted.
Routine pain medication is prescribed for 3–5 days after surgery.
Neurovascular examination
The patient should be examined frequently to exclude neurovascular compromise or evolving compartment syndrome.
Discharge care
Discharge follows local practice and is usually possible within 48 hours.
Follow-up
The first clinical and radiological follow-up is usually undertaken 5–7 days after surgery to check the wound and confirm that reduction has been maintained.
Cast removal
A cast or boot can be removed 2–6 weeks after injury.
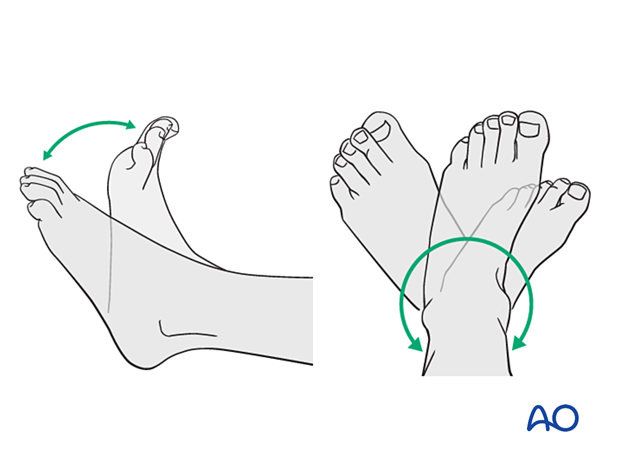
Mobilization
After cast removal, graduated weight-bearing is usually possible.
Patients are encouraged to start range-of-motion exercises. Physiotherapy supervision may be required in some cases but is not mandatory.
Sports and activities that involve running and jumping are not recommended until full recovery of local symptoms.
Implant removal
Implant removal is not mandatory and requires a risk-benefit discussion with patient and carers.
