Open reduction; pin or screw fixation
1. General considerations
Reconstruction vs excision
A loose small osteochondral fragment in the knee may cause more symptoms than a small articular defect.
Reasonable attempts should be made to repair the articular surface but there may be small osteochondral defects that are not reconstructable.
Specialist techniques to reconstruct the articular surface are available and include osteochondral autograft and allograft transfer.
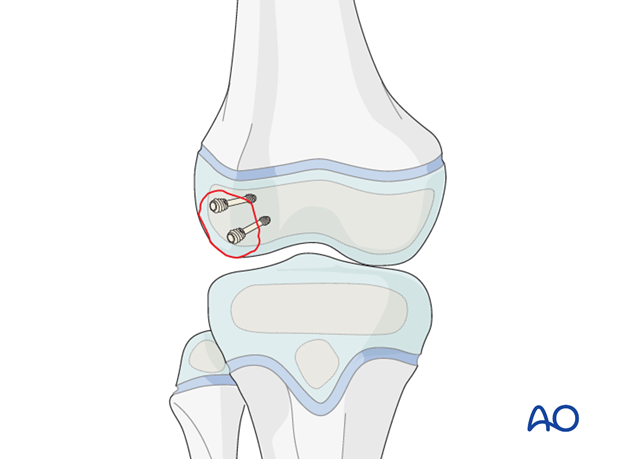
Associated patellar dislocation
Anterior and lateral flake fractures may be associated with patellar dislocation/subluxation.
Check the retropatellar surface for osteochondral lesions.
Implant selection
Fixation can be achieved using a small fragment screw system (A or B), or absorbable pins (C). In general, screws provide a better compression of the fracture, but require an osteochondral fragment that is sufficiently large to accommodate the screw head.
Cannulated implants are advantageous.
Absorbable pins (C) are preferable for thin and small fragments.

2. Patient preparation and approaches
Patient positioning
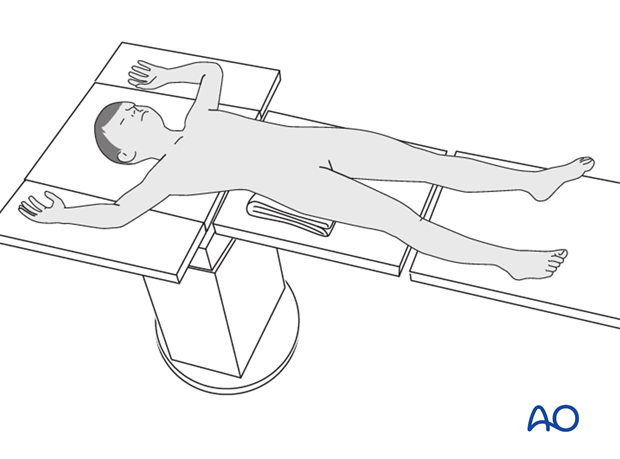
Place the patient supine on a radiolucent table with a C-arm.
Approaches
When appropriate resources are available, arthroscopically assisted reduction and fixation is recommended.
If arthroscopy is not available, osteochondral fractures can be reduced and fixed via a parapatellar approach.
3. Reduction and temporary fixation
Reduction
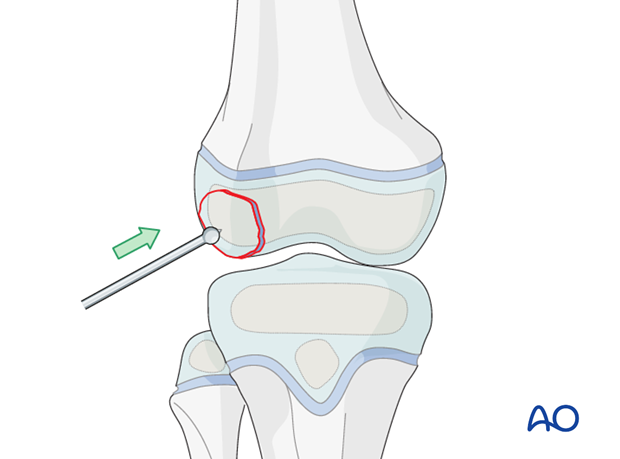
Reduce the fracture with an elevator.
A small ball-spiked pusher, K-wire, or dental pick, may also be used.
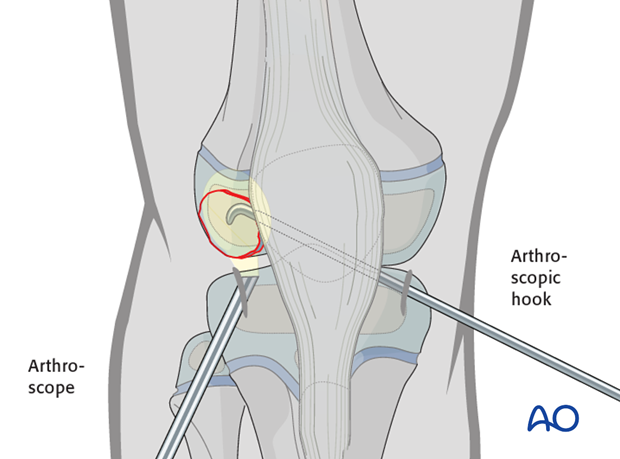
Alternative: reduction under arthroscopic view
Reduce the osteochondral fracture with a hook (illustrated) under arthroscopic control. This may be inserted through a separate portal.
Fixation with K-wire
Insert a K-wire to secure the reduction. Make sure that it does not interfere with the intended implant position, or alternatively is the correct diameter for cannulated screw insertion.
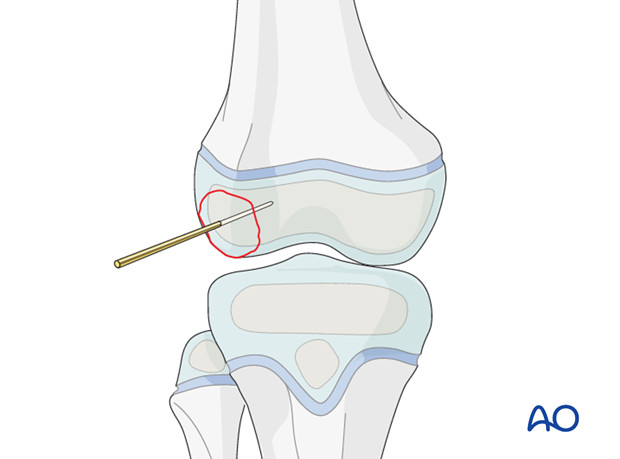
4. Planning for screw/pin fixation
Use two screws, or pins, to prevent fragment rotation.
None of the implants should project above the articular surface.
Take care to modify screw trajectory and length to avoid injury to the distal femoral growth plate.
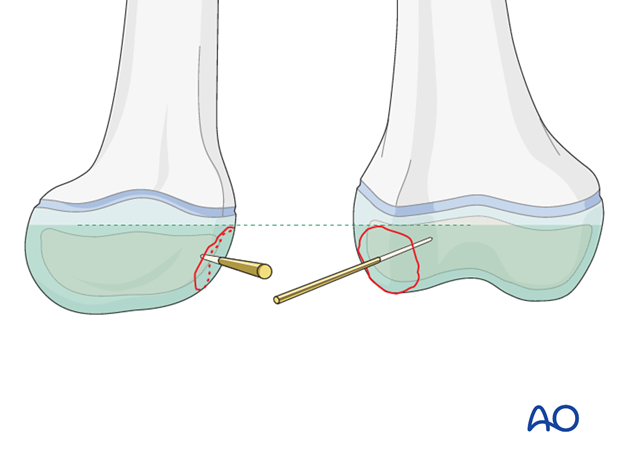
5. Sunken screw
Insertion of guide wire
Place the guide wires as near to perpendicular to the fracture plane as possible.
Confirm correct guide wire placement under image intensification.
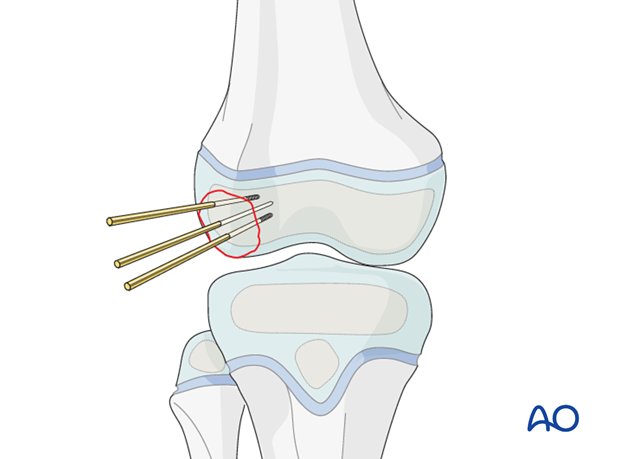
Countersinking
It is imperative to countersink for the screw head.
Countersink manually, deep enough to fully bury the screw heads.
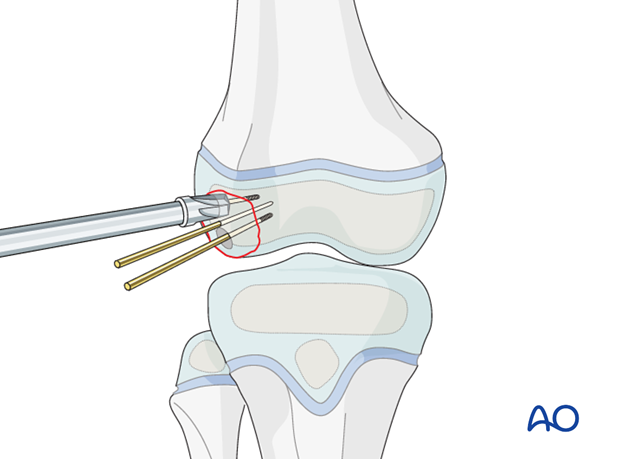
Screw insertion
Use partially threaded screws so that a gliding hole is not required.
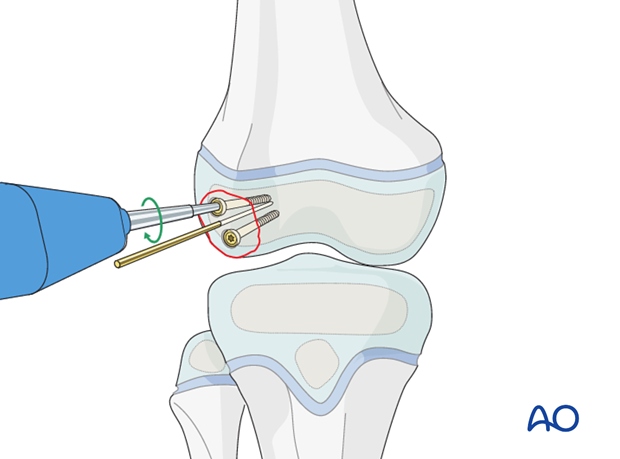
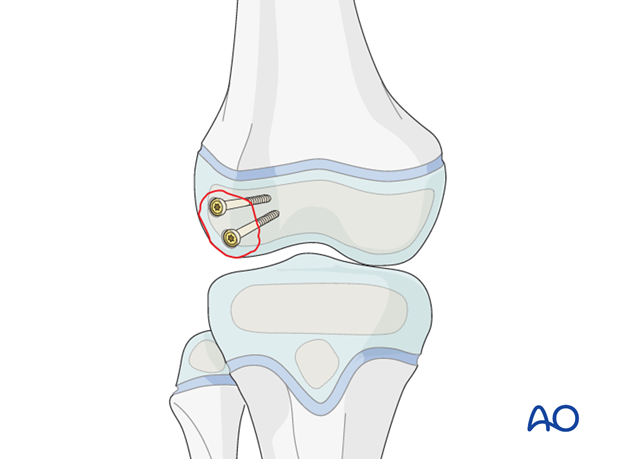
This illustration shows the completed osteosynthesis using sunken screws.
6. Headless compression screw
Insert headless compression screws after predrilling, or over a guide wire.
Neither a gliding hole nor countersinking is required.
It is imperative to insert the headless compression screw until the screw head has completely penetrated the cartilage surface.
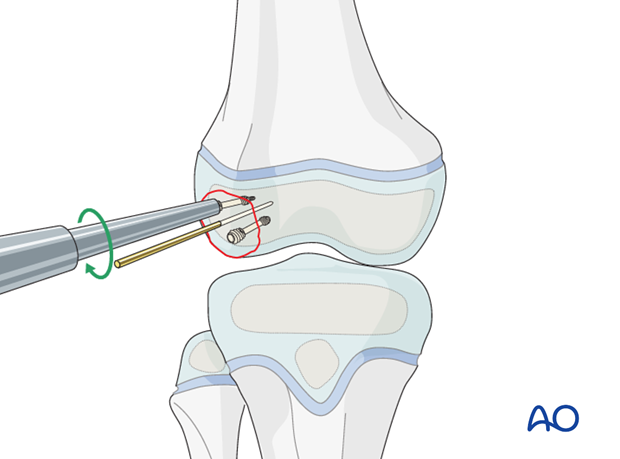
This illustration shows the completed osteosynthesis using headless compression screws.

7. Absorbable pin
Absorbable pins require predrilling.
Use the insertion device with gentle hammer blows as the pins may deform.
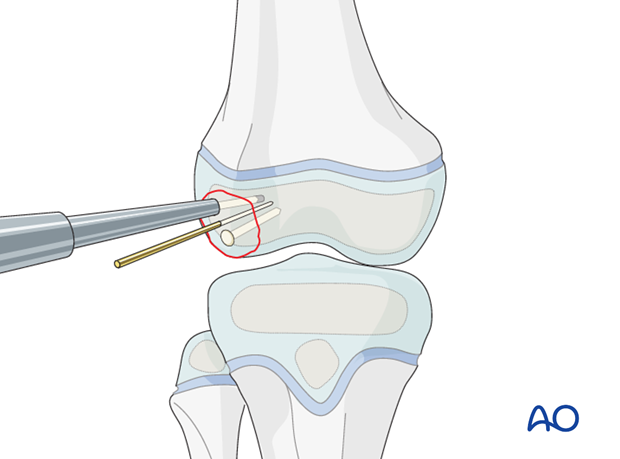
This illustration shows the completed osteosynthesis using absorbable pins.
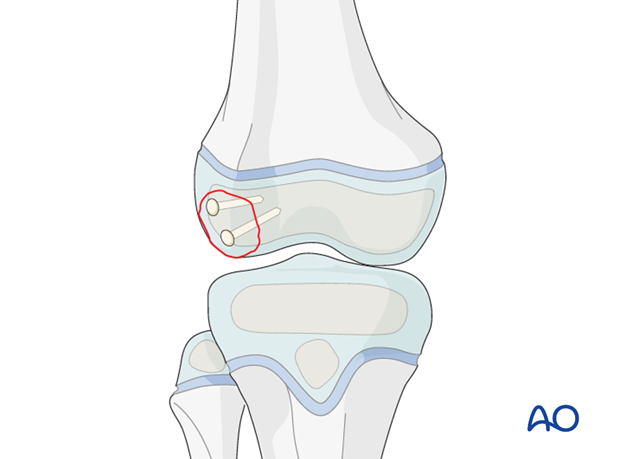
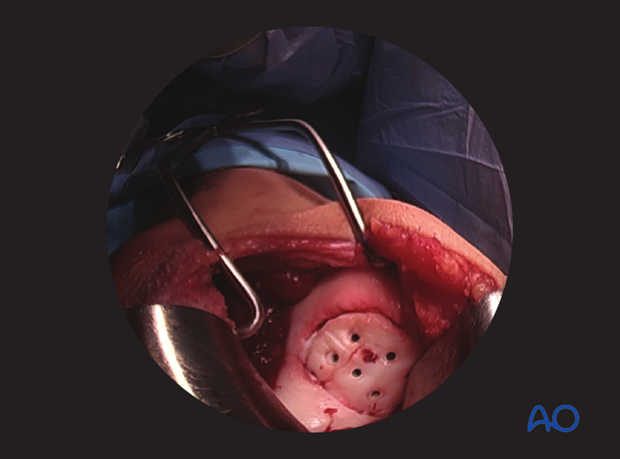
Intraoperative image of open reduction and internal fixation with absorbable pins
8. Final assessment
Check x-rays for correct implant positioning and anatomical reduction.
9. Aftercare
Immediate postoperative care
The patient should get out of bed and begin ambulation with crutches on the day of surgery or the first postoperative day.
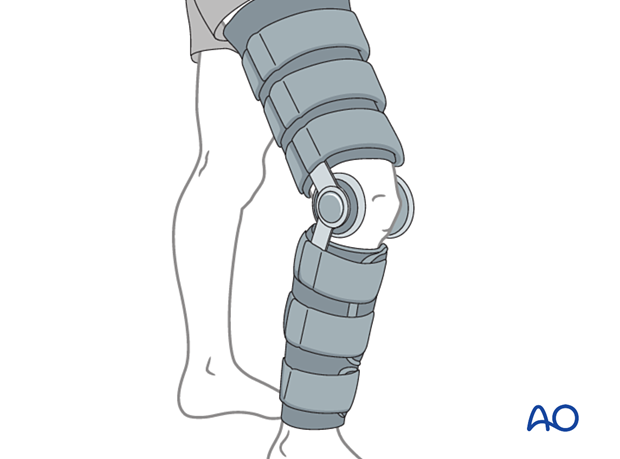
In most cases the postoperative protocol will be protected weight bearing in a hinged knee brace.
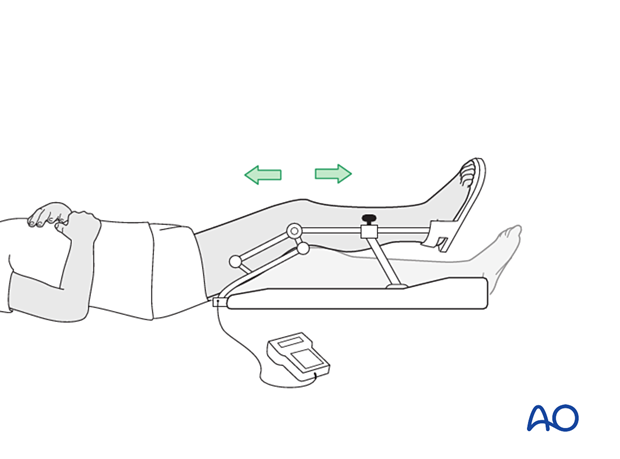
In some situations, the use of continuous passive motion may be useful.
Analgesia
Routine pain medication is prescribed for 3–5 days postoperatively.
Discharge care
Discharge from hospital follows local practice and is usually possible after 1–3 days.
Follow-up
Routine clinical follow-up is undertaken, and physiotherapy may be necessary to accelerate recovery.
