

K-wire fixation
1. General considerations
Introduction
Unstable, or displaced, fractures should be fixed internally with 1 or 2 K-wires, to prevent subsequent malunion, nonunion, or other complications such as nail deformity.
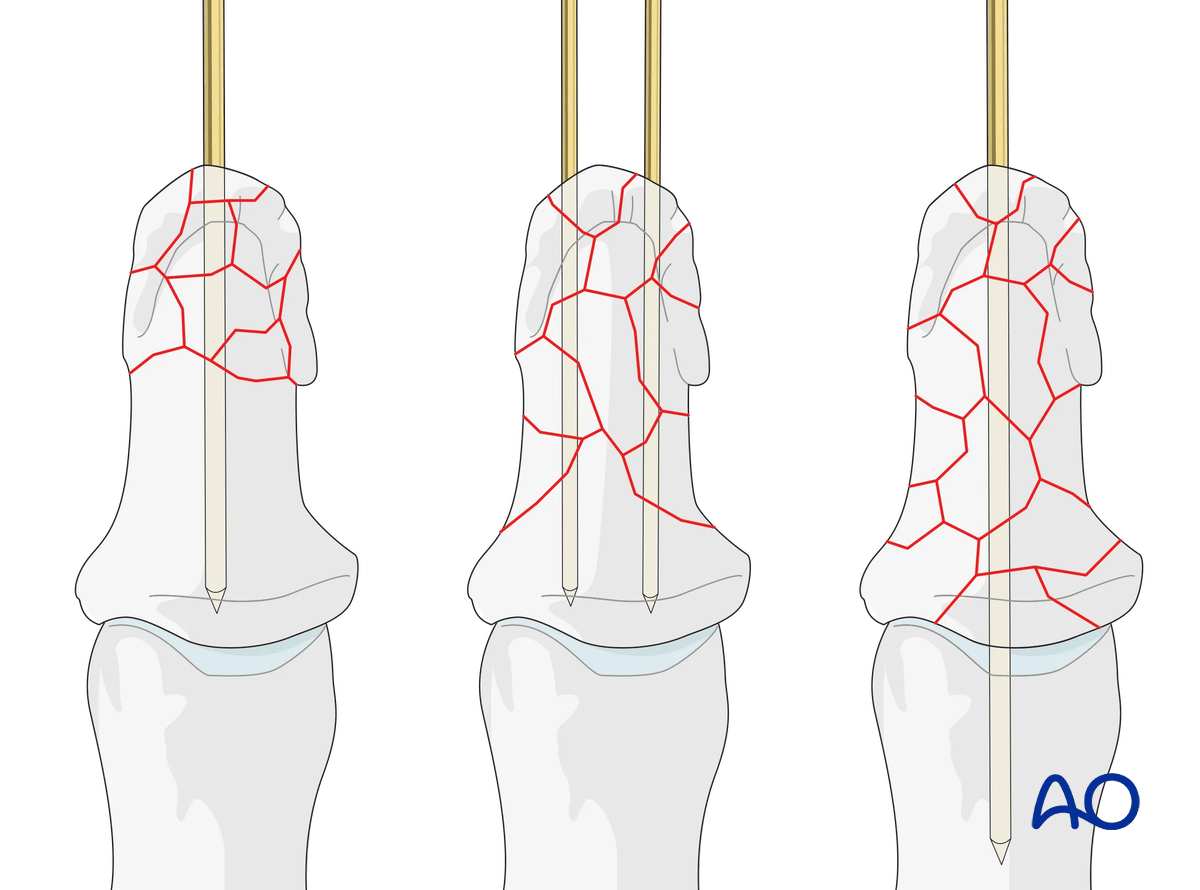
Planning for K-wires
Comminution only in tuft: In many of these cases, K-wire fixation is often unnecessary. In unstable fractures, a single K-wire is inserted as far as the IP joint.
Comminution extending into the diaphysis: Use 2 crossed K-wires extending to the base.
Comminution extending to the proximal metaphysis: Use a single K-wire which passes across the IP joint as far as the base of the proximal phalanx.
Recognizing nail-bed injuries
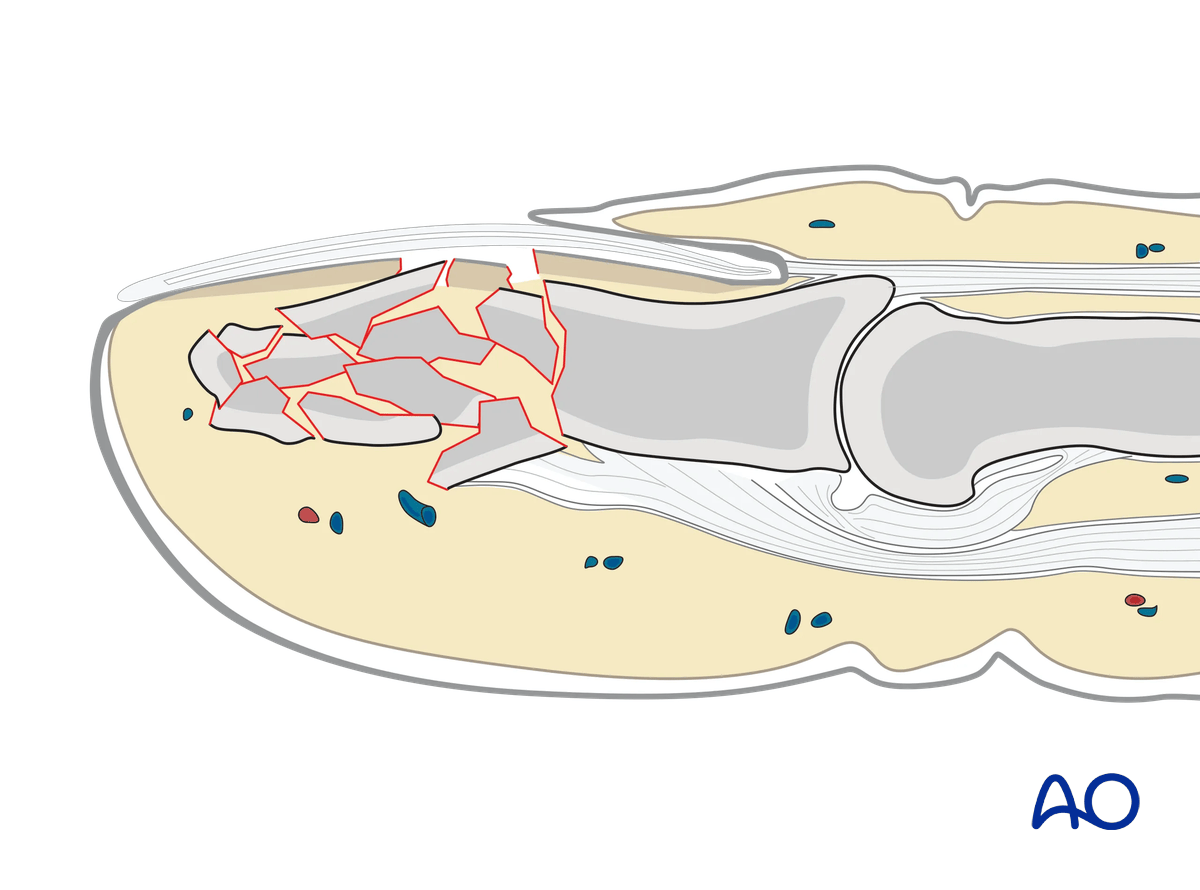
Closed fractures may look harmless on x-rays, but in most cases, the nail bed has been torn with displaced fractures. To inspect the nail bed, the nail plate needs to be removed.
Flexor and extensor tendons displace the fracture with a typical palmar angulation of the tuft fragment.
Open fractures
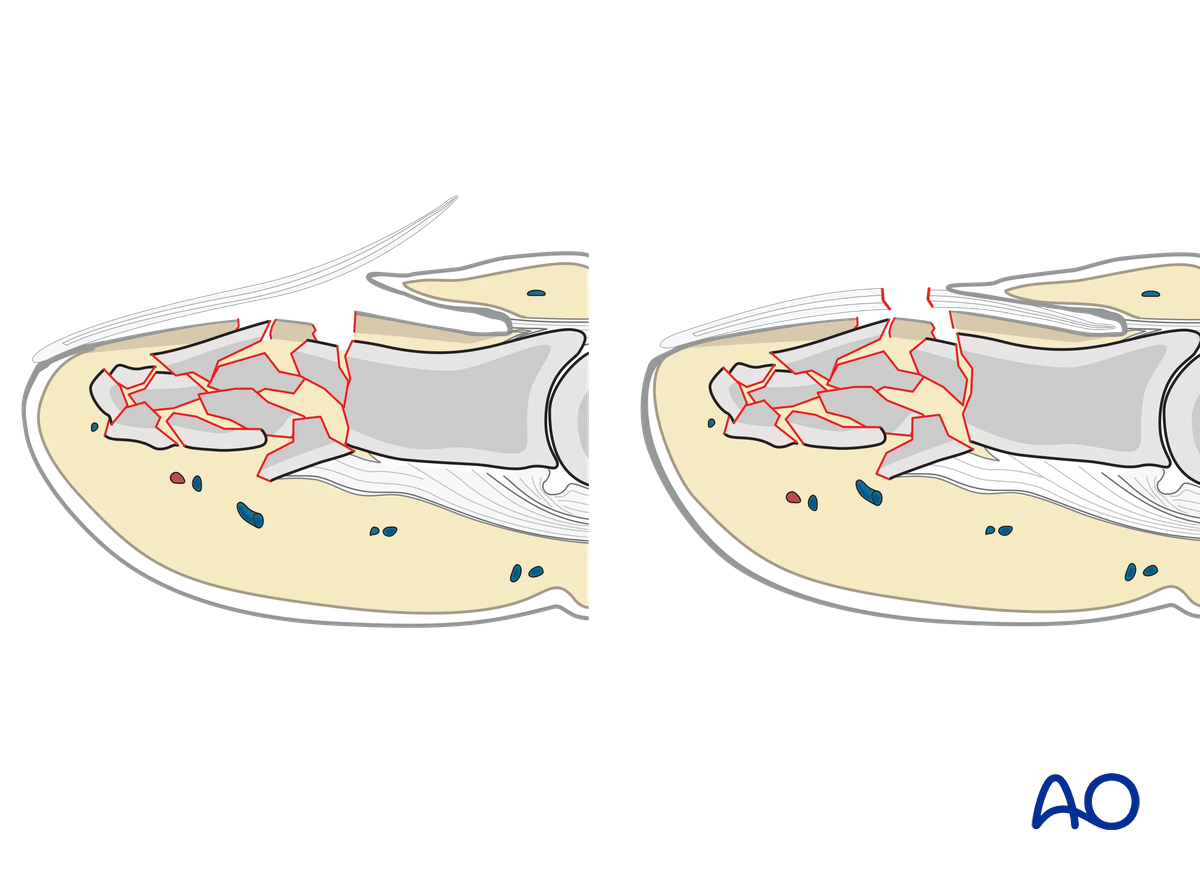
Open fractures are present in two ways: with an avulsed nail plate or a fractured nail. In both types, the fracture opens dorsally, and the nail bed is also injured.
It is mandatory precisely to repair the nail bed. Otherwise, permanent deformity of the nail growth can result.
The general principles for treating all open fractures apply. As most of these injuries are due to crushing, edema of the soft tissues is most likely to develop, and primary closure of any associated skin lacerations is not advisable.
2. Patient preparation
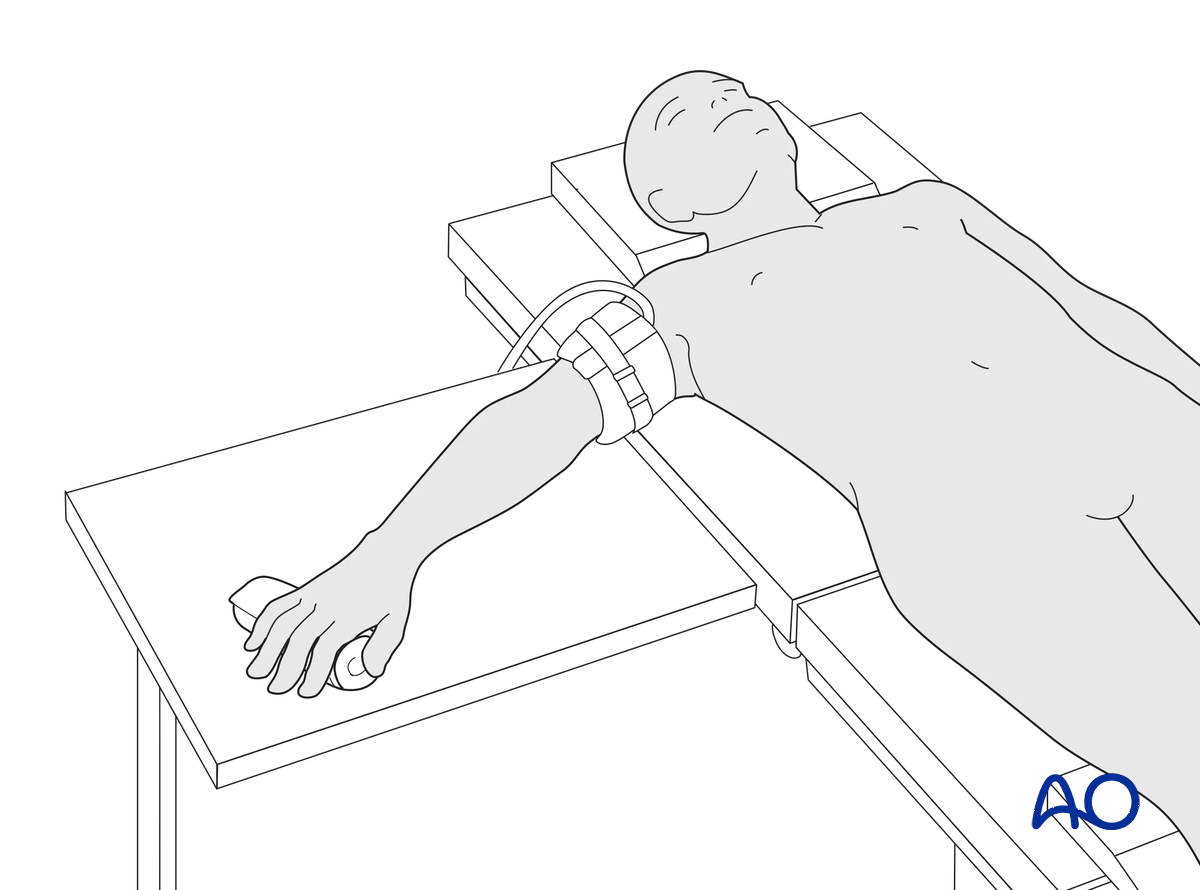
This procedure is usually performed with the patient in a supine position with the arm on a radiolucent side table.
3. Marking K-wire track
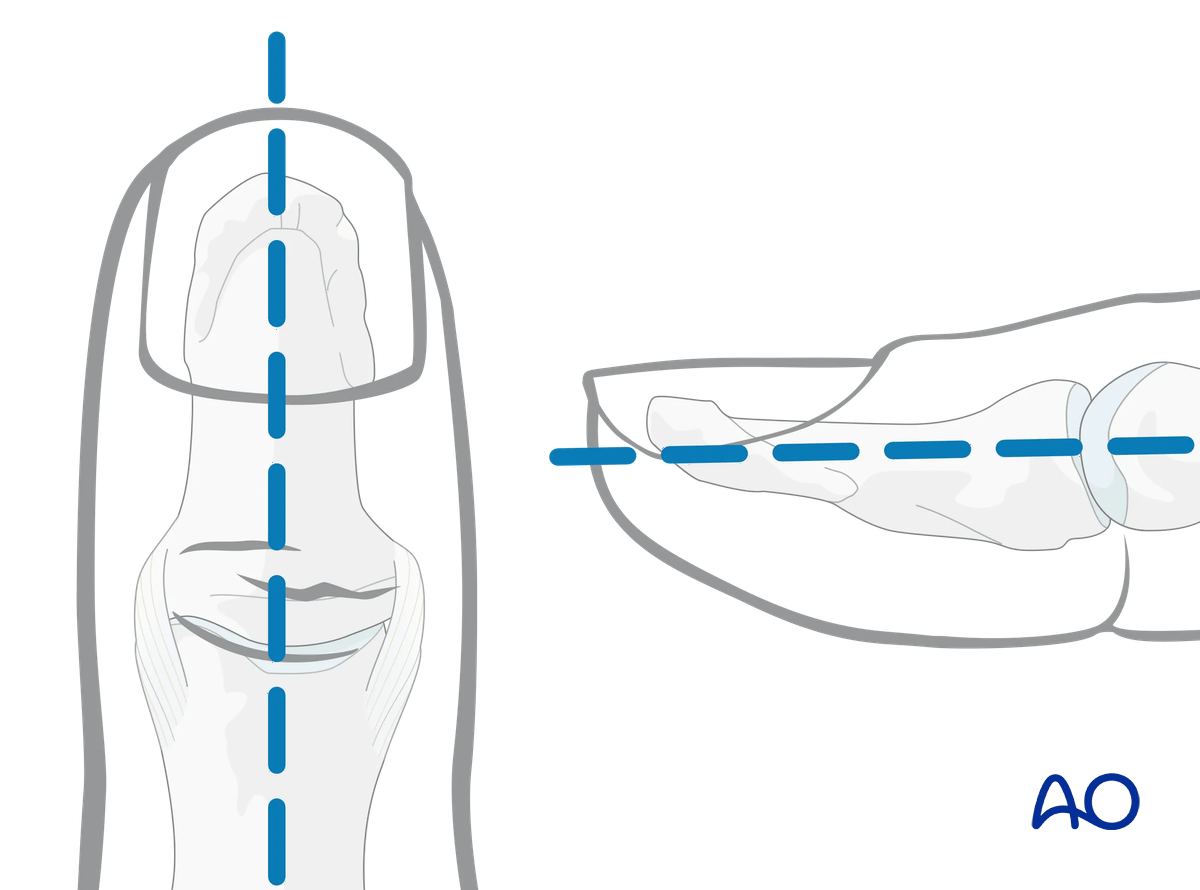
To avoid unnecessary radiation from image intensification, mark the planned track of the K-wire on the distal phalanx in both the AP and the lateral aspects.
4. Release of subungual hematoma
Closed injuries, especially crush injuries, are often accompanied by a tense subungual hematoma. They can be exceedingly painful due to the pressure within the closed space.
Before further treatment, the hematoma can easily be released by puncturing the nail with a heated needle.
Apply a simple splint and cool the finger with the judicious use of an ice pack.
5. Open reduction
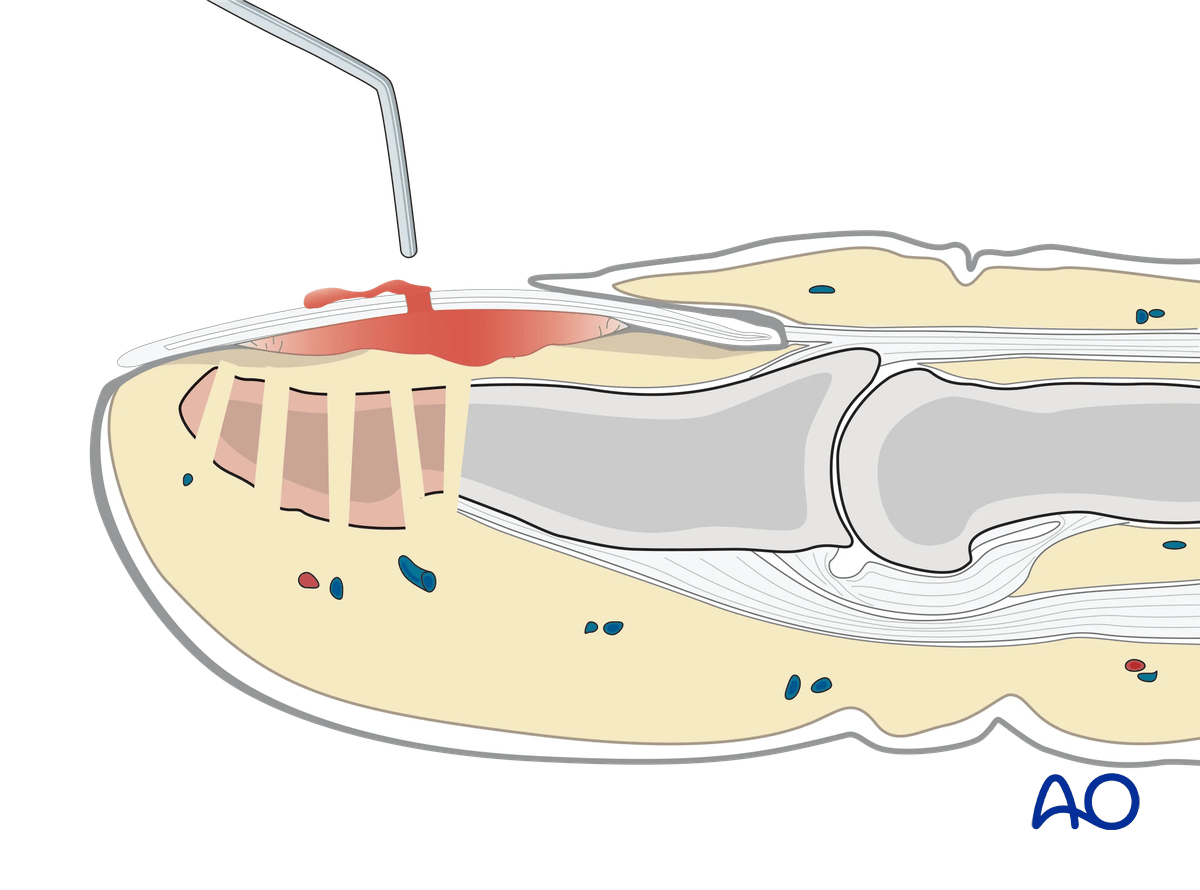
In cases of an open fracture, clear the fracture site of blood clot and debris.
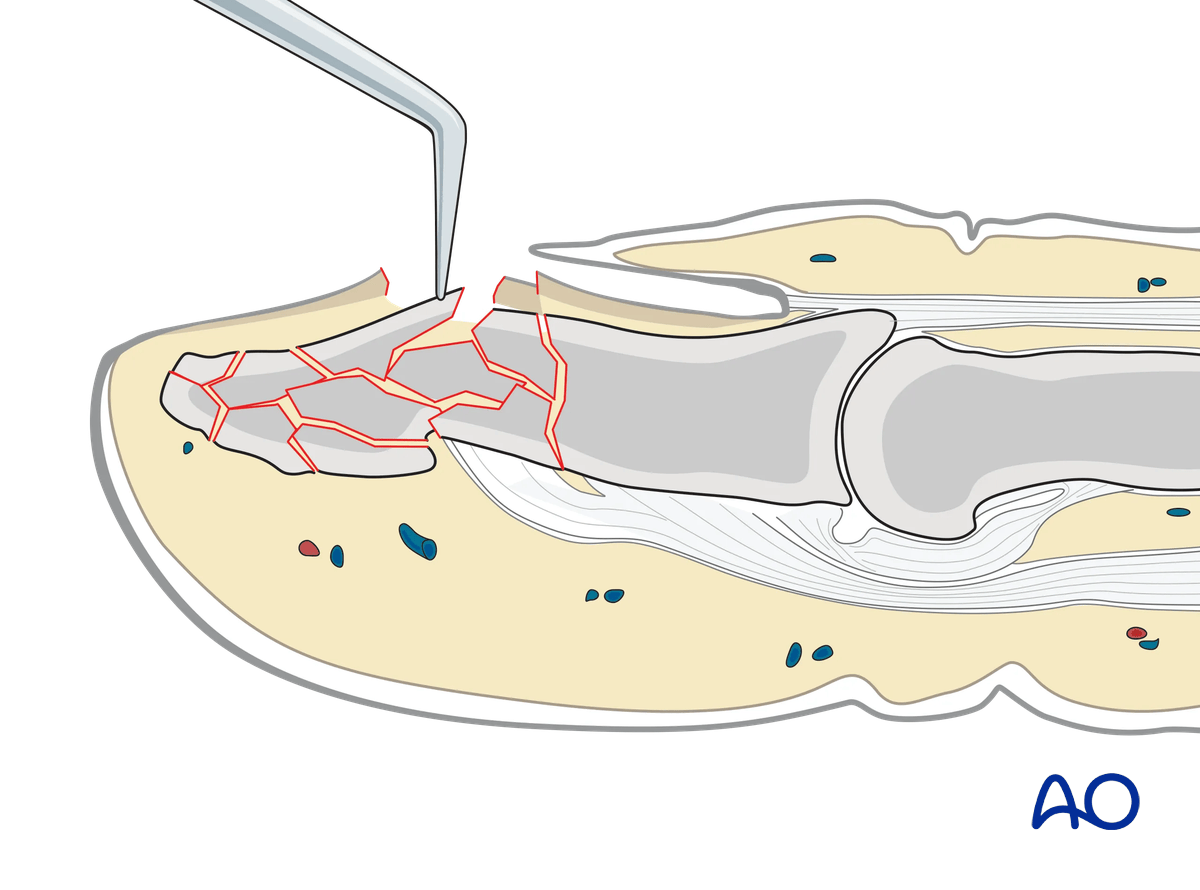
Use a dental pick carefully to reduce any displaced fracture fragments.
6. Inserting the K-wire
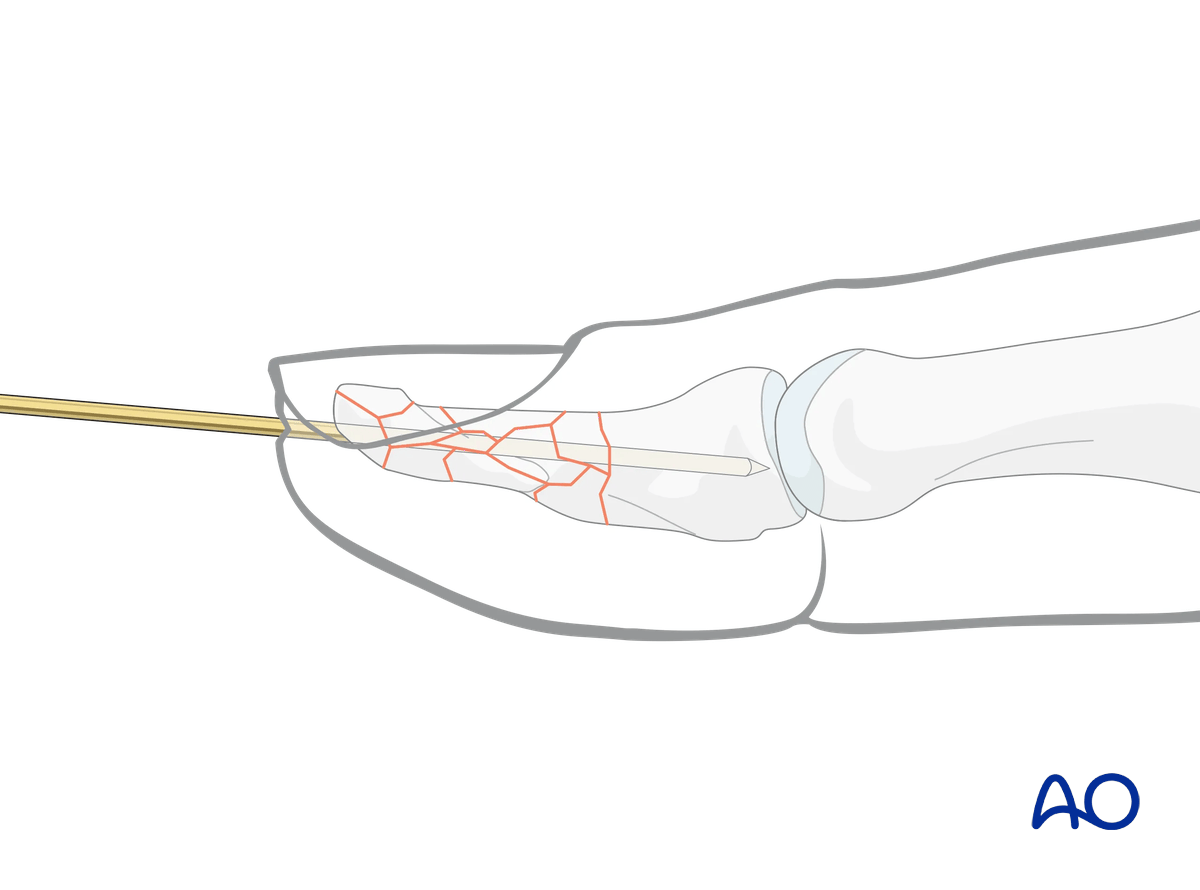
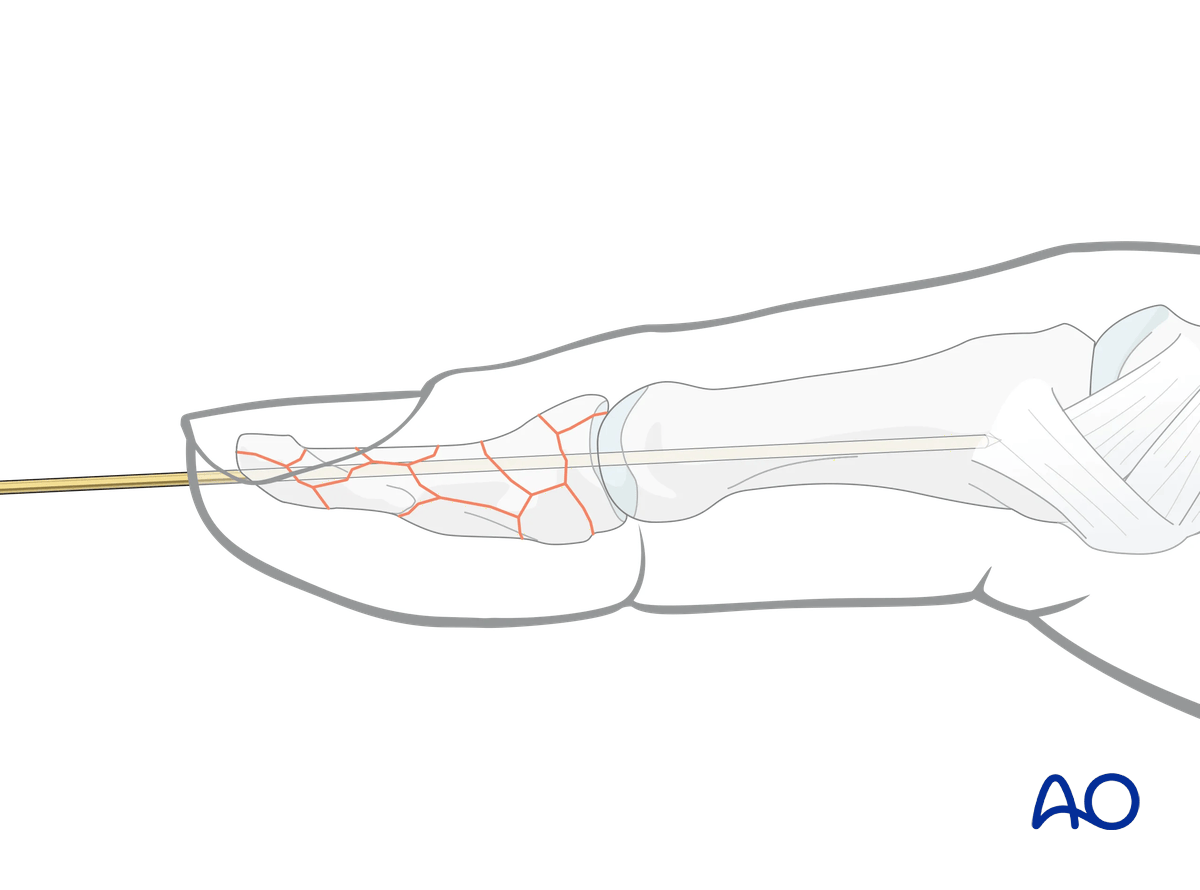
Insert the K-wire through the tip of the distal phalanx up to the IP joint.
Proximal fragmentation
In proximal comminuted fractures, the K-wire is advanced across the IP joint into the proximal phalanx, as far as its base, to achieve more stable fixation. Be careful not to penetrate the MCP joint.
Cutting the K-wire
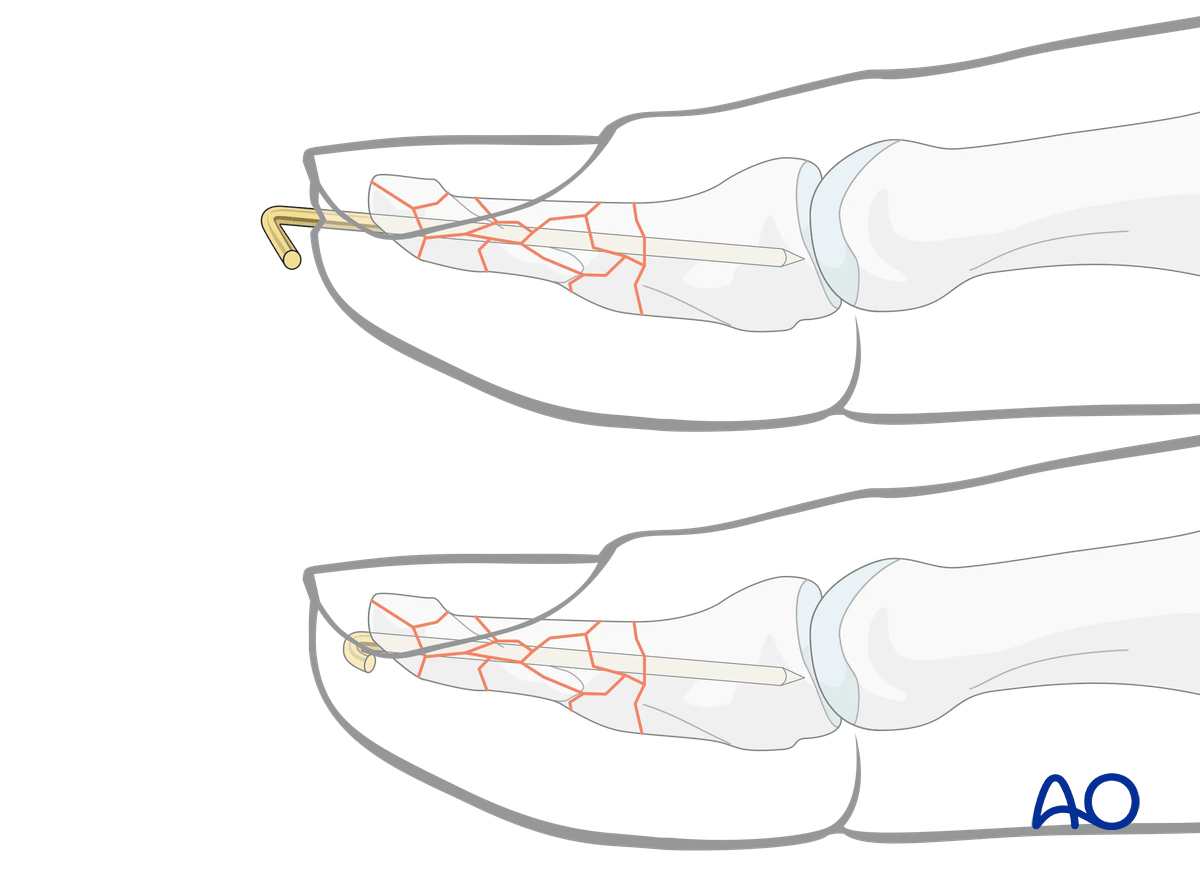
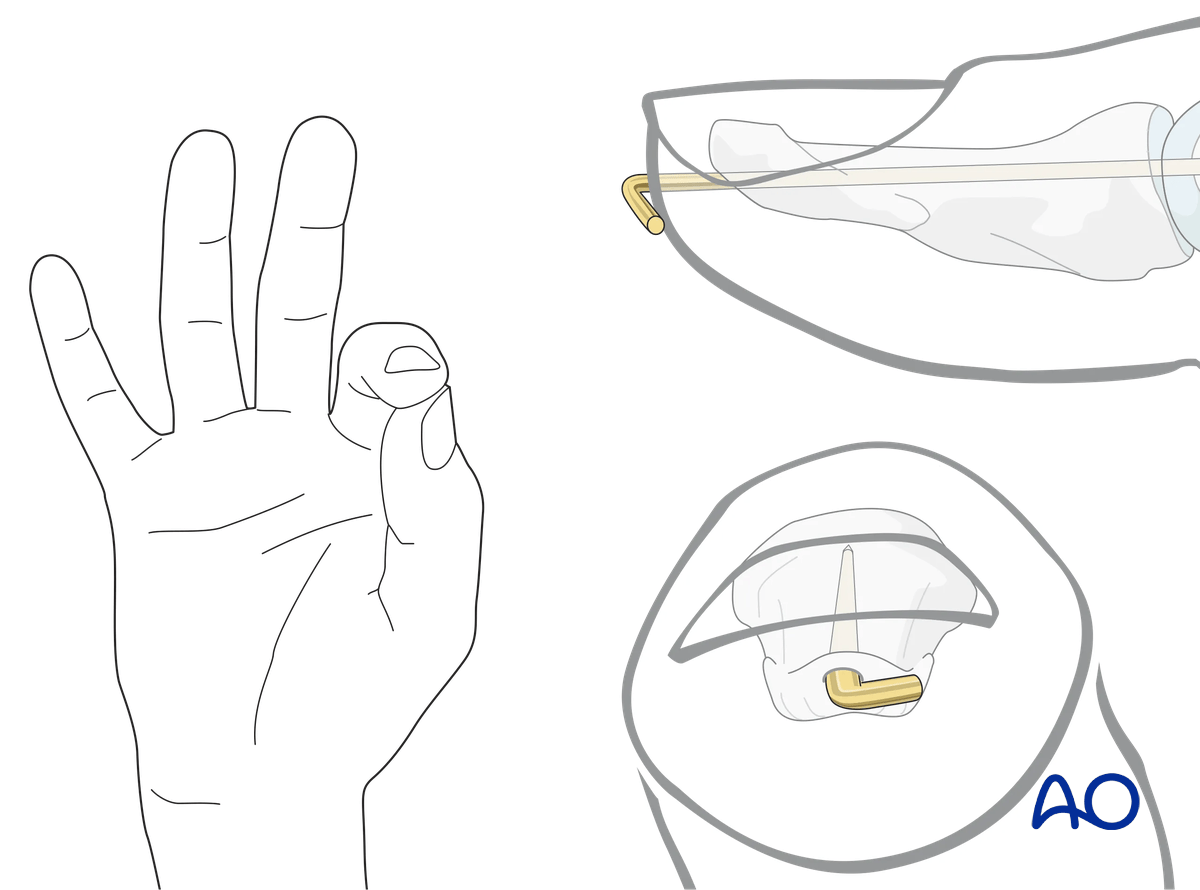
Cut the K-wire so that it protrudes through the skin.
Leaving the K-wire to protrude through the skin in this way has the advantage of its being easy to remove. The disadvantages are patient discomfort and risk of pin-track infection.
Make sure that the bent end does not irritate or compress the skin.
7. Repair of the nail bed
It is advisable precisely to repair the nail bed or the germinal zone. Otherwise, permanent deformity of the nail growth can result.
These procedures are challenging to conduct successfully without the help of magnifying loupes.
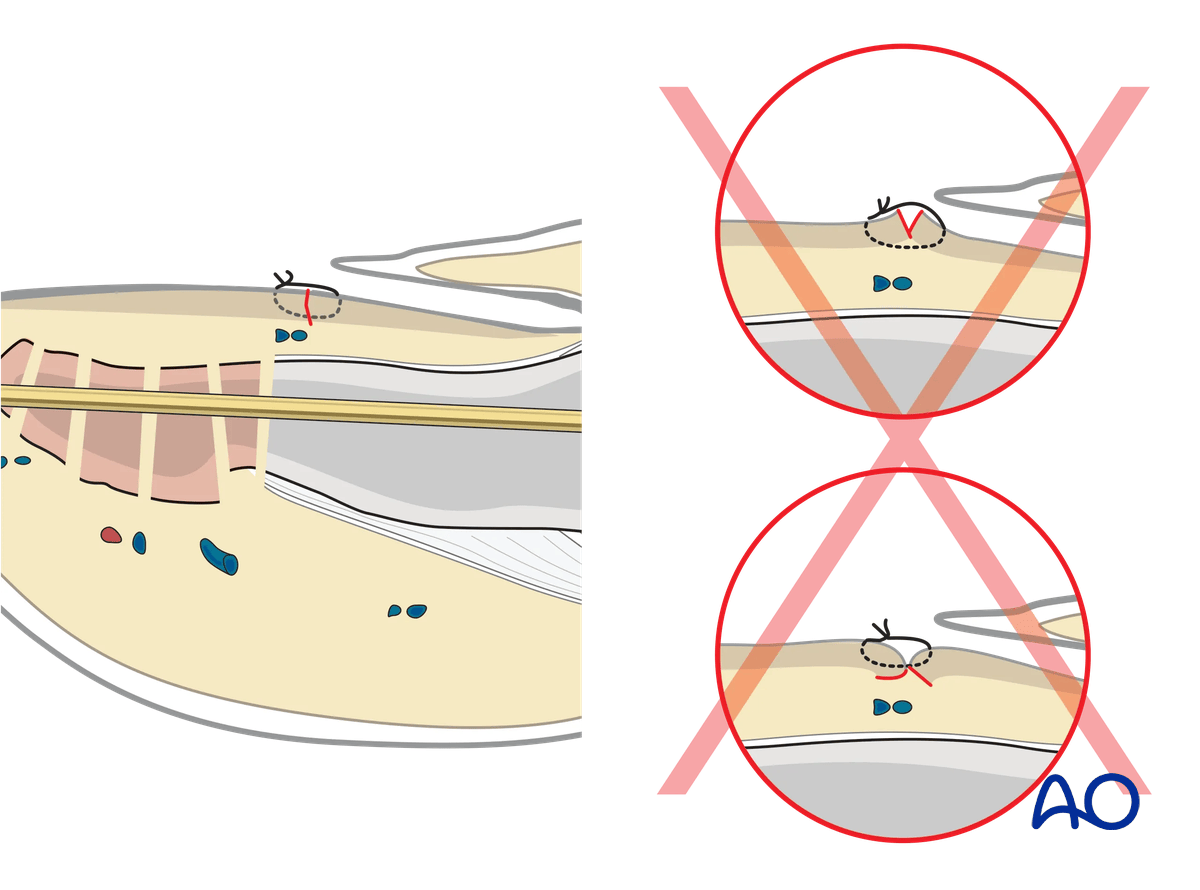
A running suture (resorbable monofilament 6-0) is used. This reduces the risk for possible granuloma formation in the nail bed.
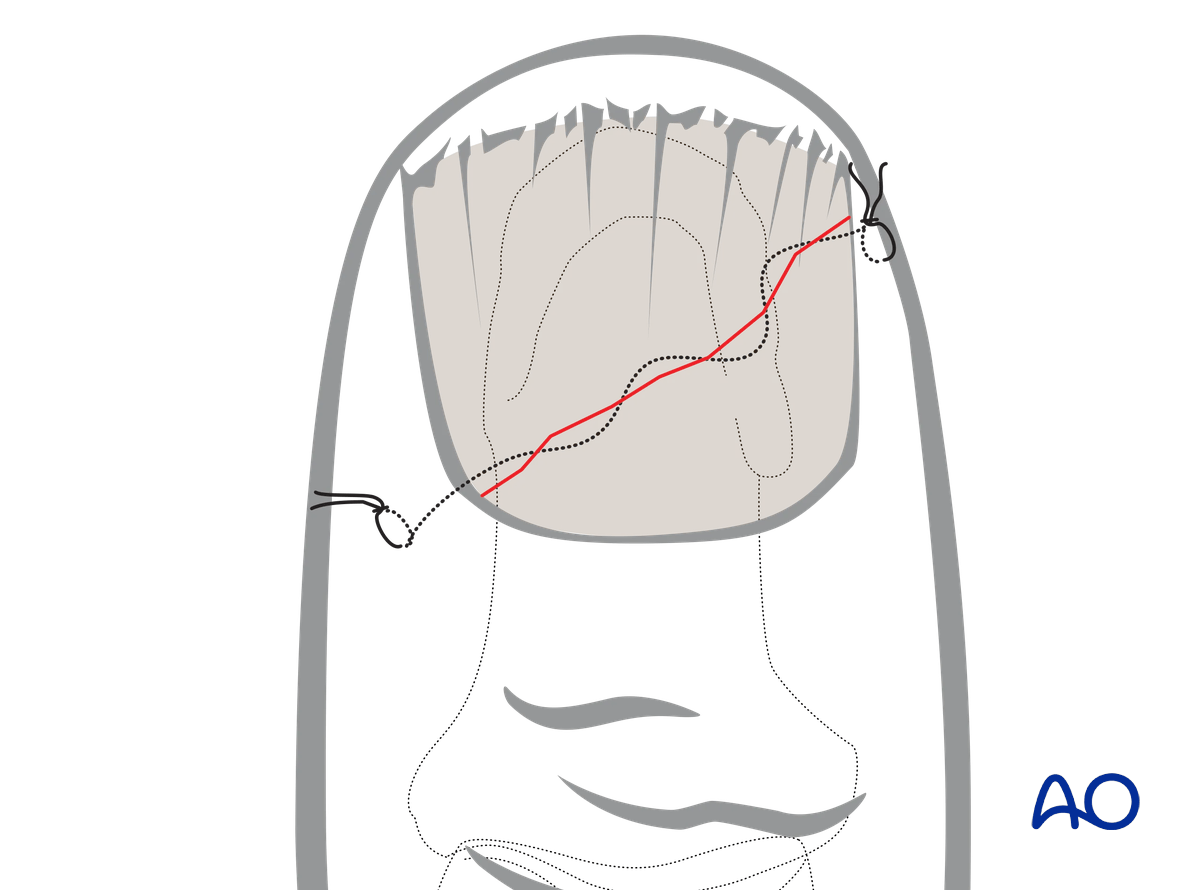
Pitfall: eversion or inversion of nail bed edges
8. Reinsertion of the nail
There are four main reasons for nail reinsertion:
- Preventing scarring between the eponychium and the germinal matrix
- Stabilization of the fracture (external splinting)
- Nail acts as a biological barrier and protection
- Nail acts as a template for the growth of a new nail
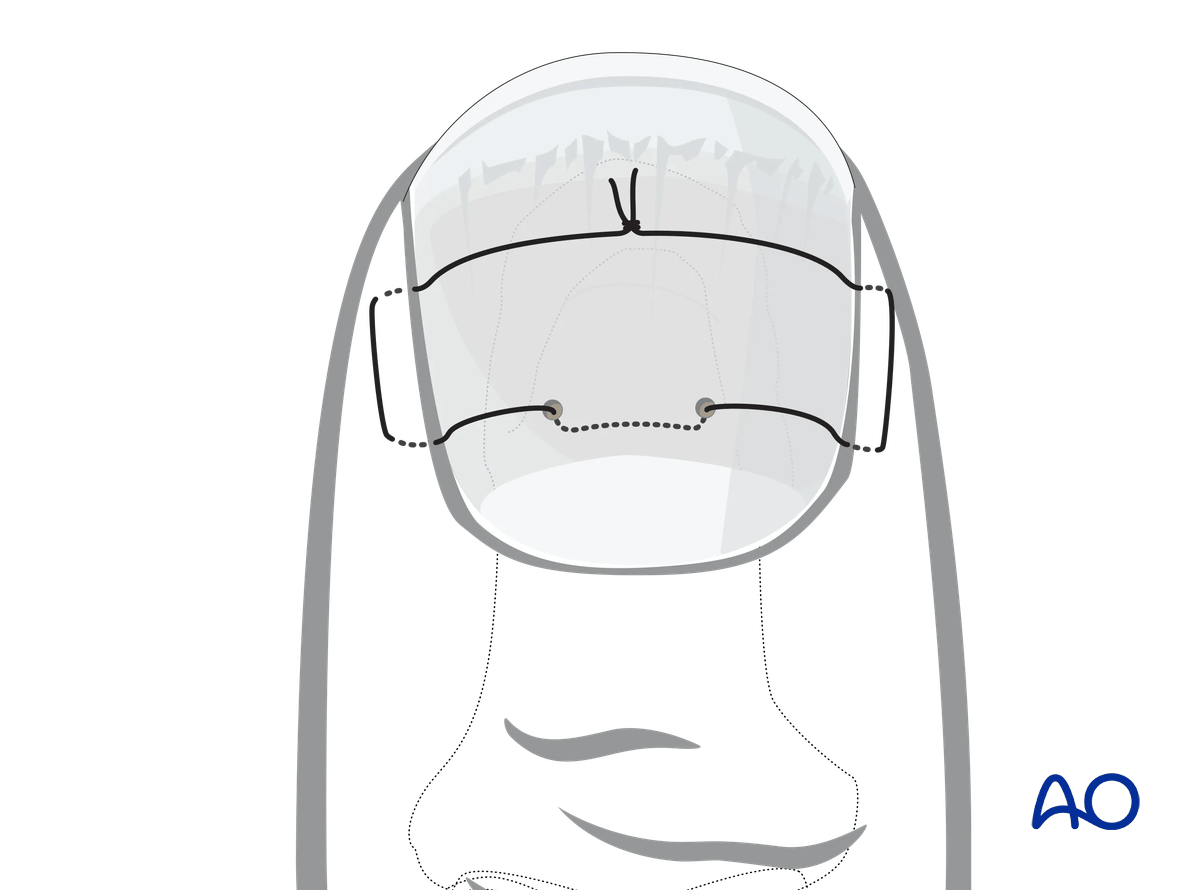
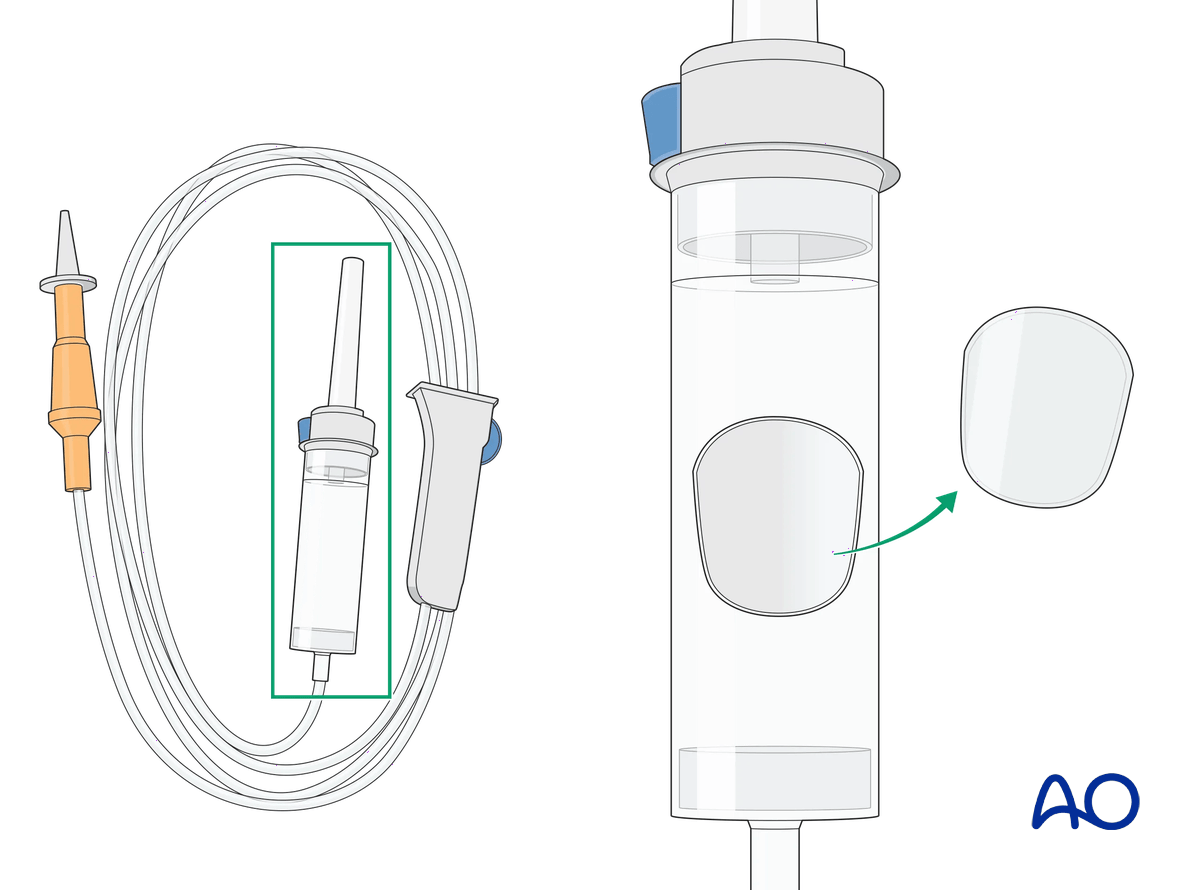
If the nail is in good condition, carefully reinsert it. Alternatively, an artificial nail may be used to protect the nail bed until the new nail has grown. It is important to reinsert the nail in the eponychial fold.
Mattress suturing is used to attach the nail to the nail bed. This avoids damage to the eponychium and germinative matrix.
9. Splinting
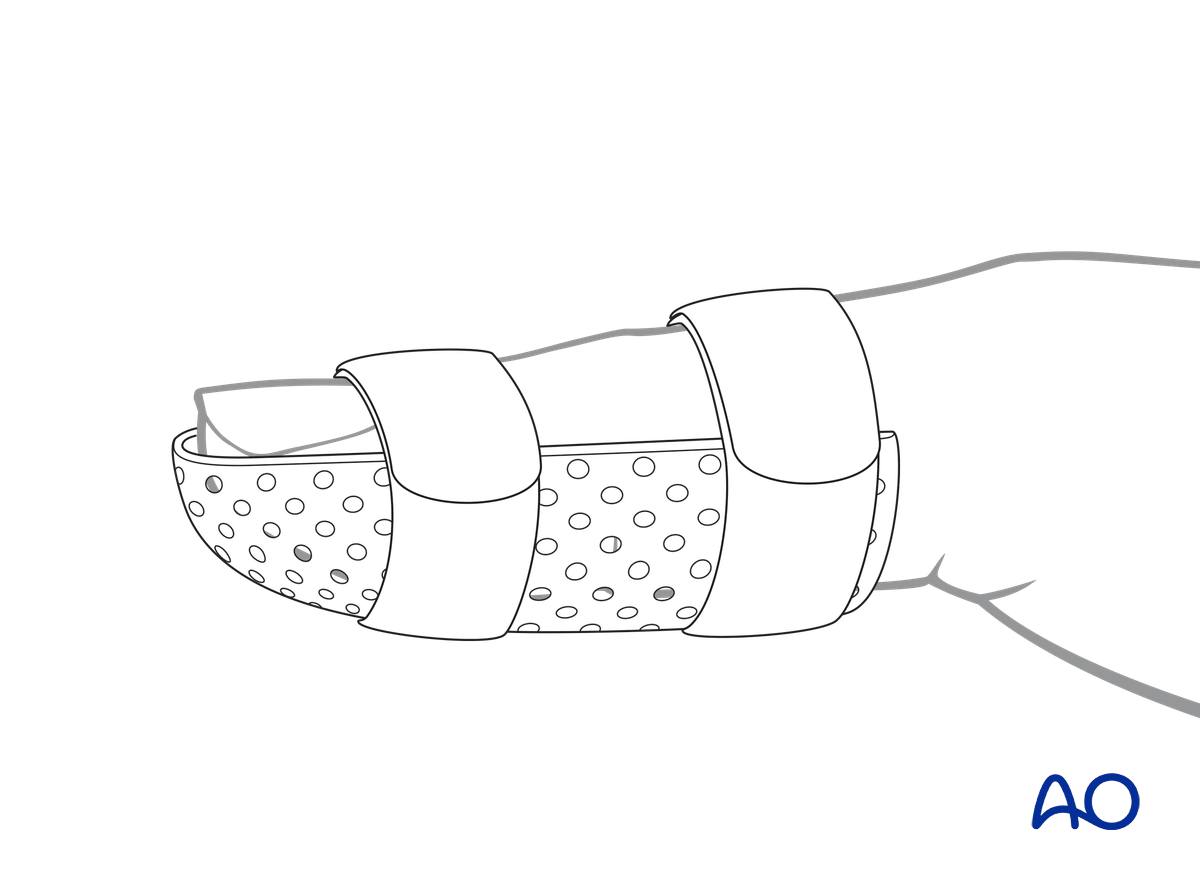
Apply an IP joint splint, leaving the MCP joint free, to protect the K-wire from breakage.
A custom thermoplastic splint has the advantage that it is adapted better to the shape of the thumb and is easier to change.
10. Aftercare
Healing phases
The aftercare can be divided into four phases of healing:
- Inflammatory phase (week 1–3)
- Early repair phase (week 4–6)
- Late repair and early tissue remodeling phase (week 7–12)
- Remodeling and reintegration phase (week 13 onwards)
Full details on each healing phase can be found in the chapter Postoperative treatment of thumb injuries.
Management of swelling
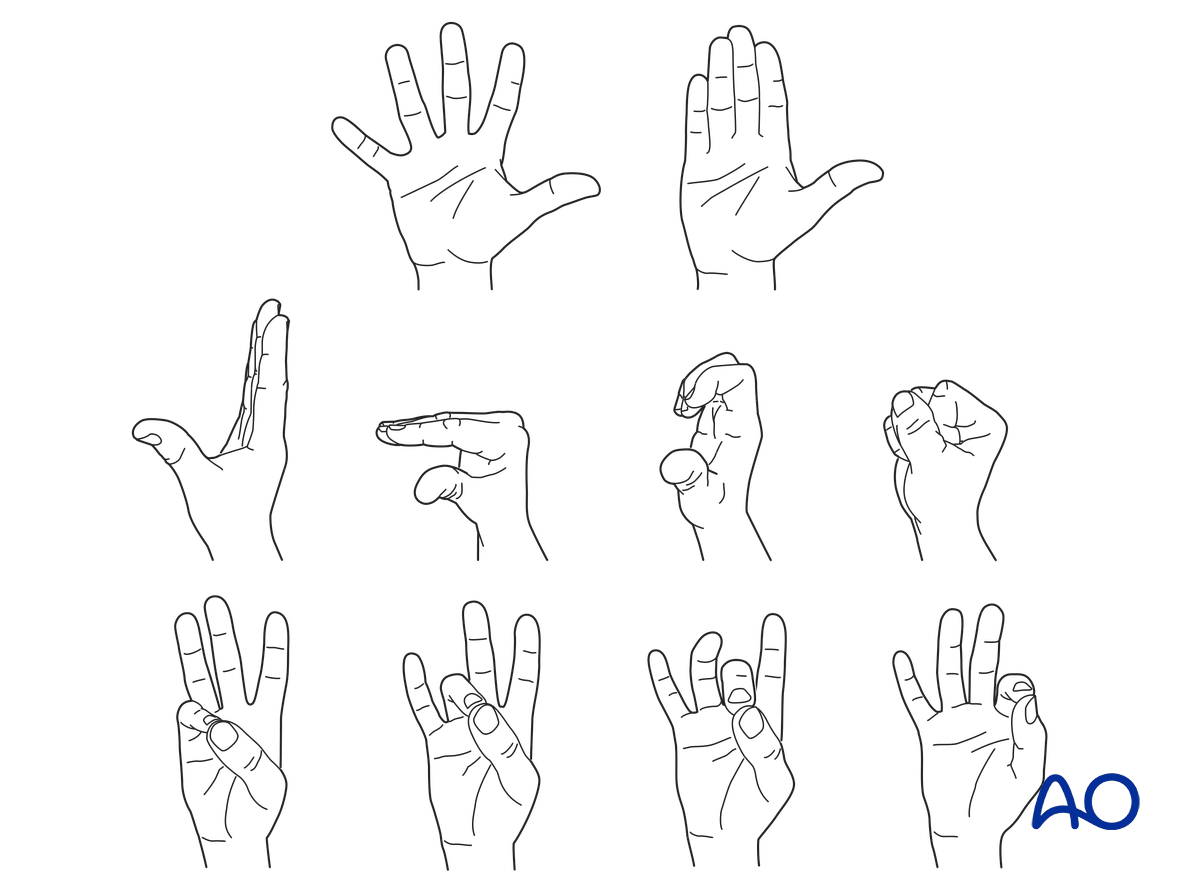
The splint allows for movement at the MCP joint and helps with pain and edema control. The arm should be actively elevated to help reduce the swelling.
Follow-up
The surgical wound is checked as necessary depending on soft tissue status. The wound is monitored for evidence of infection.
Sutures are removed after 12 days.
After 6 weeks, an x-ray without the splint is taken. At this point, the fracture is usually still visible on x-ray. The decision about further treatment is based on clinical examination (no pain to pressure on the fracture zone). Splinting can then usually be discontinued, and active mobilization is initiated.
The reattached nail (original or prosthetic) is removed after 3–4 weeks.
Mobilization
If the nail bed has been injured, active motion of the IP joint exercises needs to be delayed until soft tissues have healed.
Hand therapy is recommended to prevent soft-tissue atrophy and joint contracture, which leads to a poor outcome, and subsequent treatment is difficult.
Functional exercises of the nonimmobilized joints should be started immediately to keep uninjured joints mobile.
Implant removal
K-wire crossing the IP jointRadiological healing will take between 6 months and 1 year. However, after 8 weeks, most of the fractures are intrinsically stable. The K-wire can then be removed.
If the distal tip of the K-wire was buried in the bone, does not protrude through the skin and is causing no problems, there is no need for its removal.
However, if the K-wire protrudes through the skin, about 6 weeks is the maximal time it can be left in place.


