Percutaneous reduction techniques (trochanteric fractures)
1. General considerations
It is important to assess the reduction quality correctly and repeatedly (to recognize and correct intraoperative redisplacement).
2. Reduction techniques
Reduction of flexion deformity
Create a stab incision and insert an elevator. Position the tip on the anterior beak of the proximal fragment.
While supporting the femoral shaft by an assistant, push the proximal fragment with the elevator to reduce it anatomically.
A crutch or other support underneath the femoral shaft may prevent it from sagging down during the reduction step.
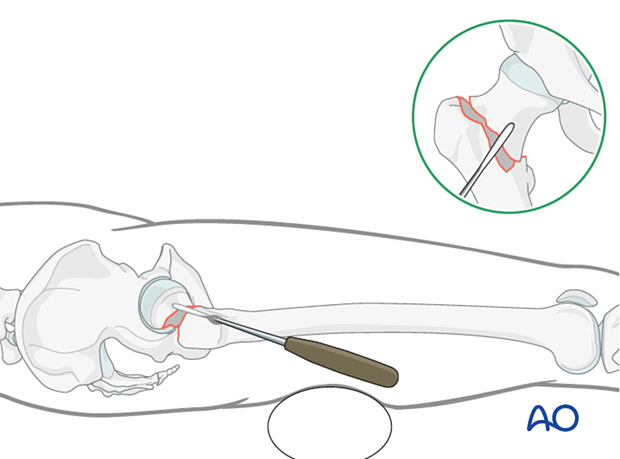
Axial view of an anterior beak of the proximal fragment
This displacement was reduced by pressing down the anterior beak with an elevator. The shaft needs to be supported.
Reduction of valgus deformity with medial gap
Insert a bone hook along the anterior cortex and place its tip on the medial cortex of the proximal fragment to pull it laterally.
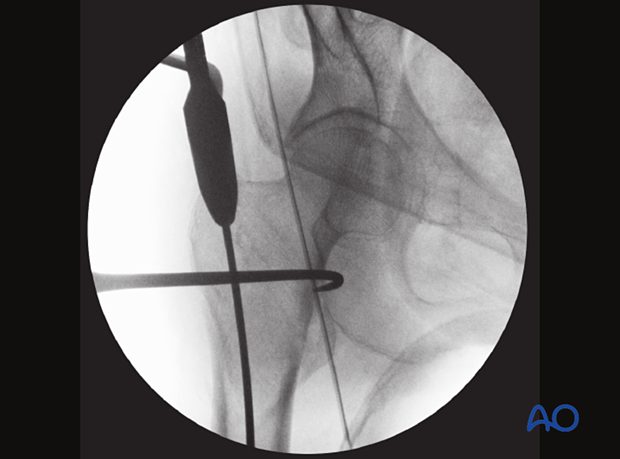
Leverage technique for reduction of step-off/neck-down deformity
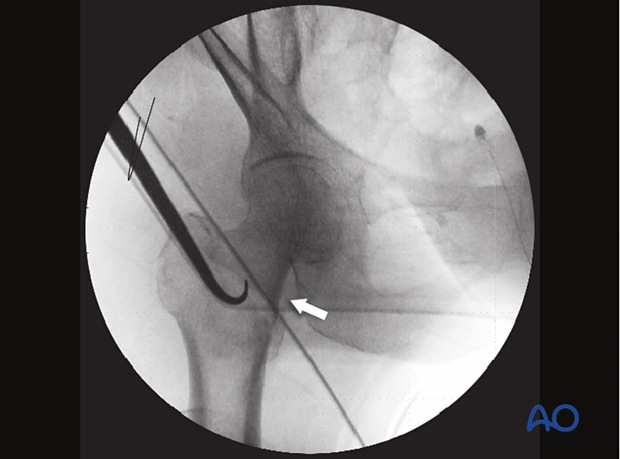
Hook leverage techniqueInsert a hook through the main incision (here shown for the nailing) along the anterior cortex.
Introduce the tip of the hook between the proximal and distal fragment into the fracture site.
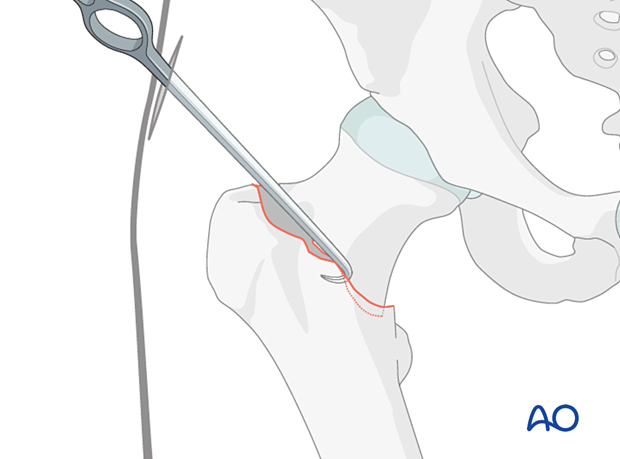
Engage the hook with the proximal fragment and turn the hook around its longitudinal axis.
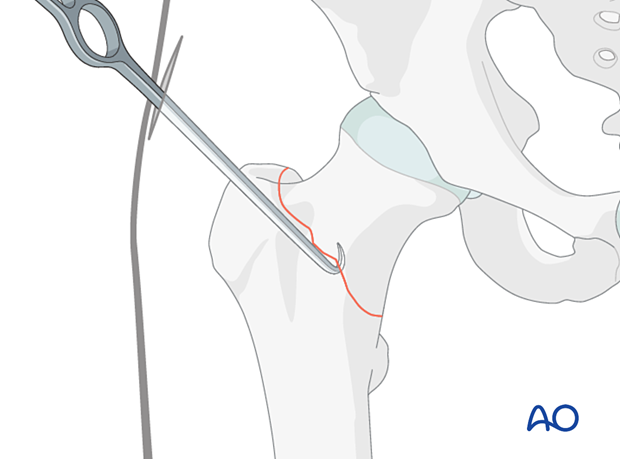
Axial view of the leverage maneuver
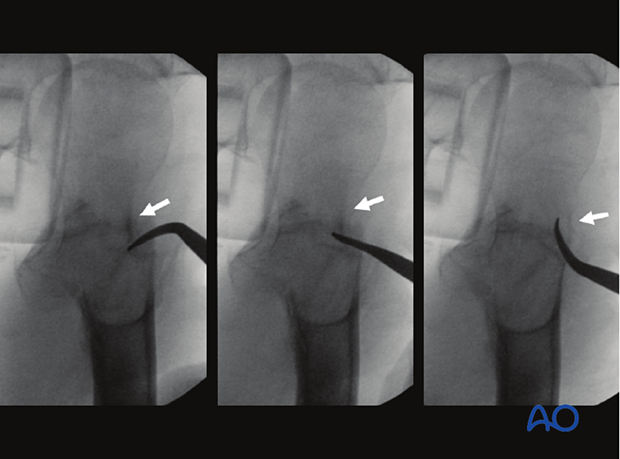
This maneuver disimpacts the proximal fragment and helps to align the cortices (Kim et al 2014).
AP view of the final hook position
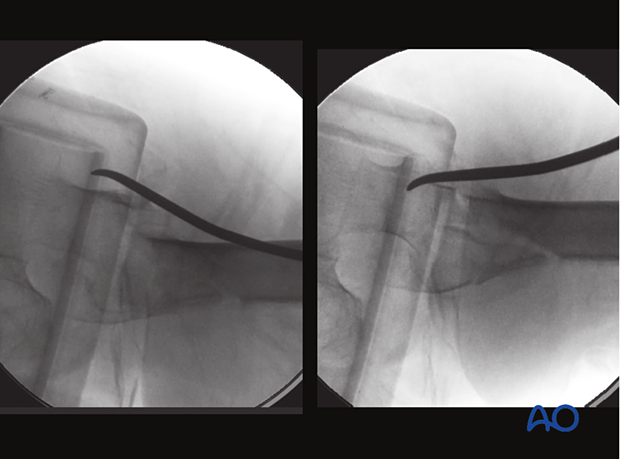
If using an elevator, introduce it through an anterior skin incision on the level of the fracture gap.
Insert the tip of the elevator into the fracture gap and lever it up.
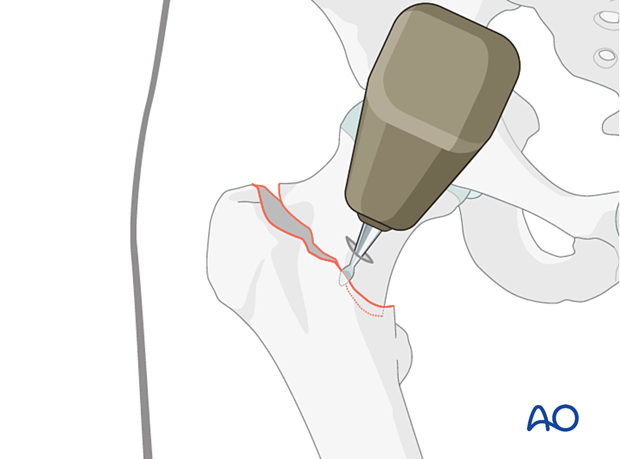
Lateral view showing the elevator introduced
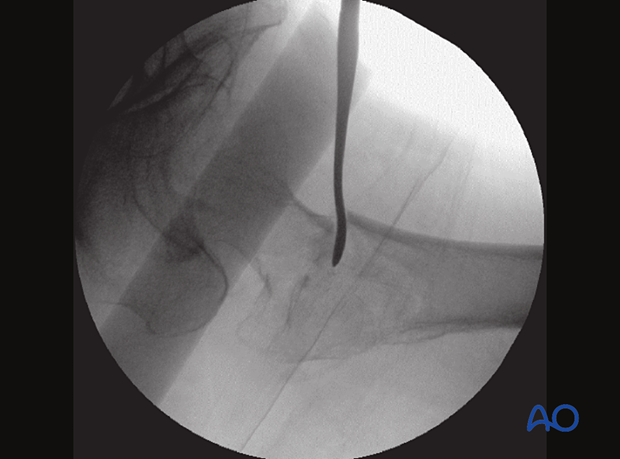
Same lateral view after levering the elevator distally to reduce the fracture
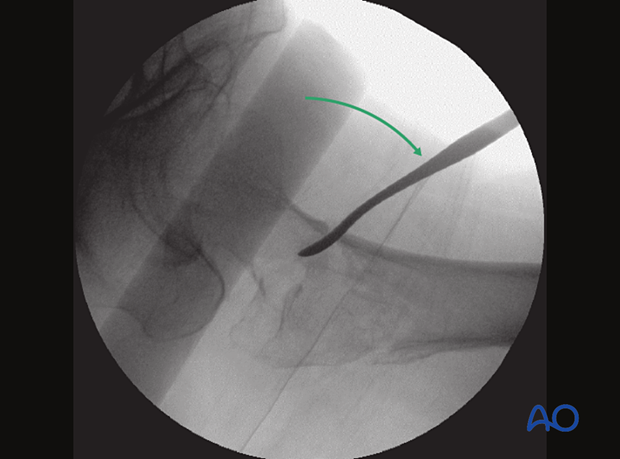
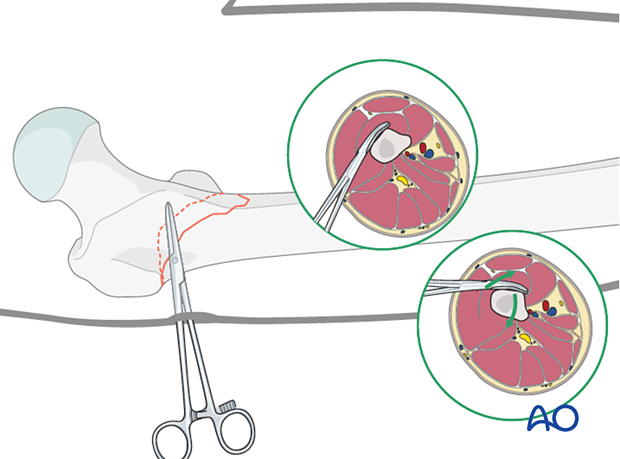
Low intertrochanteric fracture
A low intertrochanteric fracture behaves like a subtrochanteric fracture. The lesser trochanter is part of the proximal fragment.
Such a fracture may be reduced as follows (Park et al 2010): Insert a Kelly clamp through a posterolateral stab incision. Place its tip on the anterior cortex of the intertrochanteric area. By lifting the Kelly clamp, the soft tissues are rotated internally, and the flexed proximal fragment is pushed down.
3. Maintaining reduction
For preliminary fixation, place a K-wire through the neck into the femoral head. The paths for planned implants should be avoided.
For nailing, this K-wire needs to be anterior to the nail path and superior to the blade path.
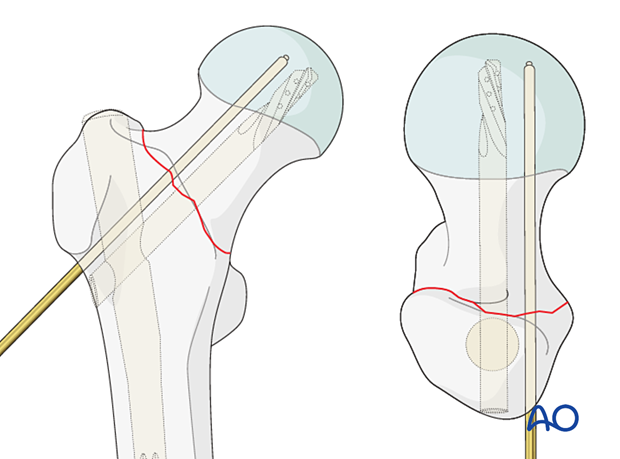
For application of a DHS, this K-wire should be in line with the head-neck axis in the axial view and superior and parallel to the planned lag screw in the AP view. It may also serve later as an antirotation wire.
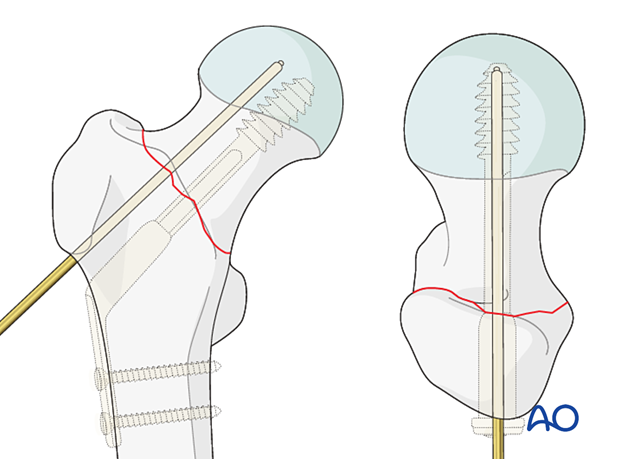
4. Assessment of reduction quality
Assess the reduction quality after provisional fixation in AP, lateral, and axial views.
Repeat the assessment of reduction after each step of implant positioning to recognize any intraoperative loss of reduction.
5. Case
Reverse oblique intertrochanteric fracture
This case shows an intertrochanteric fracture.
It was chosen to stabilize the fracture with a short nail.
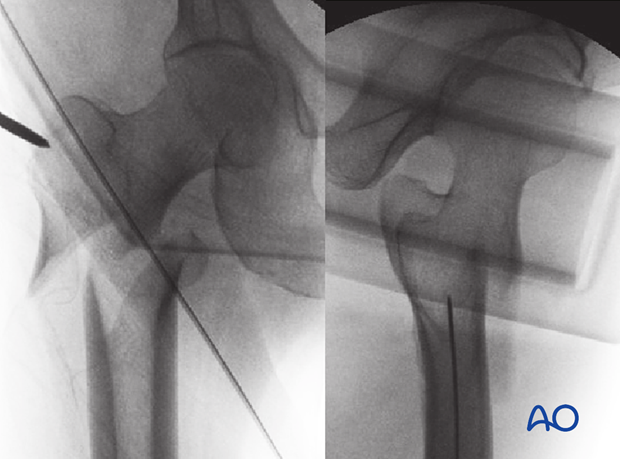
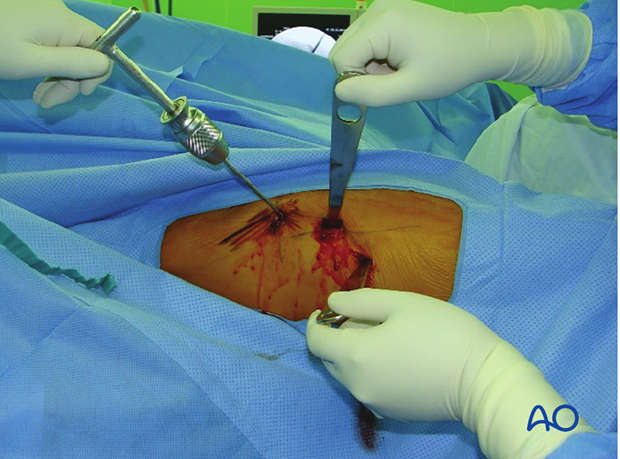
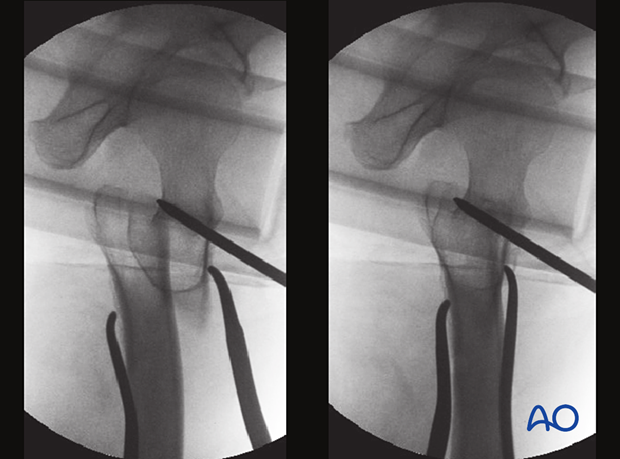
A first reduction attempt with a trochanteric joystick and two Hohmann retractors has been made.
These lateral image intensifier views show the reduction of the translational displacement.
In the AP view, there was still displacement visible, which required further reduction.
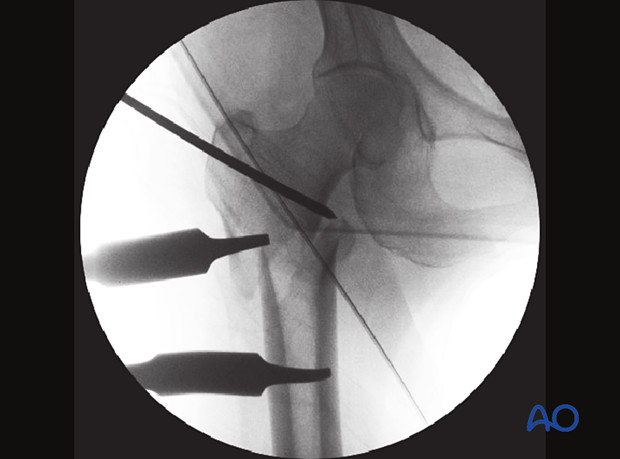
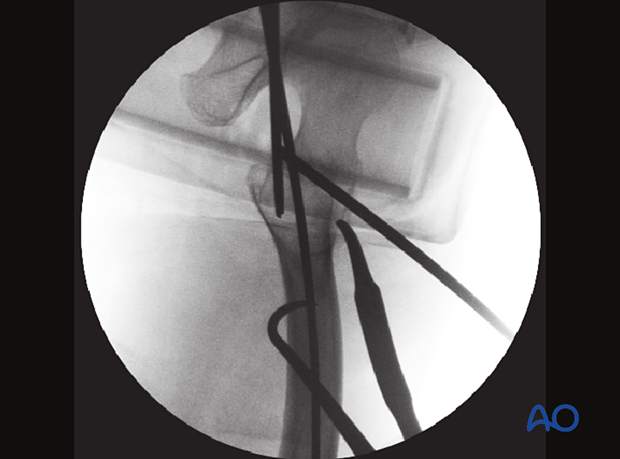
In these image intensifier views, multiple reduction instruments applied percutaneously can be seen:
- Joystick technique
- Controlling the flexion deformity with a Hohmann retractor
- Bone hook around the femoral shaft to counteract the manipulation at the trochanter
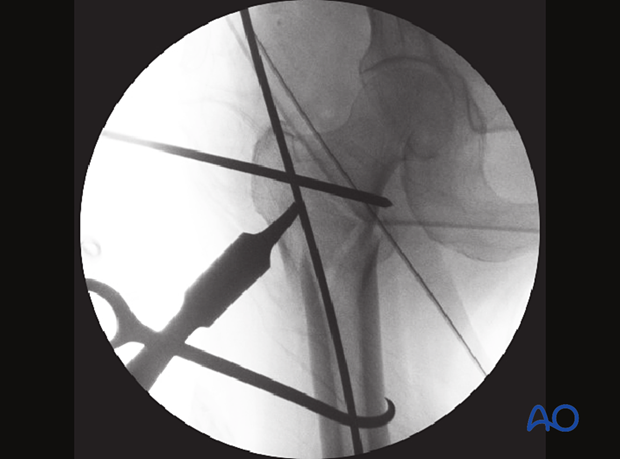
Besides these instruments, the guide wire for nail insertion is also visible, as well as a guide wire from a first attempt (in the axial view).
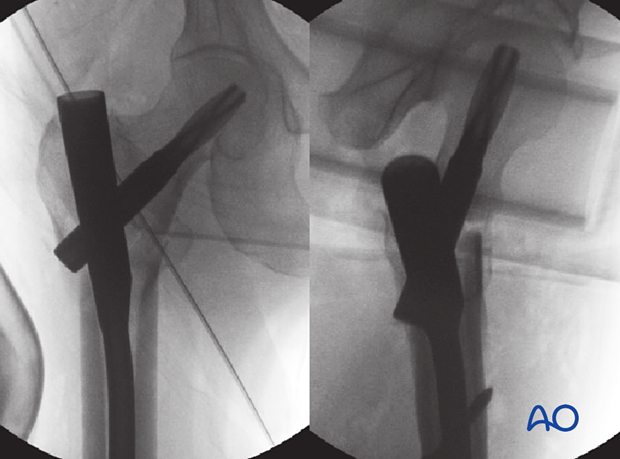
Final AP and lateral views with the inserted nail
