External fixation
1. General considerations
Principles of modular external fixation
The modular external fixator is optimal for temporary use. It is rapidly applied without need for intraoperative x-rays and can be adjusted later.
Details of external fixation are described in the basic technique for application of modular external fixator.
Specific considerations for the humerus shaft are given below.
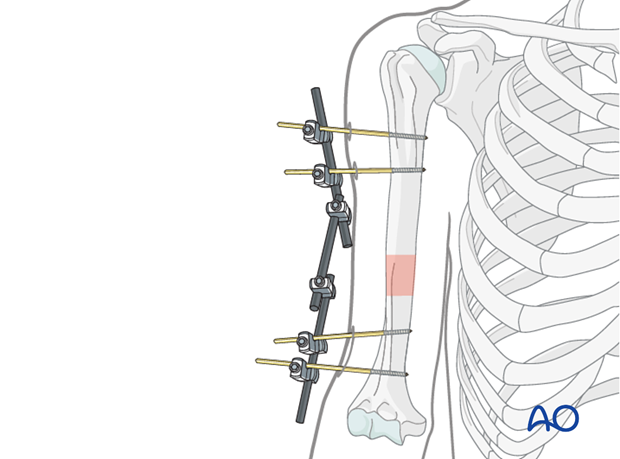
Typical scenarios for the use of external fixation
There are two typical scenarios for using an external fixator for humeral shaft fractures:
- Polytraumatized patients with multiple injuries of the extremities
- Severe injuries of the humerus including extensive soft-tissue damage with or without neurovascular injuries
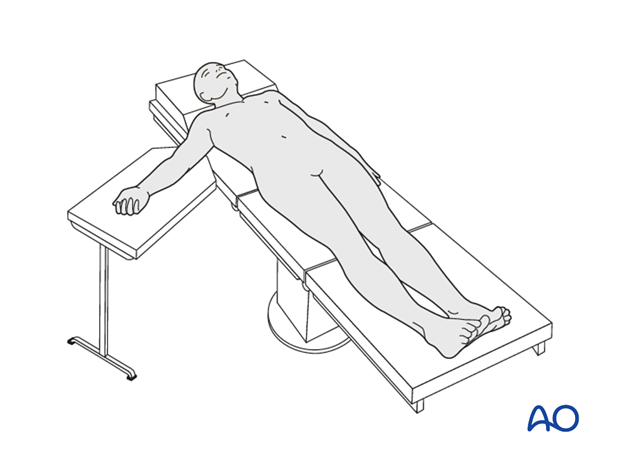
In both situations, the patient is typically placed in supine position.
Note on illustrations
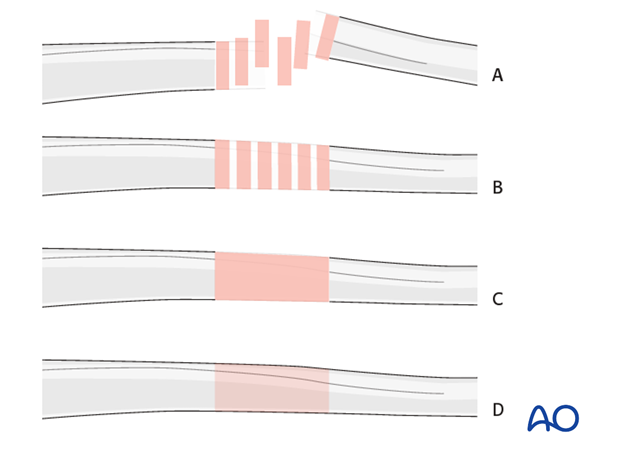
Throughout this treatment option illustrations of generic fracture patterns are shown, as four different types:
A) Unreduced fractureB) Reduced fracture
C) Fracture reduced and fixed provisionally
D) Fracture fixed definitively
2. Patient preparation and approach
Patient positioning
The patient in a supine position is the preferred position for external fixation.
Beach chair and lateral position may also be used.
Approach
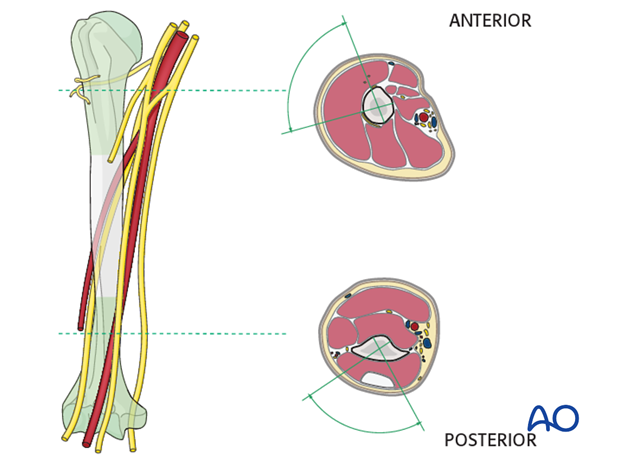
As in all locations of long bones safe zones for pin placement can be defined. In the typical emergency situation, the patient is supine. Therefore, the safe zone of the distal third of the humerus is not practical.
3. Pin insertion (humeral shaft)
Pin placement
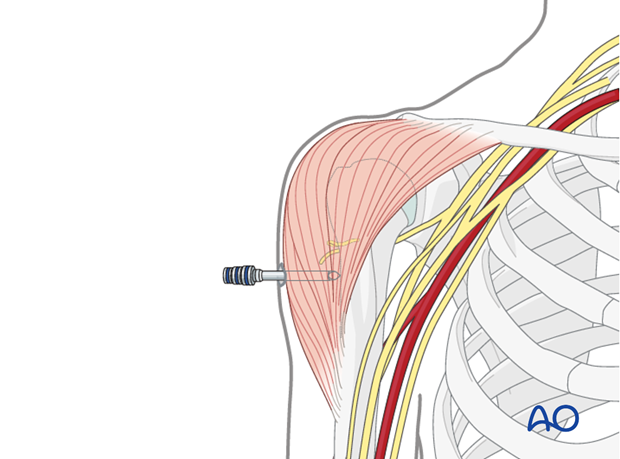
For bridging the humerus two pins are placed proximal and distal to the fracture. Proximally, the pins are placed anterolaterally. Take care not to injure the axillary nerve or the long head of the biceps.
Distally the pins can be placed laterally. Doing so, the radial nerve is at high risk. To reduce radial nerve injuries, it is recommended to use incisions large enough to ensure palpation and/or direct visualization of the radial nerve (no stab incisions). It may be better to use a single incision for the insertion of both pins.
Pearl: To minimize the size of the incision, yet still obtain adequate hold in the distal fragment it is useful to insert pins in divergent directions.

Soft-tissue dissection
After stab incision of the skin perform a blunt dissection of the soft tissues with scissors down to the bone. Use of drill sleeves with trocar prevents damage to muscular, vascular and neurological structures.
4. Aftercare
Pin-site care
Proper pin insertionTo prevent postoperative complications, pin-insertion technique is more important than any pin-care protocol:
- Correct placement of pins (see safe zones) avoiding ligaments and tendons, eg tibia anterior
- Correct insertion of pins (eg trajectory, depth) avoiding heat necrosis
- Extending skin incisions to release soft-tissue tension around the pin insertion (see inspection and treatment of skin incisions)
Various aftercare protocols to prevent pin-track infection have been advocated by experts worldwide, so no standard protocol for pin-site care is given here. Nevertheless, the following points are recommended:
- The aftercare should follow the same protocol until removal of the external fixator.
- The pin-insertion sites should be kept clean. Any crusts or exudates should be removed. The pins may be cleaned with saline and/or disinfectant solution/alcohol. The frequency of cleaning depends on the circumstances and may vary from daily to weekly but should be done in moderation.
- No ointments or antibiotic solutions are recommended for routine pin-site care.
- Dressings are not usually necessary once wound drainage has ceased.
- Pin-insertion sites need not be protected for showering or bathing with clean water.
- The patient or the carer should learn and apply the cleaning routine.
If a pin loosens or there is pin-track infection, the following steps need to be taken:
- Remove all involved pins and place new pins in a healthy location.
- Debride the pin sites in the operating theater, using curettage and irrigation.
- Take specimens for microbiology to guide appropriate antibiotic treatment if necessary.
Allow infected pin tracks to heal before changing to definitive internal fixation, otherwise infection will result.
Mobilization
Gentle use of the hand and forearm should start as soon as the patient is able to tolerate this, with some caution if pins are near the elbow. Pendulum exercises or assisted shoulder motion should be considered as soon as tolerable.
Follow-up
Check the wound 7-10 days after surgery. X-rays are taken to check the reduction.
The patient should be seen every 3 or 4 weeks with examination and x-rays until union is secure, and range of motion and strength have returned.
If the fixator is used for definitive fixation, it should be left until callus is visible and the fracture site is stable and non-tender. Remember the risk of delayed union or nonunion, so monitor the patient and if necessary consider alternative treatment.


