Beach chair position
1. Introduction
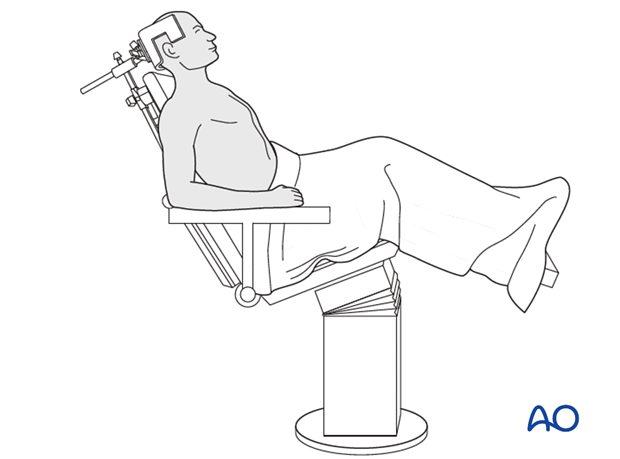
Antegrade nailing, anterolateral/anterior plating and external fixation may all be performed in the beach chair position.
It is helpful to place the trunk almost upright with an almost hanging arm to help reduce the fracture by ligamentotaxis and gravity.
2. Preoperative preparation
Operating room personnel (ORP) need to know and confirm:
- Site and side of fracture
- Type of operation planned
- Ensure that operative site has been marked by the surgeon
- Condition of the soft tissues
- Implant to be used
- Patient positioning
- Details of the patient (including a signed consent form and appropriate antibiotic and thromboprophylaxis)
- Comorbidities, including allergies
3. Anesthesia
- General anesthesia
- Local nerve block
- Combination of nerve block and light general anesthesia
4. Patient position
Secure the head to an appropriate head rest and secure the oral tube. Bring the torso up into the beach chair position. It is helpful to place the trunk almost upright with an almost hanging arm to help reduce the fracture by ligamentotaxis and gravity.
The upper extremity must be freely movable.
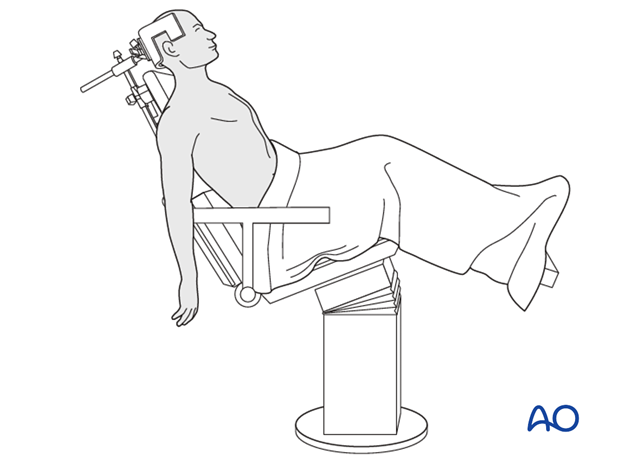
Support the elbow and forearm on a radiolucent side table or arm board attached to the operating table.
If using a standard table with a shoulder table attachment place a pillow beneath the calves, tilt table head down by 10º, and then elevate the patient’s torso.
If using a multifunctional table, ensure the head is secured and that a section of the table can be removed on the side of the injured shoulder allowing for better access and imaging. Break the table at the hips and bring the patient into a sitting position.

5. C-arm positioning
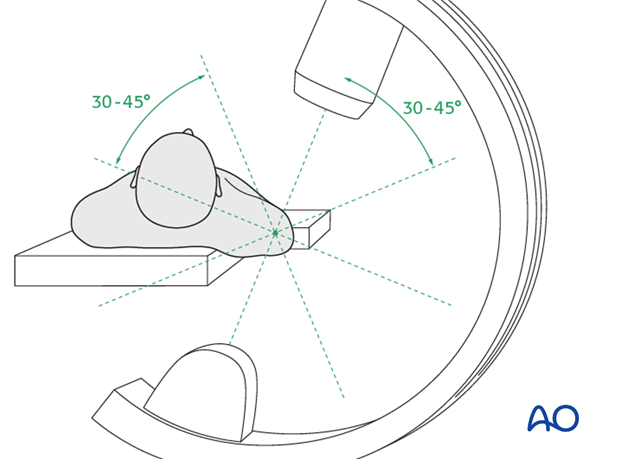
Position the C-arm by the head or bring it in from the side, depending on the type of treatment and surgeon’s preference.
If the C-arm is positioned by the head, tilt it to allow a good AP view of the shoulder and humerus.
Ensure that satisfactory views can be obtained before starting surgery.
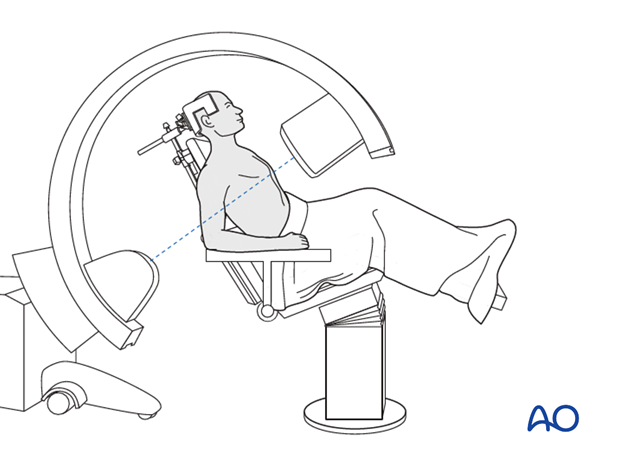
If the C-arm is positioned from the side, tilt the C-arm medially or laterally to obtain two views. Direct the beam from anterolateral to posteromedial (30–45°) or from anteromedial to posterolateral (30-45°).
6. Skin disinfecting and draping
Disinfect the entire arm and shoulder from the neck to the fingertips with an assistant holding the arm.
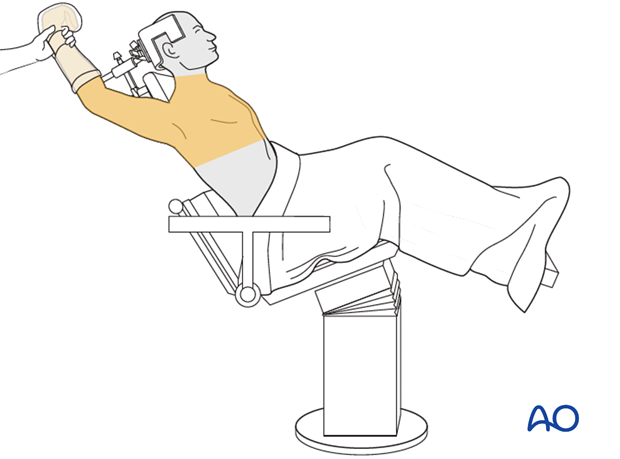
Cover the hand and forearm in a waterproof stockinette.
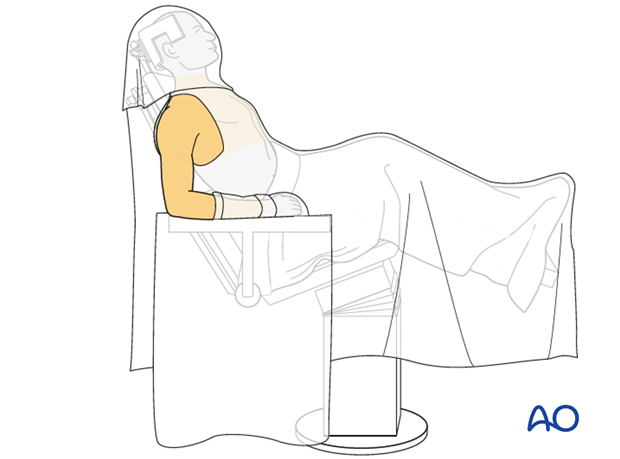
Apply a U-drape with the split facing the axilla. The apex of the U is on the lateral chest wall and the two tails are stuck down anterior and posterior to meet at the root of the neck.
Drape the arm support and the image intensifier.
7. Operating room set-up
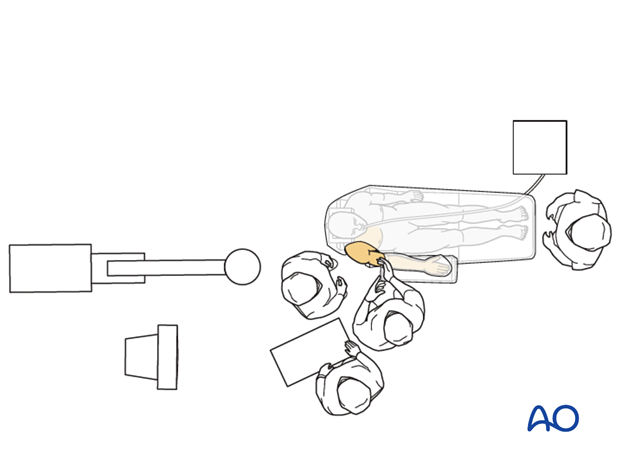
The ORP and surgeons stand facing the patient’s shoulder, adjacent to the operating table and the axilla.
The assistant can stand behind the patient’s shoulder initially but will have to move adjacent to the surgeon once the image intensifier is brought into position.
The scrub nurse sets up between the two surgeons.
The anesthetist is at the head on the opposite side or at the foot end of the table.
Place the image intensifier display screen in full view of the surgical team and the radiographer.
