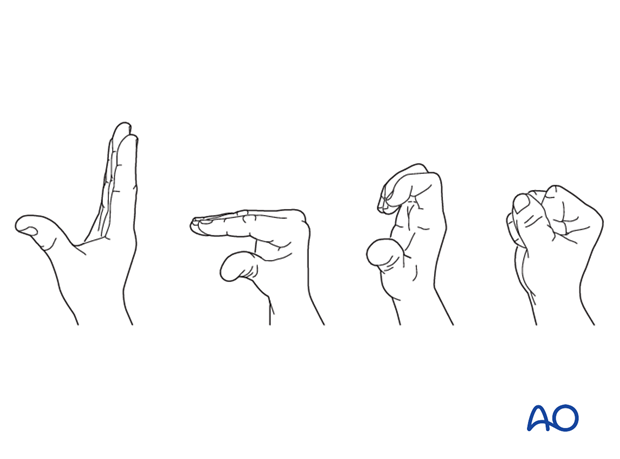
Screw fixation
1. General considerations
Introduction
A palmar avulsion of the distal phalangeal base can be fixed with a screw if the proximal fragment is large enough (>40% of the articular surface).

Lag screw vs position screw
Principally, the fracture should be fixed with a lag screw technique. In the metaphyseal parts of the phalanges, it is usually not advisable to drill a gliding hole through the small metaphyseal bone. A position screw holding a compression achieved with reduction forceps provides sufficient stability.
2. Patient preparation
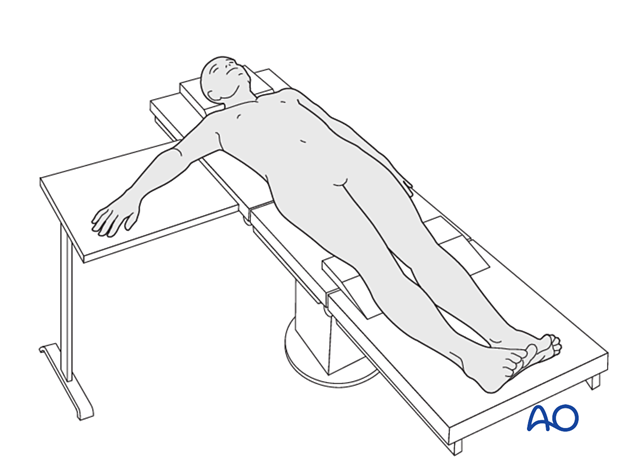
This procedure is usually performed with the patient in a supine position with the arm on a radiolucent side table.
3. Approach
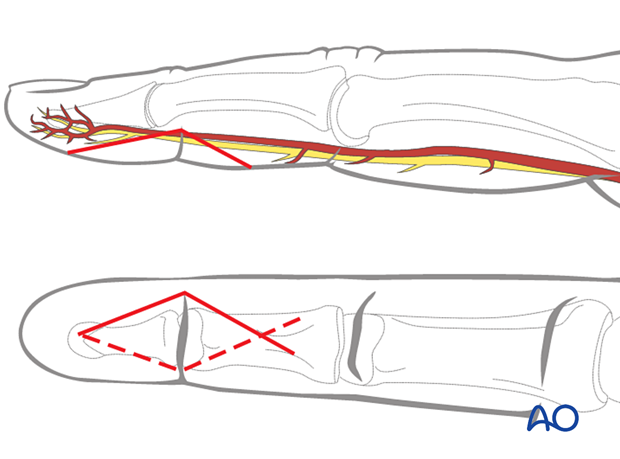
For this procedure, a palmar approach to the DIP joint is typically used.
4. Reduction
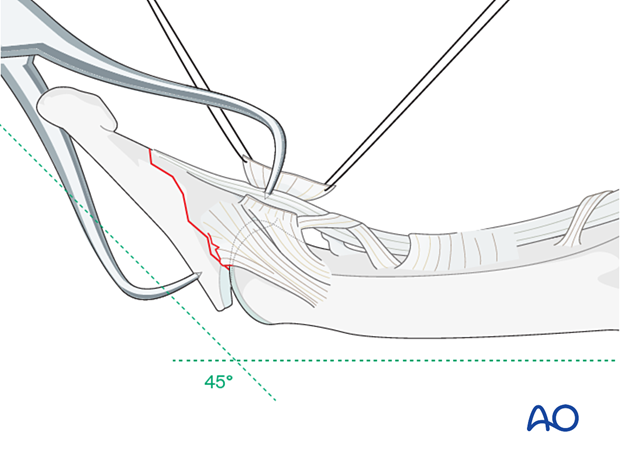
Hyperextend the distal phalanx to gain maximal visualization of the joint.
Use a syringe to clear blood clots with a jet of sterile irrigation solution.
Assess fracture geometry and look for comminution or impaction.
Often, comminution is not apparent from the x-rays and can only be determined under direct vision.
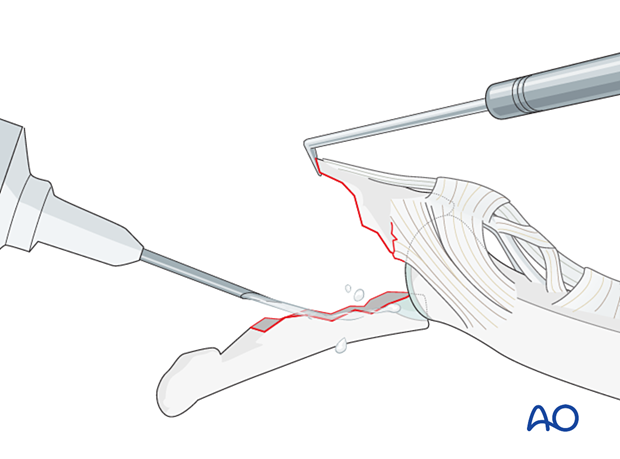
Gently reduce the fracture anatomically with reduction forceps.
In most cases, the A5 pulley should be elevated for better visualization and reduction of the fracture.
Confirm the reduction with an image intensifier.
5. Fixation
Choosing screw size
The maximal permitted diameter of the screw head is one-third of the diameter of the avulsed fragment.
Either a 1.0 mm or 1.3 mm screw is used.
The screw length must be adequate for the screw to engage the opposite cortex.

Drilling
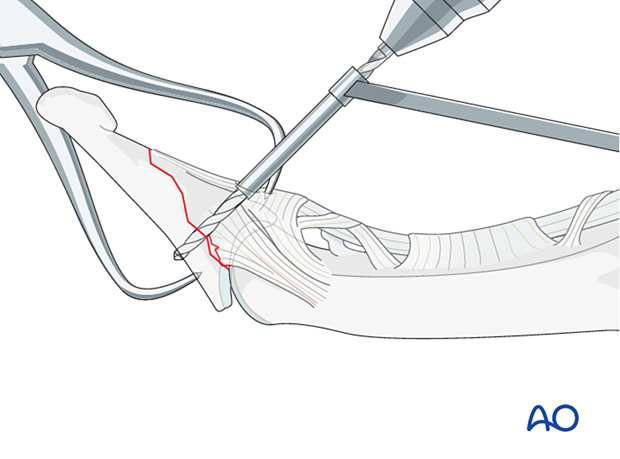
Drill a hole in both cortices.
Enlarge the near cortex slightly for sinking the screw head.
Determining the screw length
Use a depth gauge to determine the screw length.


Screw insertion
Insert a self-tapping screw and tighten it. The screw should just engage the opposite cortex. Be careful not to overtighten the screw to avoid stripping the threads with subsequent loss of fixation.


Final check
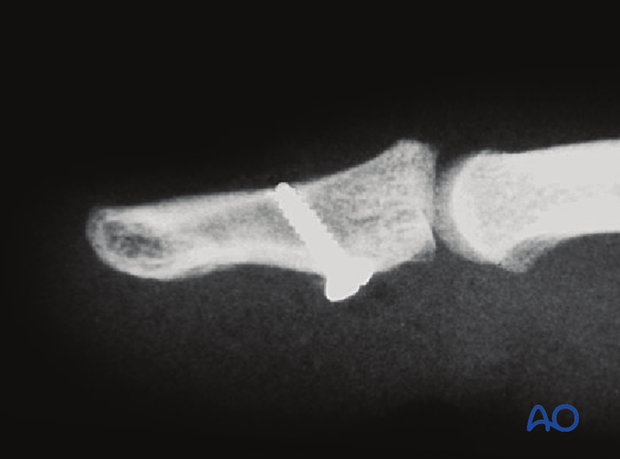
Confirm articular reduction and correct screw placement with an image intensifier. Reduction must be anatomical.
Option in large fragments: 2nd screw
A second screw can be added in very large fragments to improve stability.

6. Immobilization
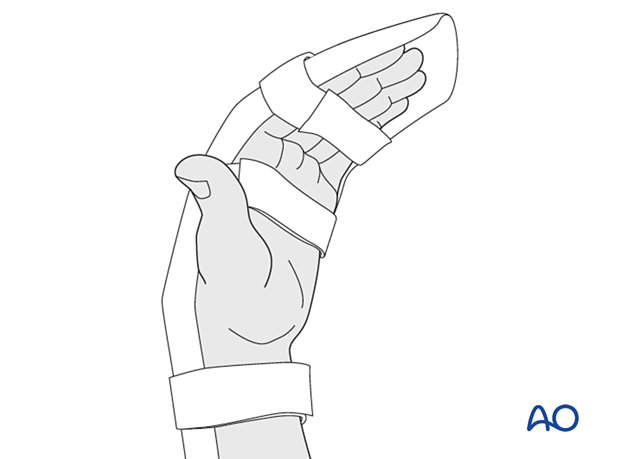
Apply a resting splint holding the wrist in 30° of flexion, the MCP joint in 70°–90° flexion, and the PIP joint in extension for 3 weeks.
7. Aftercare
Postoperative phases
The aftercare can be divided into four phases of healing:
- Inflammatory phase (week 1–3)
- Early repair phase (week 4–6)
- Late repair and early tissue remodeling phase (week 7–12)
- Remodeling and reintegration phase (week 13 onwards)
Full details on each phase can be found here.
Management of swelling
The arm should be actively elevated to help reduce any swelling.
Follow-up
A wound check is performed 3–5 days after surgery. Dressings are changed to avoid the tourniquet effect of dried exudate or bleeding within the dressings.
Sutures may be removed after 10 days. X-rays are taken 3 and 6 weeks after surgery to confirm fracture alignment and healing, respectively.
Functional exercises
The fixation will be vulnerable for the first 3 weeks.
After that, the splint can be removed and replaced with buddy strapping to facilitate active motion exercises.
Hand therapy is recommended to prevent soft-tissue atrophy and joint contracture (typically extension of MCP joint and flexion of PIP joint), which leads to a poor outcome, and subsequent treatment is difficult.
