External fixation
1. Note on illustrations
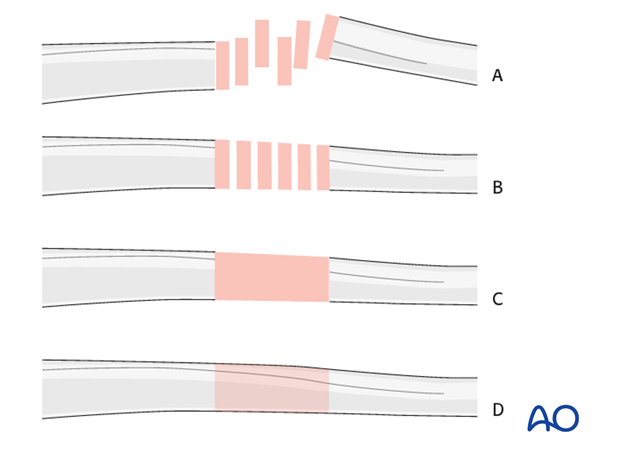
Throughout this treatment option illustrations of generic fracture patterns are shown, as four different types:
A) Unreduced fracture
B) Reduced fracture
C) Fracture reduced and fixed provisionally
D) Fracture fixed definitively
2. Principles of modular external fixation
The modular external fixator is optimal for temporary use. It is rapidly applied without need for intraoperative x-rays and can be adjusted later.
Details of external fixation are described in the basic technique for application of modular external fixator.
Specific considerations for the forearm shaft are given below.
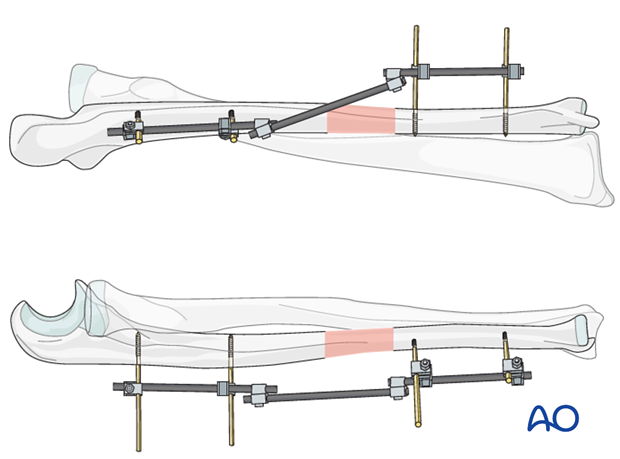
In Monteggia fracture-dislocations, anatomical reduction and stable fixation of the ulna are mandatory, to ensure stable relocation of the radial head.
For details on the stabilization of a dislocated radial head see:
Radial head stabilization (Monteggia fracture-dislocation)
If stabilization is not possible a joint bridging fixator may be used.
3. Patient preparation
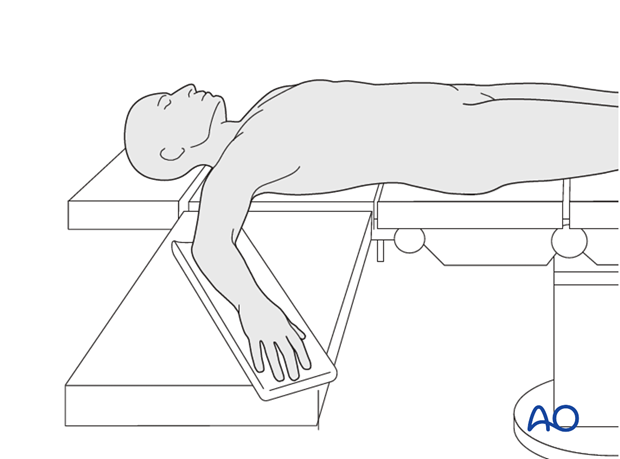
This procedure is normally performed with the patient in a supine position.
4. Pin insertion (forearm shaft)
Soft-tissue dissection
Blunt dissection is performed using an instrument such as a small artery clip. This should displace important anatomic structures, which may then be retracted with small Langenbeck retractors. It is important to be aware of the anatomic structures at each level so that care can be taken to avoid damaging them (see Safe zones for pin placement in the forearm).
5. Frame construction on the ulna
Pin insertion
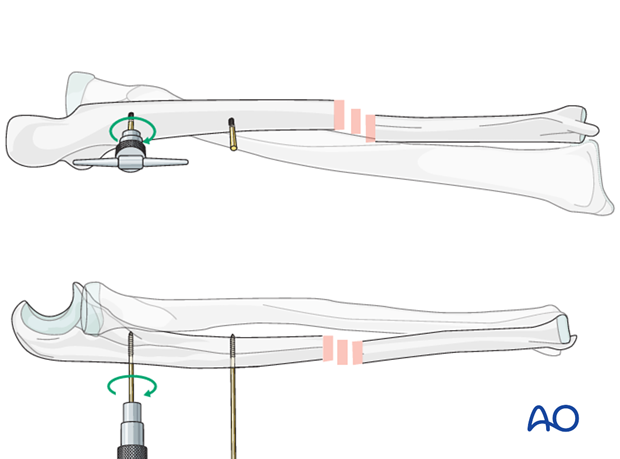
The posterior border of the ulna is subcutaneous, so this usually offers the best access.
The pin should be inserted in the first cortex and through the center of the bone into the far cortex. Care should be taken to avoid the tip of the pin protruding significantly through the far cortex to avoid damage to neurovascular structures.
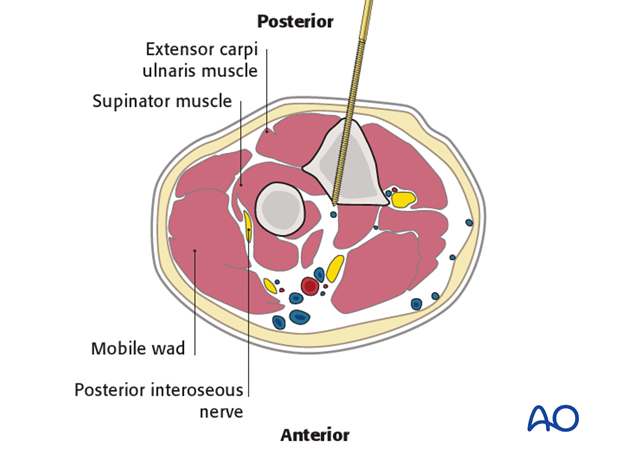
The proximal ulnar pins are inserted through the subcutaneous cortex of the posterior border of the ulna between the extensor and flexor muscle masses.
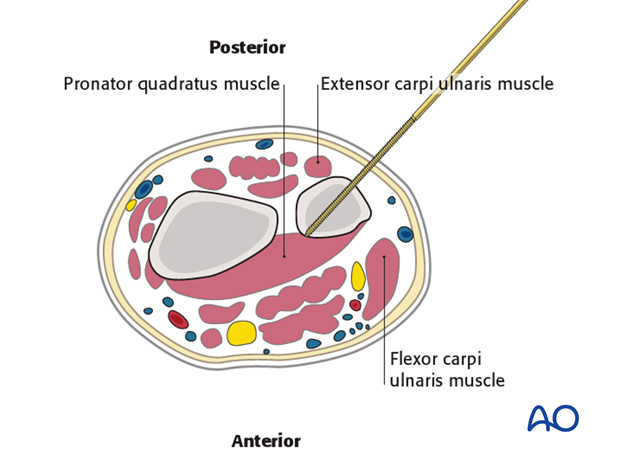
The distal ulnar pins are inserted through the posteromedial cortex.

The subcutaneous posteromedial cortex is most safely accessible with the forearm in supination.
6. Assessment of Distal Radioulnar Joint (DRUJ)
Before starting the operation the uninjured side should be tested as a reference for the injured side.
After fixation, the distal radioulnar joint should be assessed for forearm rotation, as well as for stability. The forearm should be rotated completely to make certain there is no anatomical block.
Method 1
The elbow is flexed 90° on the arm table and displacement in dorsal palmar direction is tested in a neutral rotation of the forearm with the wrist in neutral position.
This is repeated with the wrist in radial deviation, which stabilizes the DRUJ, if the ulnar collateral complex (TFCC) is not disrupted.
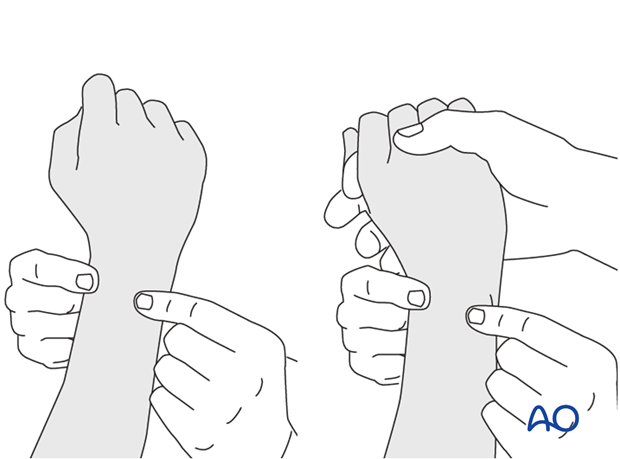
This is repeated with the wrist in full supination and full pronation.
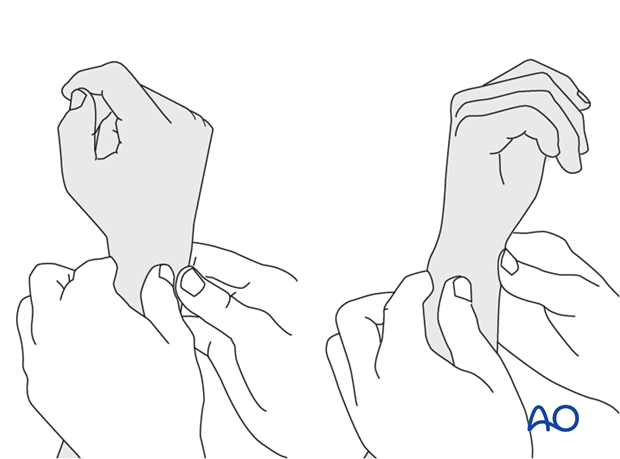
Method 2
In order to test the stability of the distal radioulnar joint, the ulna is compressed against the radius...
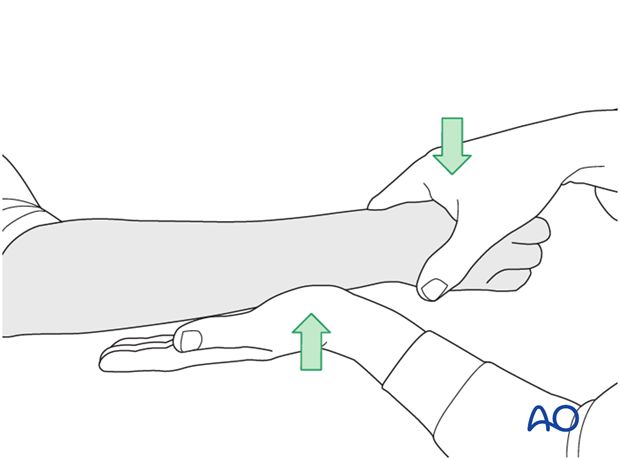
...while the forearm is passively put through full supination...
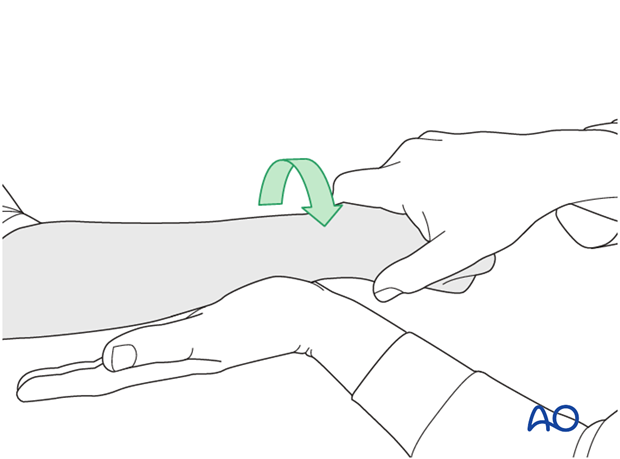
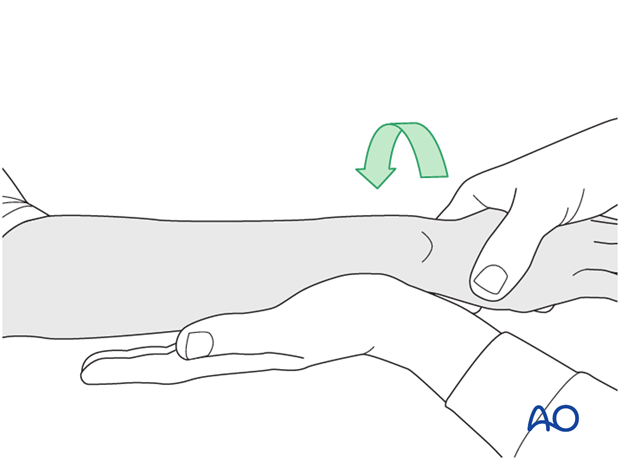
...and pronation.
If there is a palpable “clunk”, then instability of the distal radioulnar joint should be considered. This would be an indication for internal fixation of an ulnar styloid fracture at its base. If the fracture is at the tip of the ulnar styloid consider TFCC stabilization.
7. Aftercare
Pin-site care
Proper pin insertion
To prevent postoperative complications, pin-insertion technique is more important than any pin-care protocol:
- Correct placement of pins (see safe zones) avoiding ligaments and tendons, eg tibia anterior
- Correct insertion of pins (eg trajectory, depth) avoiding heat necrosis
- Extending skin incisions to release soft-tissue tension around the pin insertion (see inspection and treatment of skin incisions)
Pin-site care
Various aftercare protocols to prevent pin-track infection have been established by experts worldwide. Therefore, no standard protocol for pin-site care can be stated here. Nevertheless, the following points are recommended:
- The aftercare should follow the same protocol until removal of the external fixator.
- The pin-insertion sites should be kept clean. Any crusts or exudates should be removed. The pins may be cleaned with saline and/or disinfectant solution/alcohol. The frequency of cleaning depends on the circumstances and varies from daily to weekly but should be done in moderation.
- No ointments or antibiotic solutions are recommended for routine pin-site care.
- Dressings are not usually necessary once wound drainage has ceased.
- Pin-insertion sites need not be protected for showering or bathing with clean water.
- The patient or the carer should learn and apply the cleaning routine.
Pin loosening or pin-track infection
In case of pin loosening or pin-track infection, the following steps need to be taken:
- Remove all involved pins and place new pins in a healthy location.
- Debride the pin sites in the operating theater, using curettage and irrigation.
- Take specimens for a microbiological study to guide appropriate antibiotic treatment if necessary.
Before changing to a definitive internal fixation an infected pin track needs to heal. Otherwise infection will result.
Mobilization
Functional aftercare should be performed.
Follow up
See patient 7-10 days after surgery for a wound check. X-rays are taken to check the reduction.
