Long leg cast then hinged knee brace
1. Principles
Common deformity
It is recognized that perfect realignment of a displaced distal femoral fracture will be impossible with a long leg cylinder splint. However, it helps to bring the fracture out to length and to correct some of the common hyperextension deformity.
The surgeon applying the long leg splint must remember that the common deformity of a supracondylar femoral fracture is shortening and hyperextension of the distal fragment.
In order to counteract the hyperextension, either a bolster can be placed under the supracondylar region, or preferably the knee can be sufficiently flexed by bringing the leg off the end or side of the table.
In order to maintain the length of the fracture in the long-leg splint, care must be taken to provide a good supracondylar molding.
2. Preparation
Material
To apply the long leg cast, the following materials are needed:
- A stockinette, or tubular gauze bandage
- Scissors
- Cotton wool, or dedicated under-cast padding
- Plaster-of-Paris bandages, which come in rolls of varying widths
- Plaster slabs, generally five layers thick, and available in differing widths
- Water
The water should be tepid, or lukewarm, with an ideal temperature between 22° and 25° C.
It should be noted that colder water, or a bandage that is wetter, will allow for an increased working time, while warmer water, or a bandage that is drier, reduces the working time.
Patient positioning
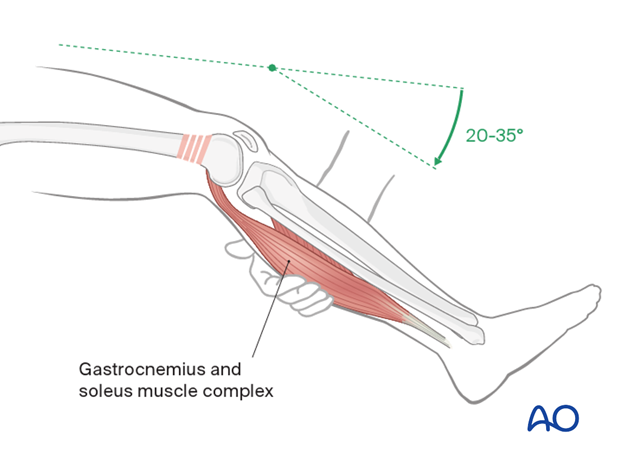
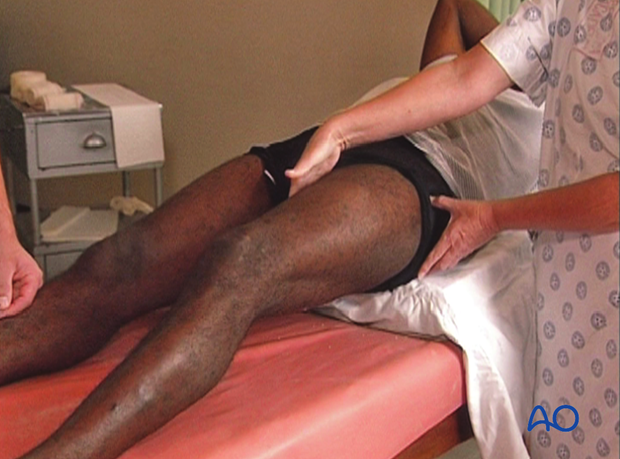
The patient should be lying supine, with the ankle over the edge of the table. The foot should be plantigrade.
The patient’s knee should be flexed to approximately 20-35°, which will relax the gastrocnemius muscle. This will reduce the hyperextension.
The buttock on the side of the injury should be elevated from the table with a bolster, if possible.
3. Reduction
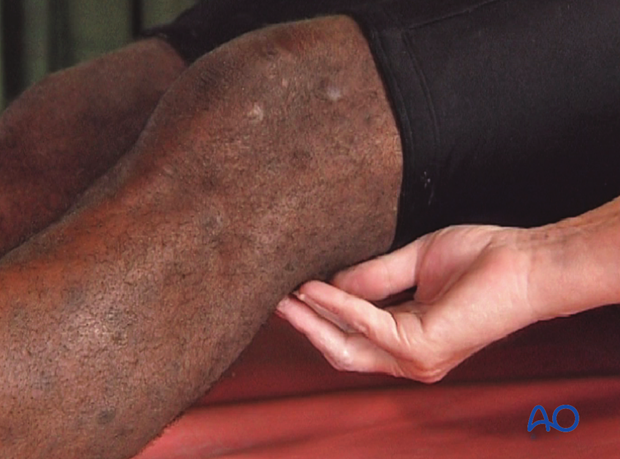
The surgeon should be aware of the tendency of the fracture to shorten and to fall into hyperextension. Manual traction, as depicted, can counteract the tendency for shortening, as previously described. A bolster placed beneath the supracondylar region will counteract hyperextension deformity.
4. Padding
Leg support
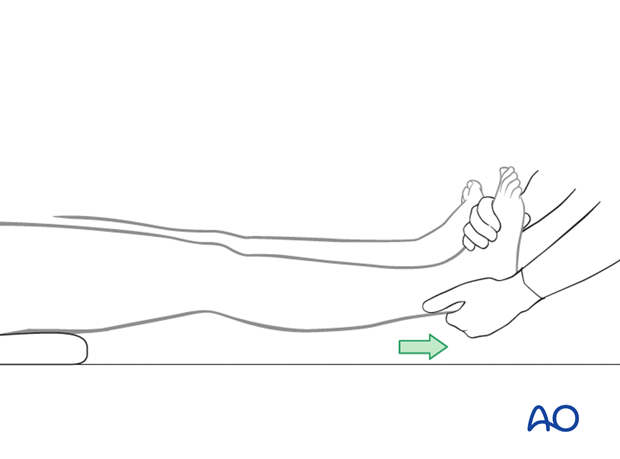
After reduction, an assistant supports the leg, and checks to ensure that there is no rotation of the fracture, by verifying that the second toe, patella and superior iliac spine remain in line.
The distal edge of the cast will be located at the level of the metatarsal heads, while the toes should remain free.
The proximal edge lies just below the greater trochanter on the lateral side, and just below the groin on the medial side.
Take care to avoid pressure over the fibular head and neck area, to prevent pressure on the common peroneal nerve that could cause neurapraxia, or nerve damage.
Stockinette application
Apply a stockinette and cut it slightly longer than the final cast will be.
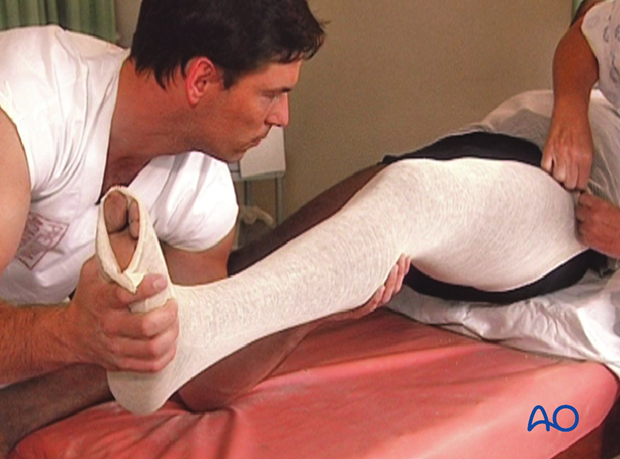
Cotton wool padding
Starting at the distal border, gently wind on the cast padding, once around the foot and then around the ankle several times in a figure-of-eight. Make sure that neutral dorsiflexion of the ankle is maintained.

Wind the cast padding towards the knee, with an overlap of 50%.
The overlap creates a double layer of padding, which is sufficient in most cases.
The cotton wool extends slightly beyond the planned length of the cast, so that when the end of the stockinette is folded over, the end of the cast will be padded.
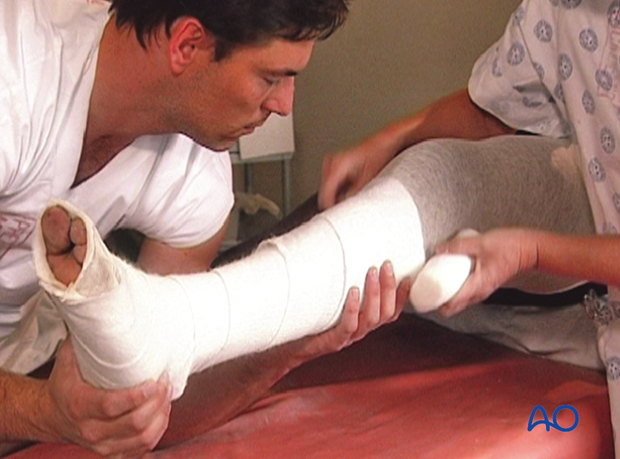
Additional padding
Apply additional cast padding over the patella, the malleoli and over the heel, to protect the pressure points against pressure sores.
It should be kept in mind that, when more padding is applied, there will be less support to the injury site.

5. Plaster application
Plaster bandage
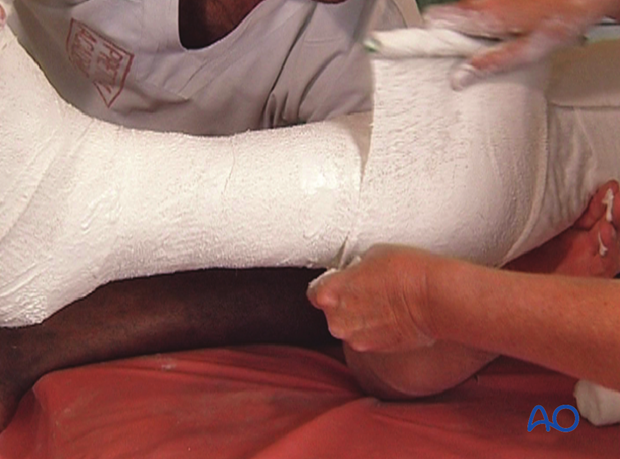
Dip the plaster bandage into the water and remove the excess moisture by gently squeezing the bandage.
Starting with the bottom of the foot, wrap the plaster bandage around the ankle in a figure-of-eight.
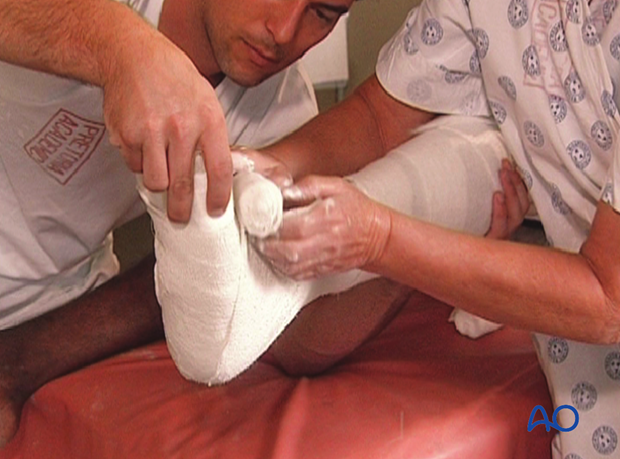
Pass the bandage over the heel and then towards the knee with a 50% overlap, in the same manner as the cotton wool.
Additional plaster bandage
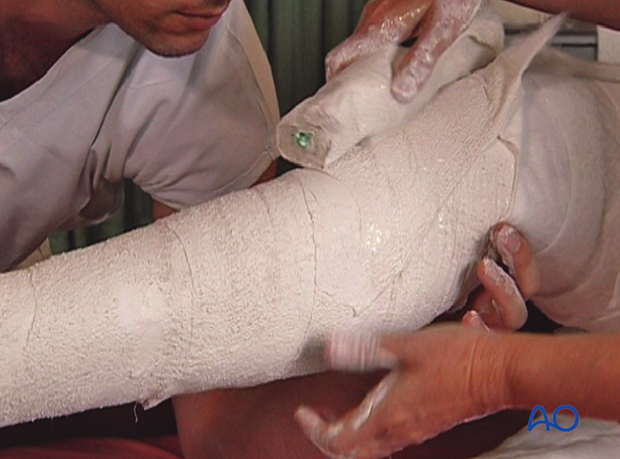
Apply a second plaster bandage beginning over where the first one ended.
It continues proximally towards the planned upper edge of the cast and then returns towards the ankle.
As additional plaster bandages are required, they should begin with the end of the previous one, in order to ensure even thickness of the cast.
Gaining cast strength
To strengthen the cast, apply a plaster slab to the anterior aspect.
A plaster slab may also be applied to reinforce the proximal edge.
Forming the proximal end of the cast
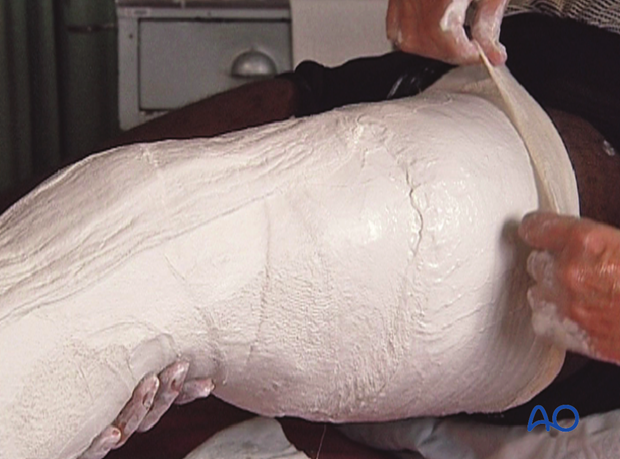
Fold the loose end of the stockinette over the proximal edge of the cast.
Starting just below the proximal edge add another plaster bandage. This will secure the loose end of the stockinette and the plaster slabs.
Knee flexion
You may now place a pillow under the patient’s leg, although the knee should continue to be supported manually.
Knee flexion of 20-35° will relax the gastrocnemius, as previously discussed. This can be accomplished by a bolster or pillow underneath the supracondylar region, or by bringing the leg off the side, or end, of the table.
Caution needs to be maintained to avoid plaster burns and folds in the cast causing skin damage.
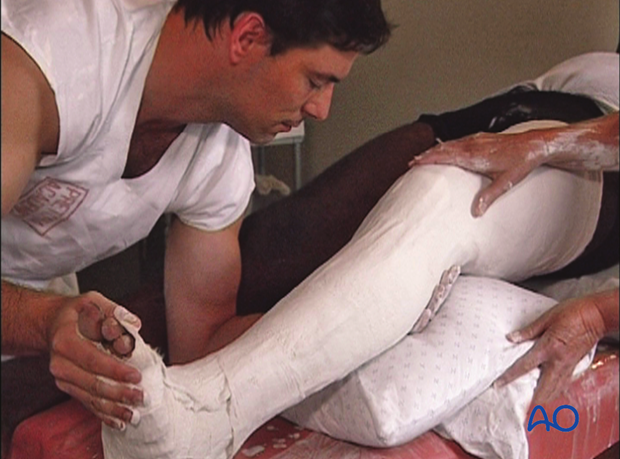
Forming the distal end of the cast
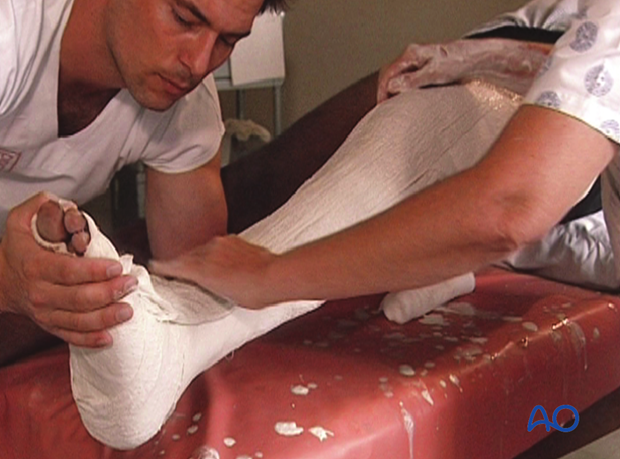
Note the extra plaster covering the toes. This ensures adequate support for the metatarsal heads.
Remove the excess plaster with the scissors and fold the stockinette over the distal end of the cast.
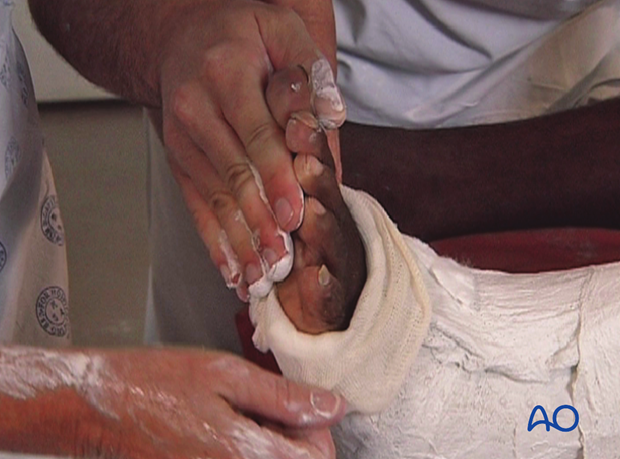
Apply another plaster bandage to secure the ankle and the loose end of the stockinette at the distal edge.
As before, apply it in a figure-of-eight around the ankle.
Attempts should be made to ensure that the foot is at 90° to the lower leg. If the foot drops into equinus, it will be difficult to correct a soft-tissue deformity later.
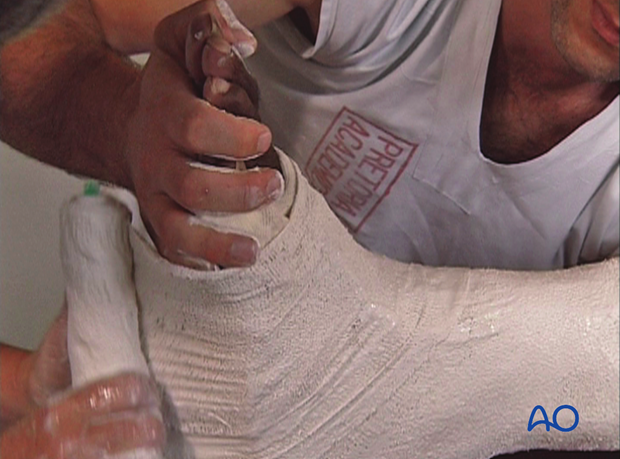
Final molding
While the plaster is still soft, massage any air out of the cast material and mold it gently to the curve of the tibia and around the knee. In addition, a supracondylar mold is important for the cast to control the length of the limb.
Check to ensure that there is no rotation of the fracture, by verifying that the second toe, patella and superior iliac spine remain in line.
To ensure that the foot is plantigrade, apply gentle pressure to the plantar aspect of the 4th and 5th metatarsal heads.
The pressure should be continued until the plaster hardens. However, the plaster will not achieve full strength for 36 hours.
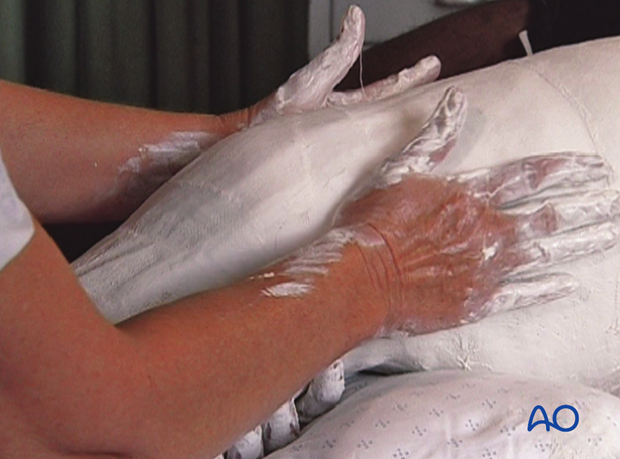
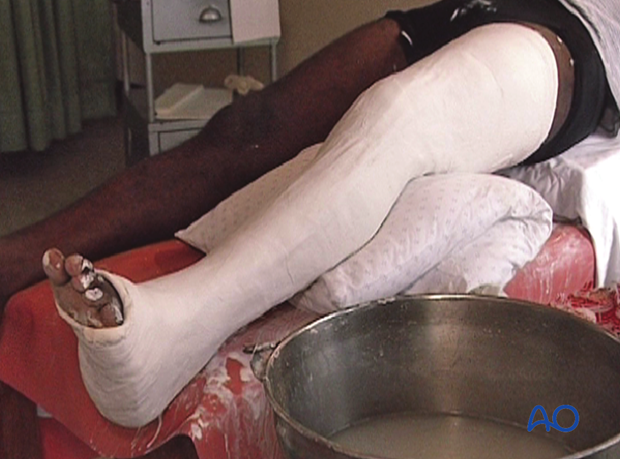
Completed cast
The application of the long leg circular cast is now complete.
Hinged knee brace
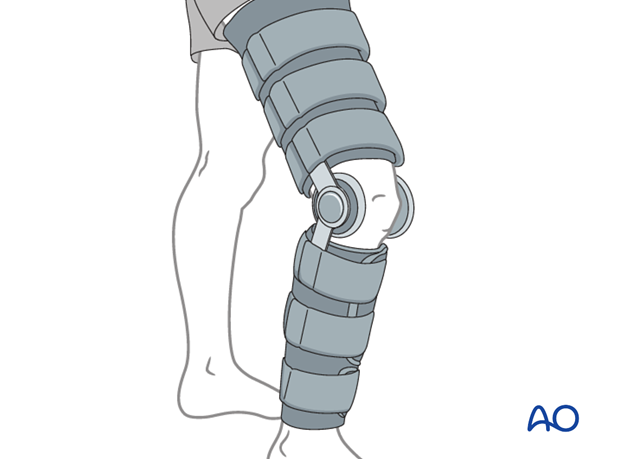
Continue this cast treatment 4-6 weeks. When the distal femoral fracture becomes "sticky" (transitioning from soft to hard callus) a hinged brace is applied with careful fitting.
This brace will need to be worn for another 6 weeks.
6. Aftercare
Impediments to the restoration of full knee function after distal femoral fracture are fibrosis and adhesion of injured soft tissues around the metaphyseal fracture zone, joint capsular scarring, intra-articular adhesions, and muscle weakness.
Once early fracture stability has been restored by the healing process, the surgeon and the physical therapy staff will design an individual program of progressive rehabilitation for each patient.
The regimens suggested here are for guidance only and not to be regarded as prescriptive.
The long leg circular cast is not intended to be a weight-bearing cast, so the patient will need to use crutches or a walker. The leg should be kept elevated, whenever possible, to prevent additional swelling.
The exercises for the patient should be explained and demonstrated. These include: flexing the toes and lifting the leg.
A major concern with using a long leg cast for a distal femoral fracture is knee joint stiffness. Therefore, the duration of treatment in the long leg cast should be as short as possible (4-6 weeks). After this period, the cast will be changed to a hinged knee brace or hinged knee cast to allow knee flexion and extension. This would be applied as soon as firm callus formation is present.
Weight-bearing would be started at approximately 6-8 weeks following injury.
There should be regular radiological review until fracture union.
Thrombo-prophylaxis should be given according to local treatment guidelines.
