Screw fixation
1. Principles
Intraoperative imaging
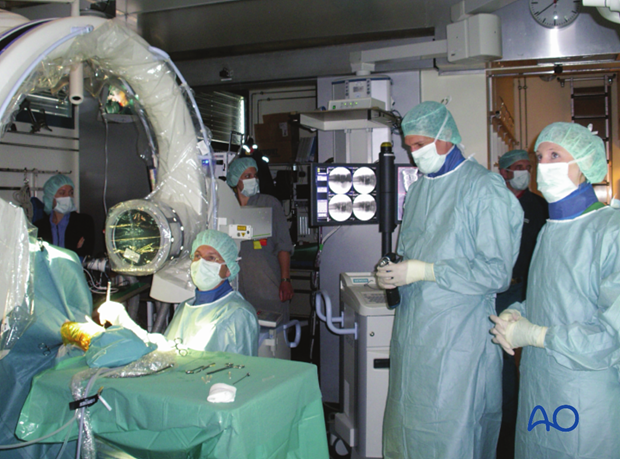
Intraoperative fluoroscopy as well as arthroscopic visualization during the procedure is necessary to assure perfect anatomic reconstruction and correct screw placement.
The use of 3-D fluoroscopy provides additional information in cross-sectional views for screw insertion.
Approach
The fracture can be approached from the medial or the lateral side, depending on the location of the fracture line.
2. Preparation and approach
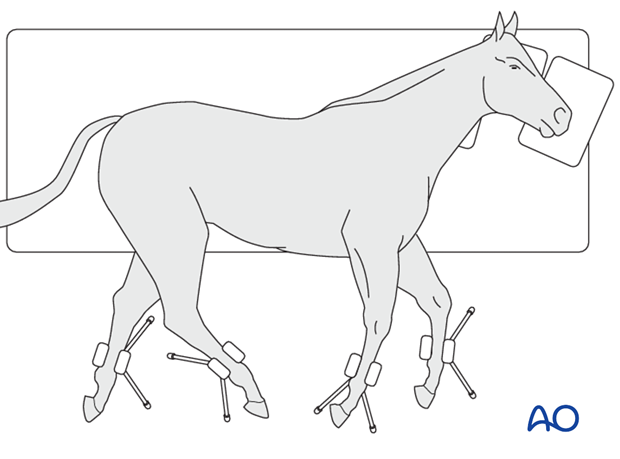
This procedure is performed with the patient placed in lateral recumbency and through stab incisions.
3. Surgical technique
Reduction
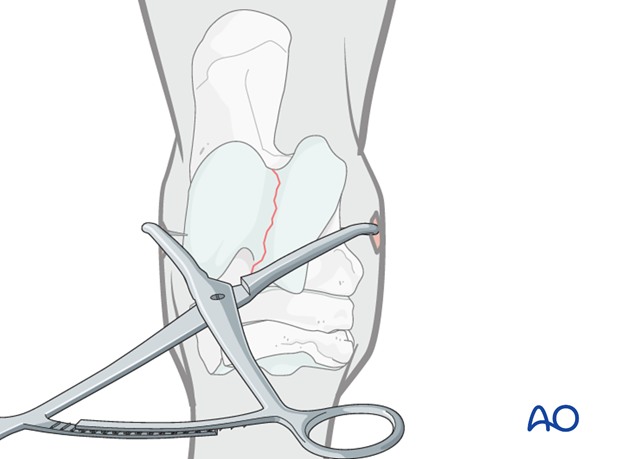
The fracture is reduced with the help of pointed reduction forceps.
Anatomic reduction is confirmed by intraoperative radiographs and maintained with the pointed reduction forceps.
Note: Drilling of the glide hole prior to application of the pointed reduction forceps assists in the recognition of penetration of the fracture plane with the 4.5 mm drill guide. Fracture reduction is achieved following retraction of the drill bit. Anatomic reduction is also assured arthroscopically.
Planning the screw positions
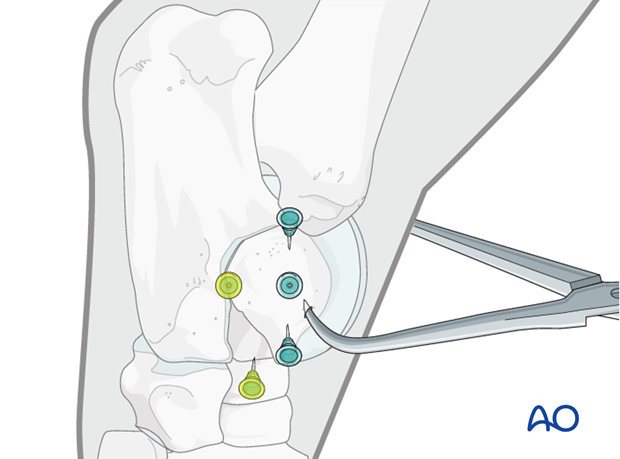
Before insertion of the first screw, the optimal screw location is chosen with the help of needles.
One needle is placed into the proximal intertarsal joint and one needle into the talocalcaneal joint (yellow). Further needles may be placed at the planned screw positions (blue).
Screw insertion
With intraoperative radiographs or fluoroscopy the proposed positions of the screws and progression of drilling are checked.
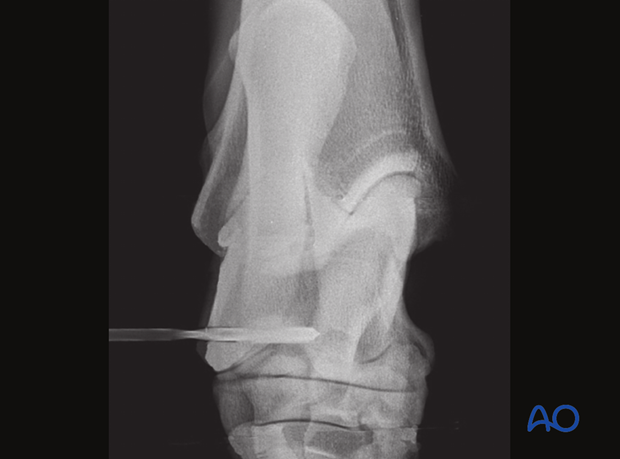
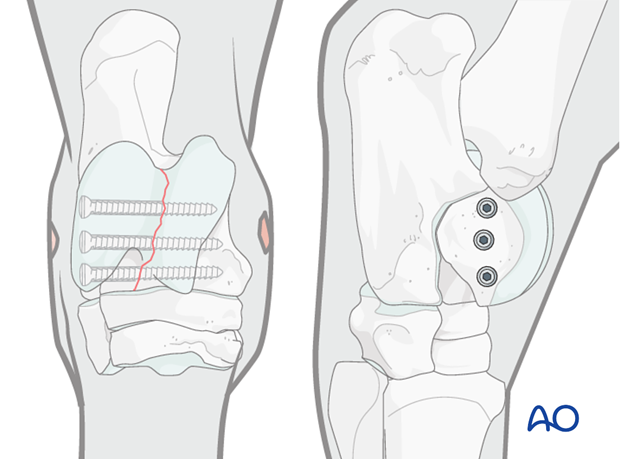
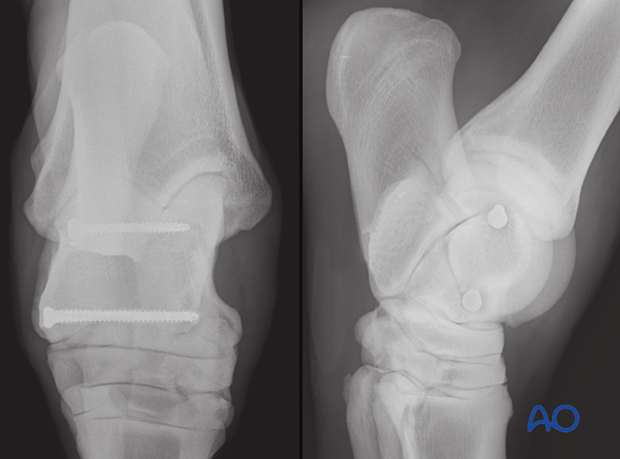
Two or three 4.5 mm cortex screws are introduced using lag technique.
Pitfall
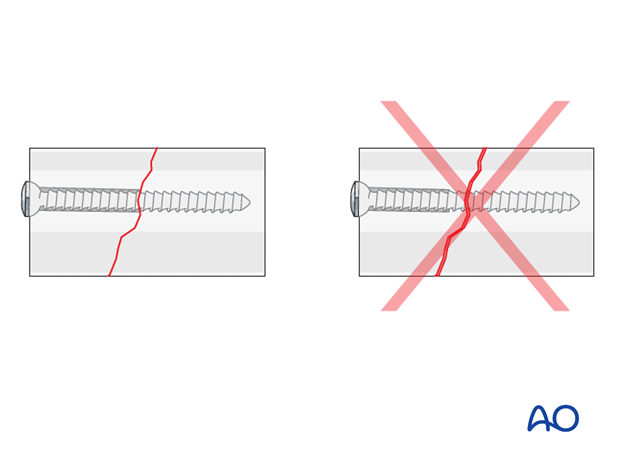
Remember to drill the glide hole long enough and drive it across the fracture line. Too short a drill hole does not allow for interfragmentary compression.
4. Aftertreatment
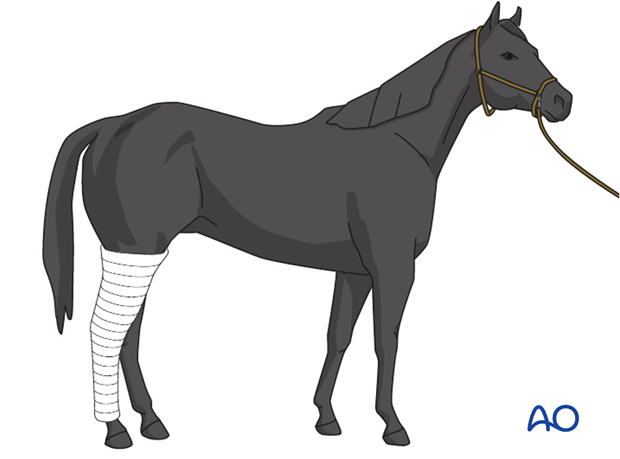
A bandage is applied, the horse recovered, and maintained for two weeks. The bandage should be changed every 5 days.
The sutures are removed after 10 days.
The horse is kept in a stall for 4 weeks. Hand-walking exercises are indicated for another 4 weeks before the horse can be put back into training.
Follow-up x-rays are taken 8 weeks after surgery to evaluate fracture healing.