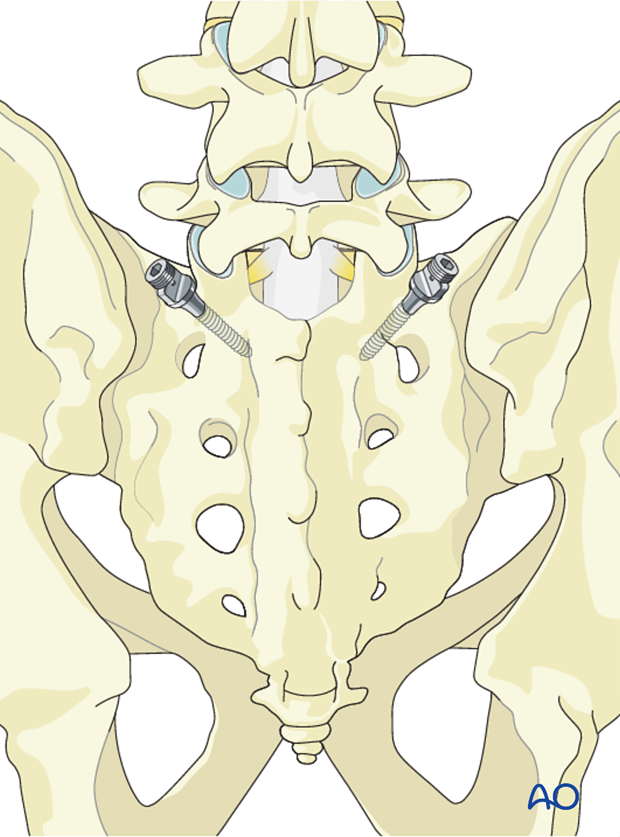
S1 pedicle screw insertion
1. Preparation
Once the spine is exposed, the appropriate levels of fixation are confirmed with the image intensifier.
2. Entry points
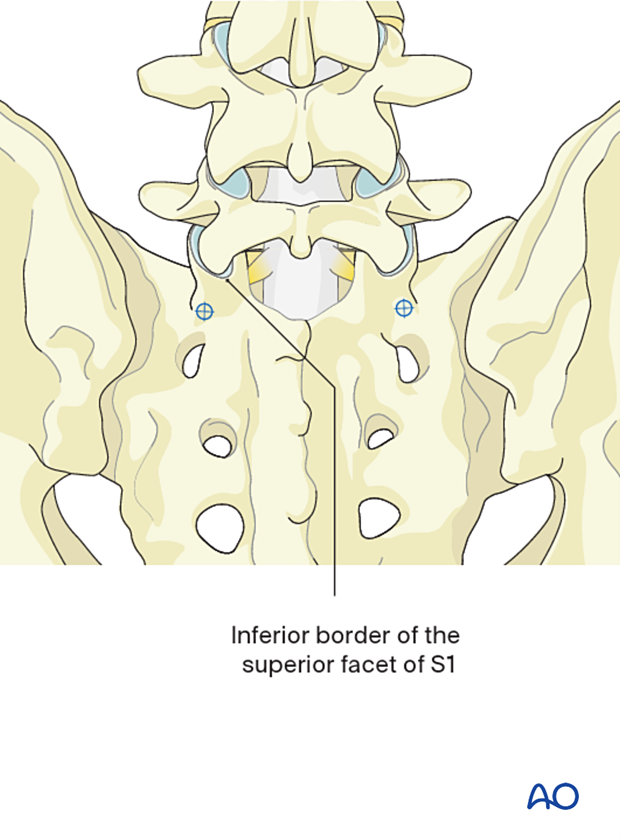
The entry point of the pedicle screw is defined by the inferior border of the superior facet of S1.
3. Opening of cortex
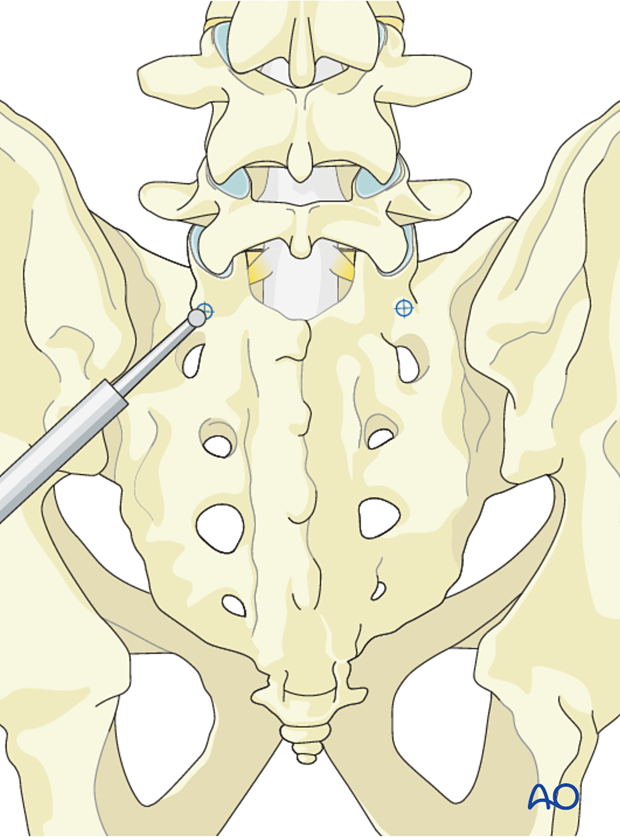
Open the superficial cortex of the entry point with a burr or a rongeur.
4. Medio-lateral inclination
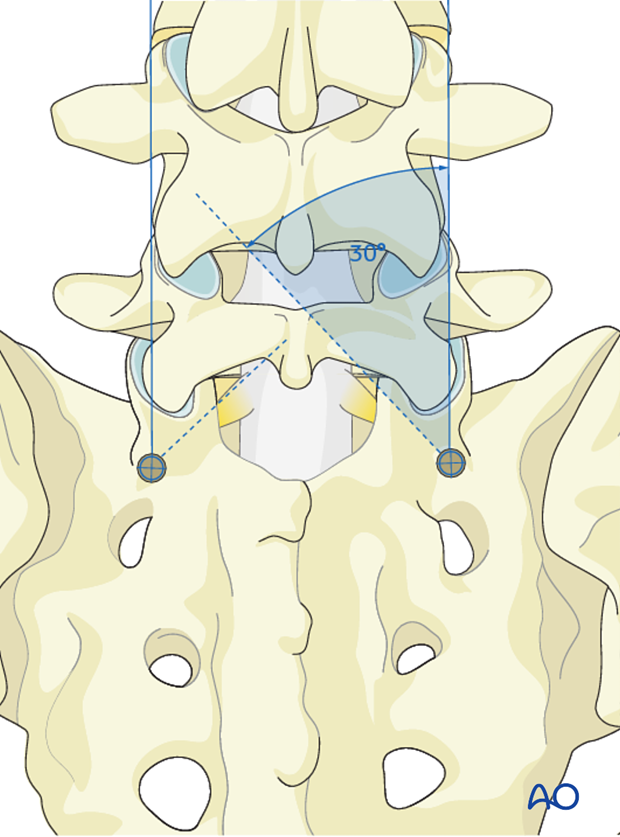
The trajectory of the screw is 30° medially.
5. Cranial-caudal angulation
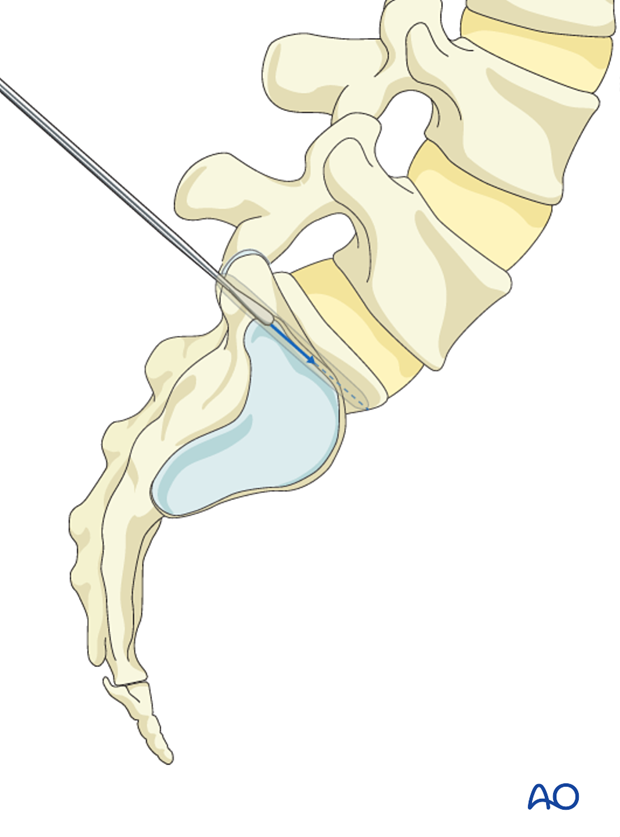
A pedicle probe is used to navigate down the isthmus of the pedicle into the vertebral body. The appropriate trajectory of the pedicle probe in the cranial-caudal direction is achieved by aiming toward the promontory.
Lateral x-rays are taken to confirm the tip of the probe end in the promontory of S1.
6. Screw insertion
Once the pedicle track has been created, it is important to confirm a complete intraosseous trajectory by pedicle and body palpation using a pedicle-sounding device. At any point in the process, radiographic confirmation can be obtained.
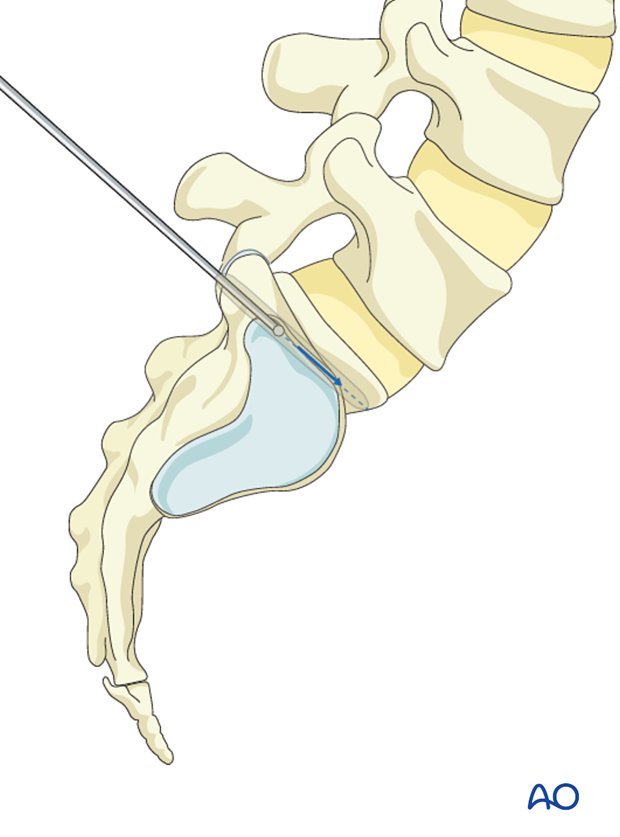
A screw of appropriate diameter and length is carefully inserted into the trajectory.
Classically these screws are large in diameter but are shorter in length than the L5 screws. If screws are too long and breach the anterior cortex, the L5 nerve root and great vessels are at risk of injury.
