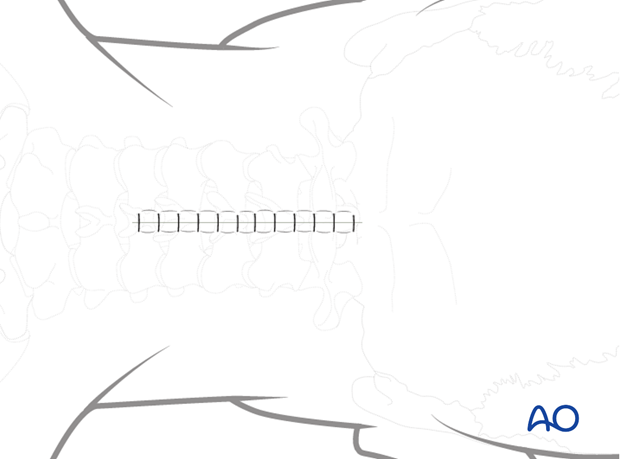
Posterior access to the occipitocervical spine
1. Incision
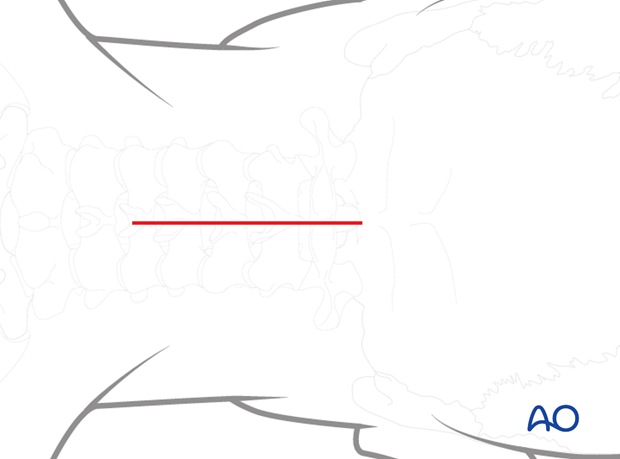
An incision is s made in the midline starting at the EOP and ending at the bottom of C5. The incision is typically no more than 5-7 cm in length.
2. Dissection
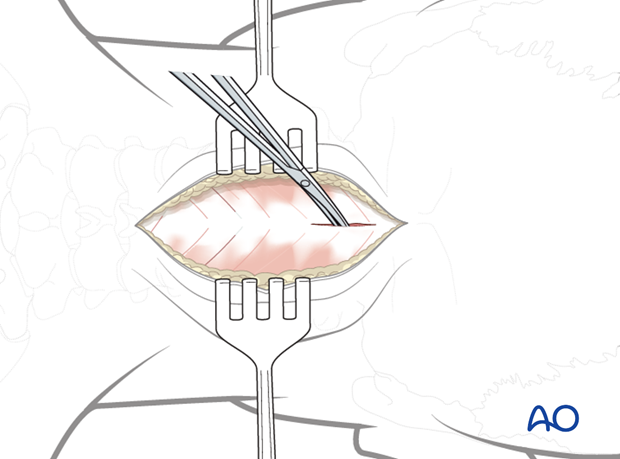
Using electrocautery or scissors, dissect down to bone in the intermuscular and relatively avascular plane of the midline.
Wandering laterally into the muscles will markedly increase blood loss.
Identify the midline of the posterior arch of C1.
3. Exposure of the occiput bone
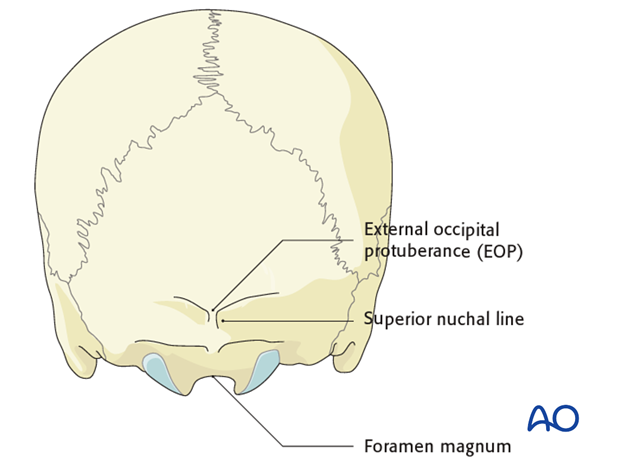
The occiput bone is dissected up to the external EOP and laterally as far as needed to accommodate the plate.
The following landmarks are identified;
- EOP
- Superior nuchal line
- Caudal aspect of the occiput (foramen magnum)
4. Exposure of posterior aspect of C1
Identify the midline of the posterior arch of C1.
Using a cobb elevator gently push the soft tissues subperiosteally off the posterior arch of C1. Review preoperative images to verify whether the tumor invades the lamina. In such cases, exposure of the posterior elements should be performed with great care and the use of Cobb elevators should be avoided.
If lateral mass screws of C1 are planned, the posterior ring is exposed all the way to the lateral border of the lateral mass.
Careful dissection is essential not to compromise the vertebral artery which lies only 1.5 cm lateral to the midline.
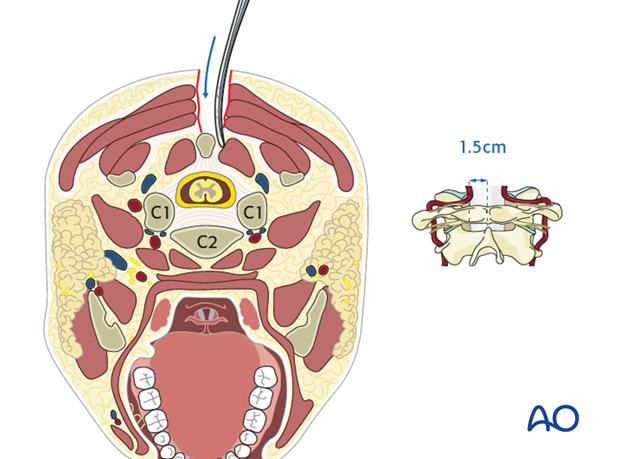
5. Exposure of posterior aspect of C2-C5
Subperiosteally dissect the soft tissues off of the spinous process, lamina and facet of C2 and as far caudally as required depending on preoperative planning.
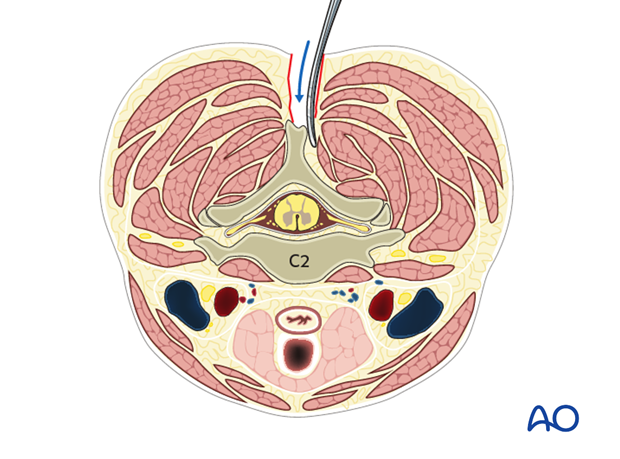
6. Dissection for C1 lateral mass screw insertion
If C1 lateral mass screws are planned, reflect the C2 nerve root and its associated veins caudally. This dissection can result in severe bleeding and must therefore be performed with great care.
Using a Penfield 4 dissector, gently push the C2 nerve root off of the caudal border of the posterior arch of C1 until the lateral mass can be palpated with the Penfield 4.
If bleeding is encountered, pack it off with Gelfoam soaked in thrombin together with a small paddy. Leave it in place and expose the other side. When/if bleeding is encountered on the contralateral side, continue the dissection on the ipsilateral side.
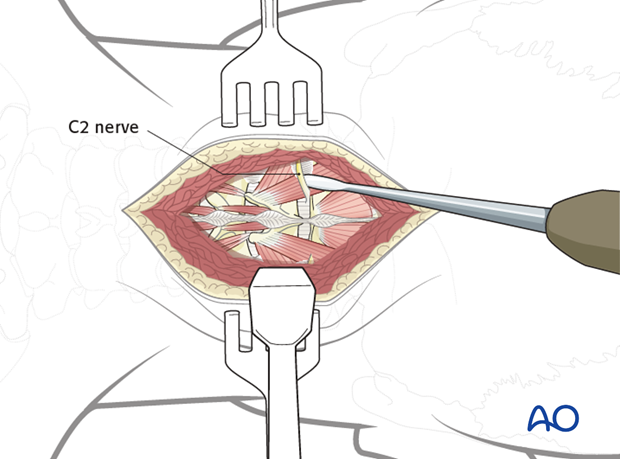
Some surgeons prefer to cut the C2 nerve to gain wide exposure to this area. However, 15-20% of patients whose C2 nerves are cut will develop chronic pain requiring medications.
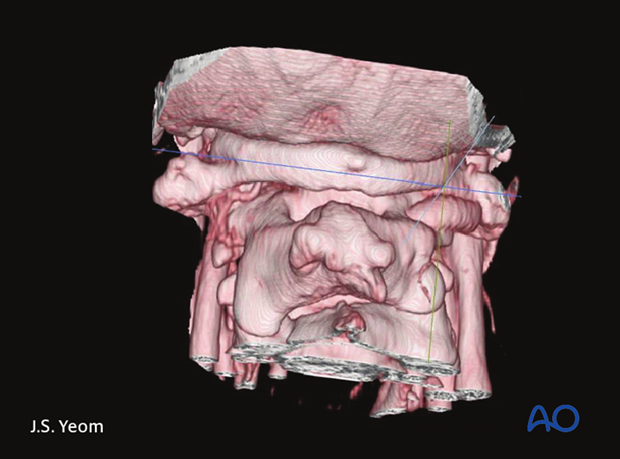
Also, 10-15% may have an intersegmental artery or an anomalous vertebral artery along with the nerve in this region. Anomalous vertebral artery can be visualized upon careful review of the preoperative MRI.
7. Closure
Prior to closure:
- Achieve meticulous hemostasis.
- Vancomycin powder may be applied in the wound.
Meticulously reapproximate all the muscles with numerous interrupted sutures placed 1 cm apart. This will prevent wound and muscle dehiscence as well as provide a cosmetically pleasing result.
For patients undergoing revision metastatic spine tumor surgery and/or with history of radiation, plastic surgery should perform the soft tissue reconstruction to decrease the risk of wound complications.
Drains are usually inserted via a separate stab incision.
