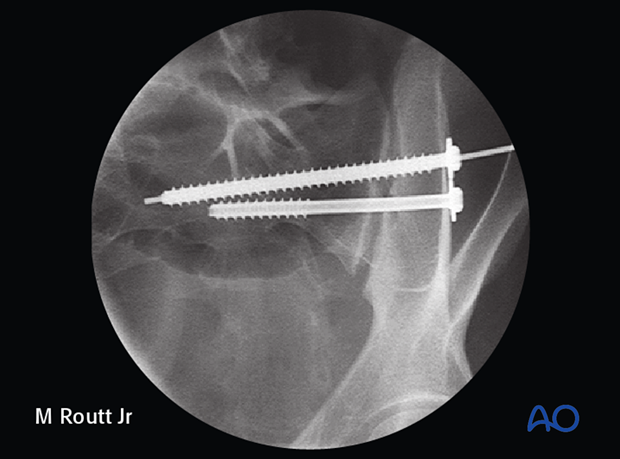
Iliosacral screw insertion
1. Introduction
An iliosacral screw may be used in the management of trauma, deformities, tumors, and degenerative conditions of the sacrum and lower lumbar spine.
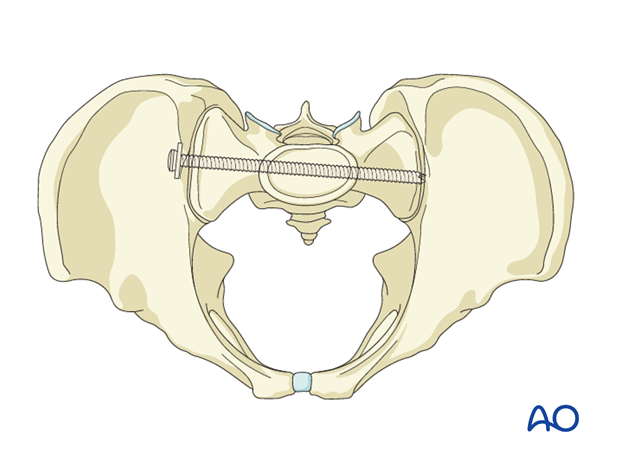
2. Preoperative planning
Before beginning an ISS screw fixation procedure, appropriate preoperative planning for screw type and location needs to be completed.
3. Teaching video
AO teaching video: Pelvis – Sacral fracture – Reduction and fixation with iliosacral screws
4. Landmarks for stab incision
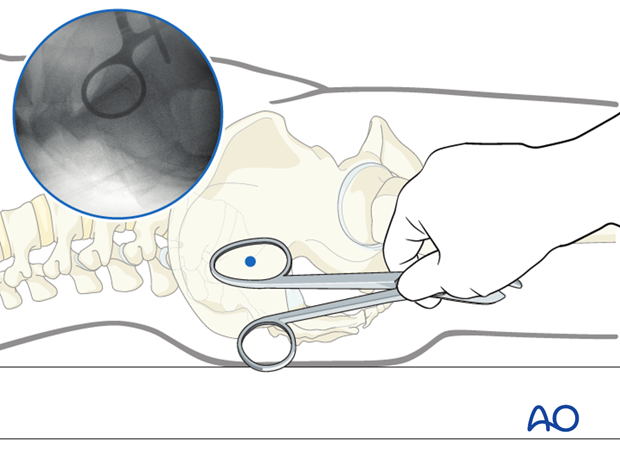
On the true lateral projection, identify the S1 body and iliac cortical densities (arrow), here overlapping correctly.
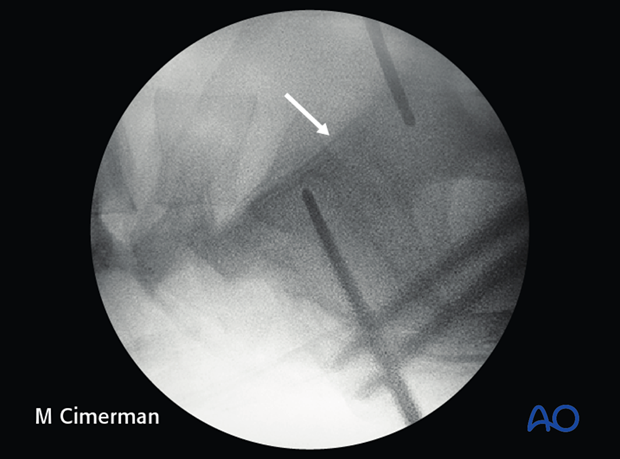
If double contours of the iliac cortical densities (arrows) are visible, as shown here, it is likely that the radiographic central ray is striking the pelvis obliquely. The C-arm should be adjusted to obtain a true lateral view, with superimposed ICDs and S1 cortices.
(This assumes that inlet and outlet views show that the pelvic reduction is anatomic.)
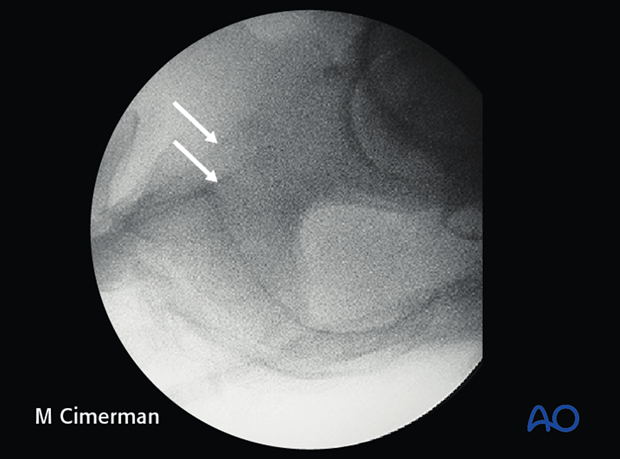
5. Location of screw entry point
The entry point should be anterior in S1 and inferior to the iliac cortical density (ICD), which parallels the sacral alar slope, usually slightly caudal and posterior. The ICD thus marks the anterosuperior boundary of the safe zone for an iliosacral screw which may injure the L5 nerve root if it penetrates this cortex.
An instrument handle can help to target the desired entry site for the guidewire.
6. Incision
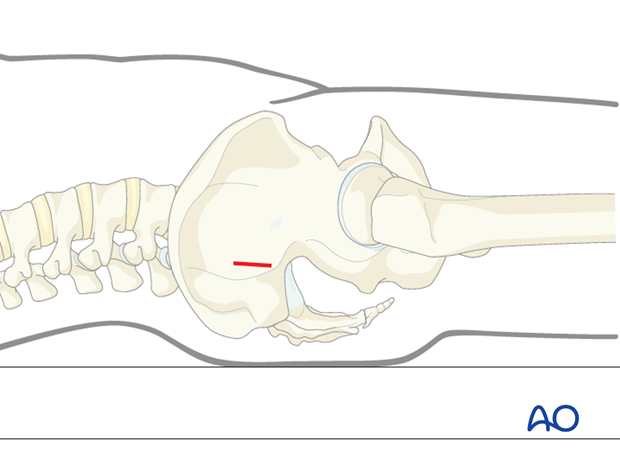
A stab incision is made at the identified site. The underlying tissues are dissected down to bone, by spreading with an appropriate blunt clamp, or with scissors if necessary.
There should be sufficient room for a protective drill sleeve, and for the planned screw and washer.
7. Guidewire insertion
A guidewire is tapped 2–3 mm or drilled (oscillating mode preferred) into the planned screw entry point. This is monitored by X-ray on the true lateral projection.
Note that with a true lateral view, the power source and chuck must be removed from guidewire or drill to assess their position.
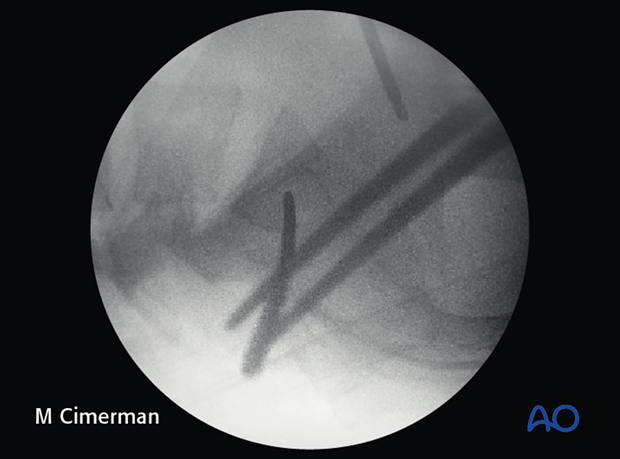
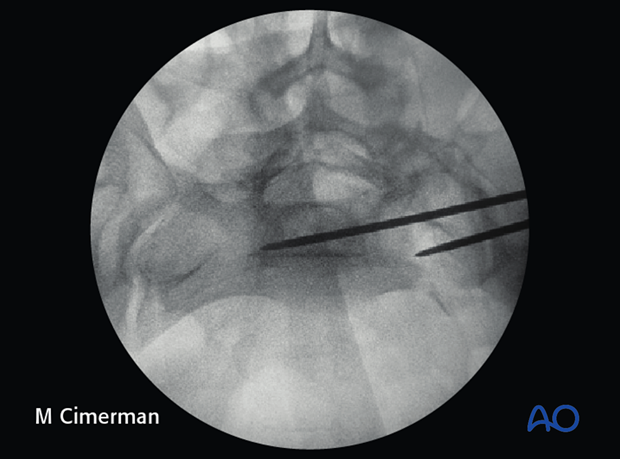
The guidewire is advanced 1 cm into the sacral ala according to chosen screw channel.
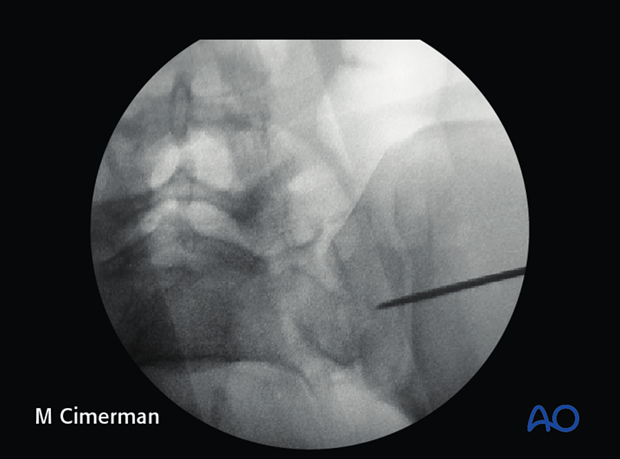
The position and trajectory of the guidewire is checked in inlet and…
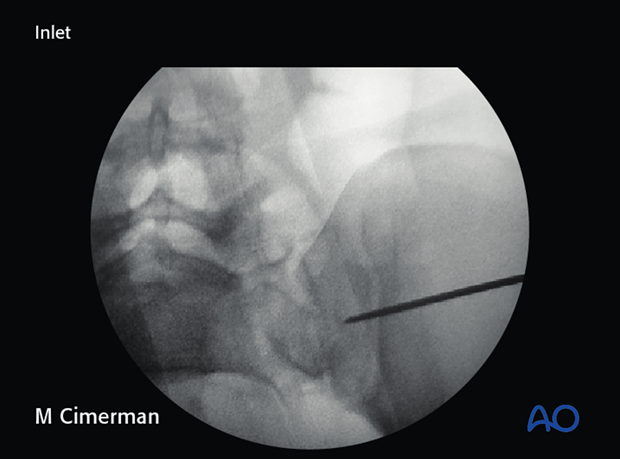
…outlet projection.
When the guidewire tip is just lateral to the neural foramen on the outlet view, pause to confirm that its position is satisfactory.
The desired trajectory is within but close to the anterior alar cortex on the inlet view, and cranial to the ventral foramen of the 1st sacral nerve root.
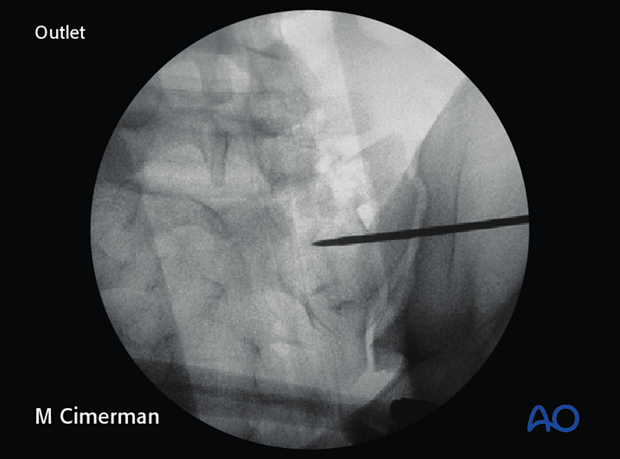
If the trajectory of the guidewire would compromise either the sacral foramen or the spinal canal, the guidewire is removed and then reinserted from a similar entry point but in the corrected trajectory.
Alternatively, the guidewire is left in place as a reference and a new one is inserted along the correct trajectory.
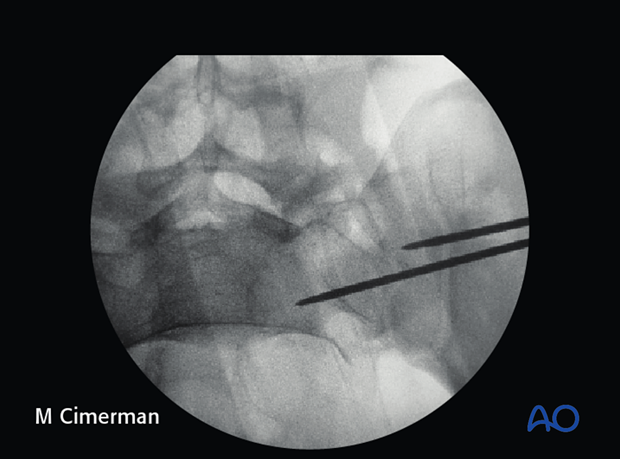
When a safe trajectory for the guidewire is confirmed, it is further advanced to the contralateral lateral border of the first sacral body.
When the guide wire reaches the center of the sacral body, the position is again verified in true lateral, inlet, and outlet view.
The wire must be far enough from cortices and neural foramina to accommodate the thread diameter of the planned screw.
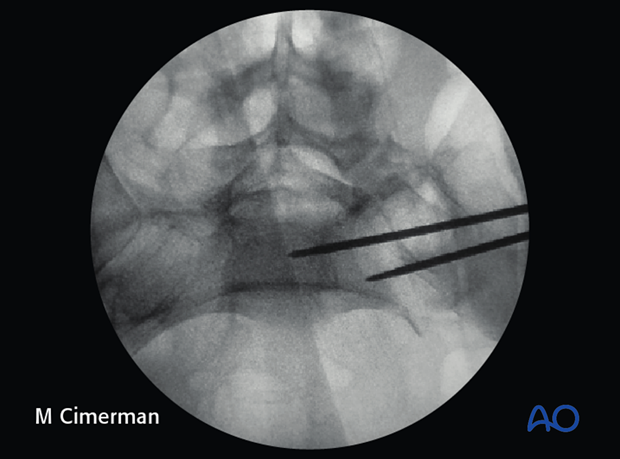
The guide wire can then be advanced across the midline.
8. Screw insertion
The screw length is measured with a ruler or gauge suitable for the guidewire and compared with the pre-operatively estimated length.
An appropriate screw hole is drilled over the guidewire, which should remain anchored in the bone, if it has been advanced far enough beyond the intended screw tip site.
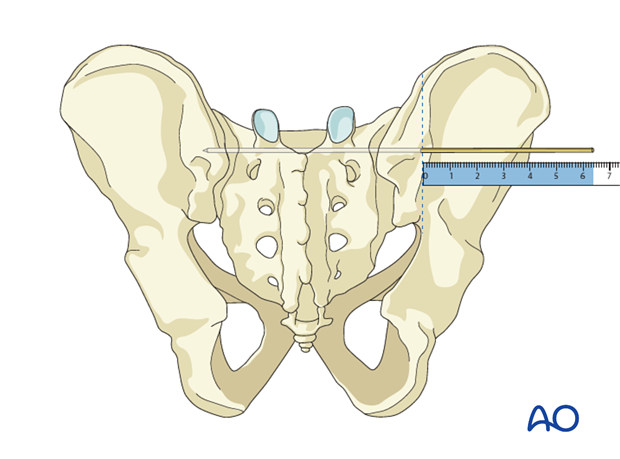
The chosen cannulated lag screw is inserted with a washer.
In case of comminution, fully threaded screws may be preferred to avoid over-compression of the sacral fracture and the neuro foramina. They may also be used to supplement an initial lag screw.
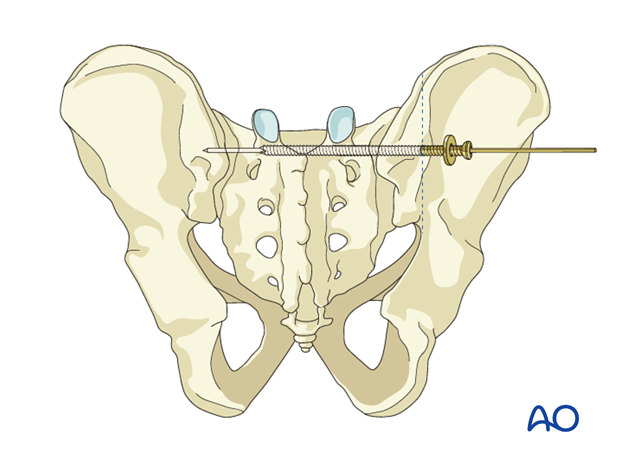
The guidewire is removed.

9. Pitfall: Intrusion of screw head into ilium
Excessive tightening of the screw will cause intrusion of the screw head into the ilium.
Such errors, which compromise fixation, are more likely with osteoporotic bone.
The use of a washer may help prevent this error.
With the C-arm rotated so its central ray is tangential to the ilium at the ISS insertion site, an excellent view of bone surface, washer, and screw head is available. This permits precise tightening of the screw without intrusion of washer and screw head through the iliac cortex.
