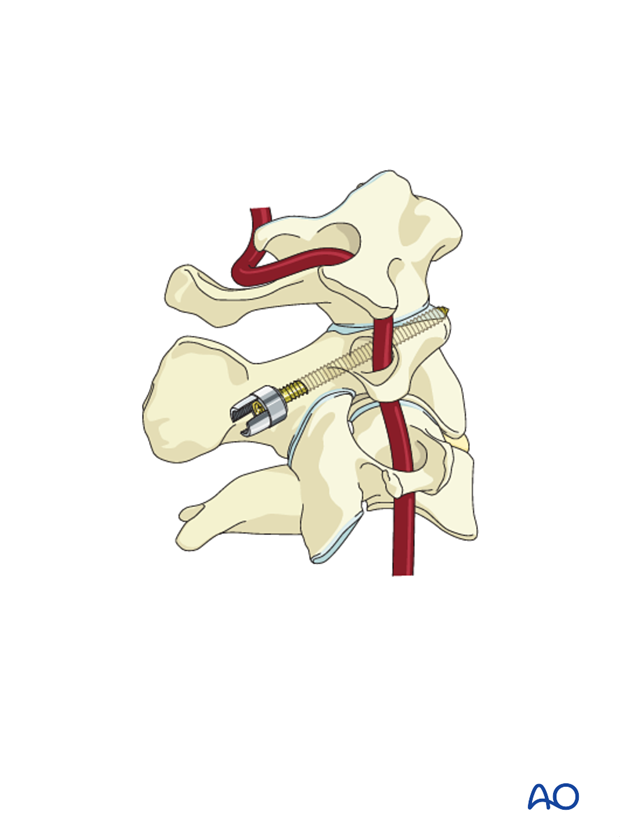
C2 pedicle screw insertion
1. Introduction
Pedicle screws in C2 may be used in the management of trauma, tumors, and degenerative conditions in the cervical spine.
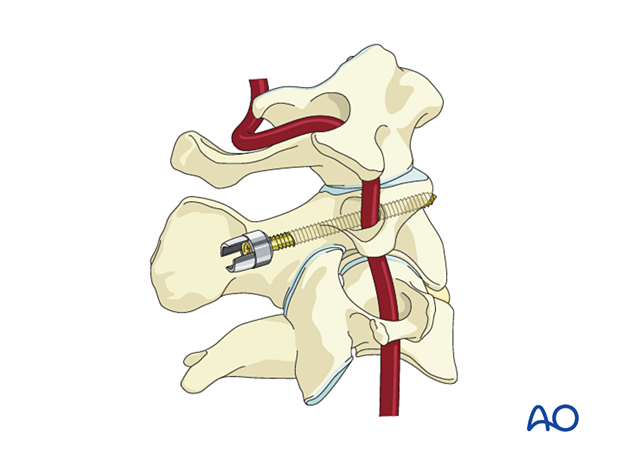
2. C2 pedicle screw vs pars screw
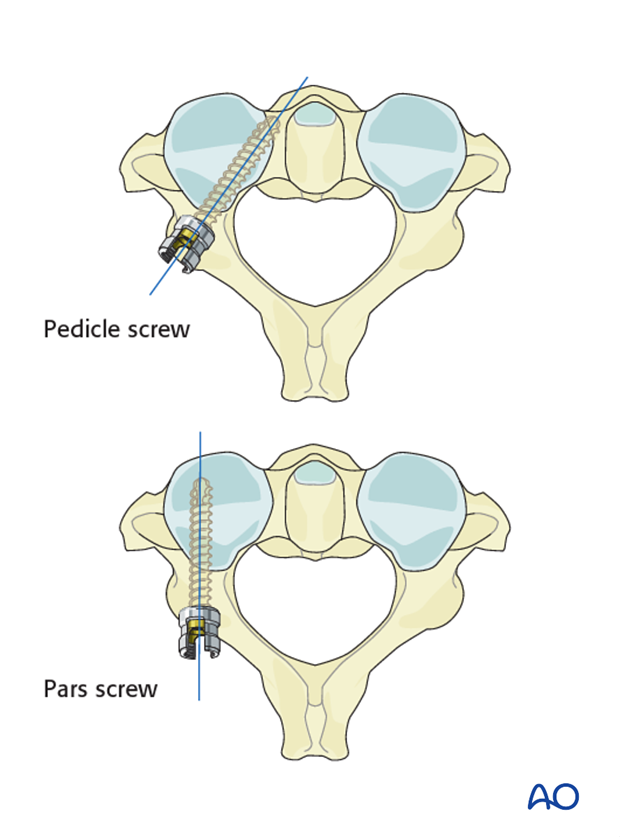
When only a C1–C2 arthrodesis is done, a C2 pedicle screw is preferred over a C2 pars screw. This is because the pars screw starting hole is more distal and therefore requires more muscle dissection. But, if it is not possible to use a C2 pedicle screw, a C2 pars screw is used.
3. Preoperative evaluation
A preoperative CT image must be evaluated to determine if this screw can be used. Some patients have a pedicle that is too small to accept such a screw.
4. Screw entry point
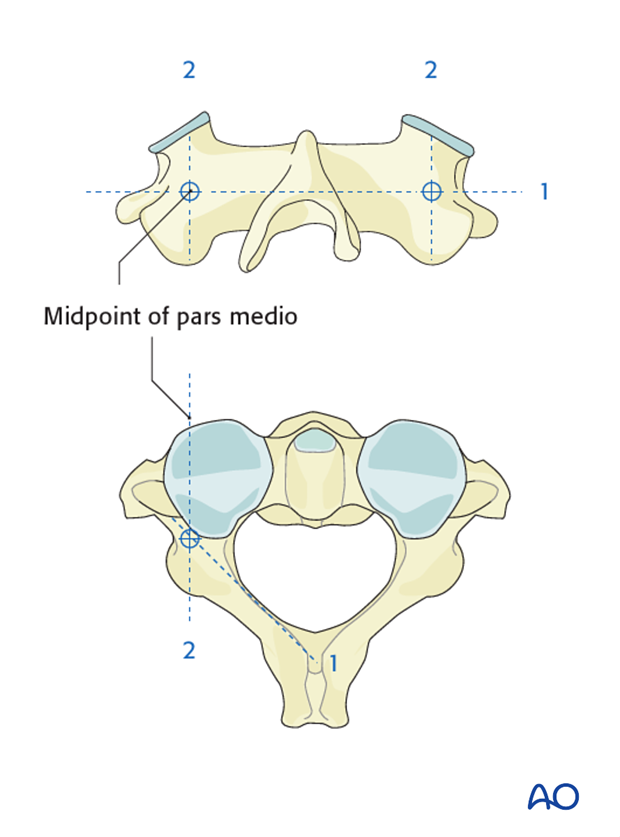
The pedicle screw starts more cranially than the pars screw and is directed medially.
To find the starting point for the pedicle screw, draw a line along the cranial leading edge of the C2 lamina (1).
Then, draw a line along the midpoint of the pars mediolaterally (2) (see illustration).
5. Drilling
Burr a starting hole 2 mm lateral to this intersection.
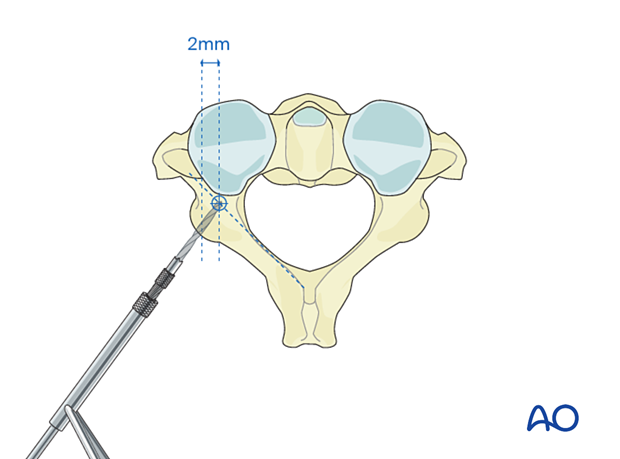
Use either a pedicle probe or a handheld drill to drill the hole for the pedicle screw.
The direction of the drill is approximately 30°–45° medial and craniocaudally angled to the bottom half of the tubercle of C1.
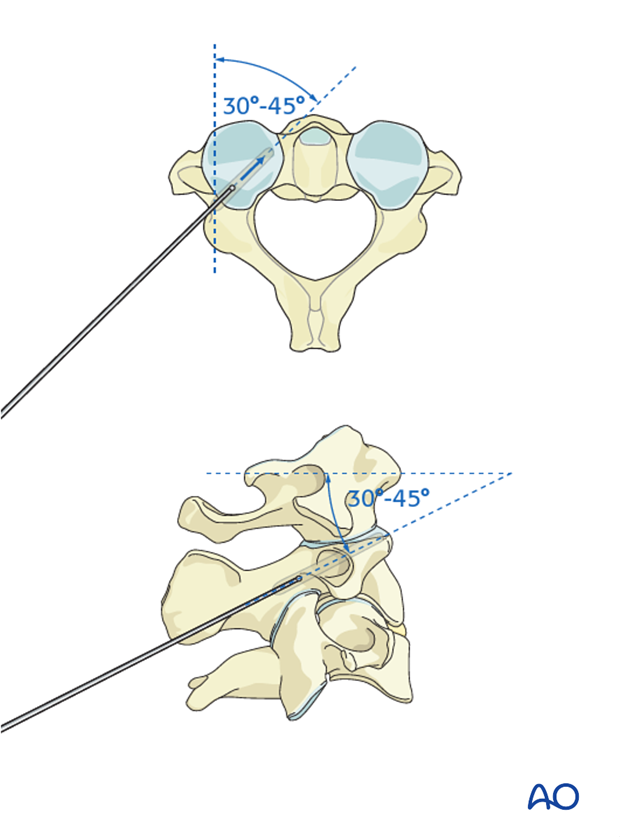
6. Screw insertion
Tap, measure the length, and place the screw. Typically, a unicortical screw that is longer than 20 mm is adequate.
