Closed reduction - Casting
1. General considerations
Introduction
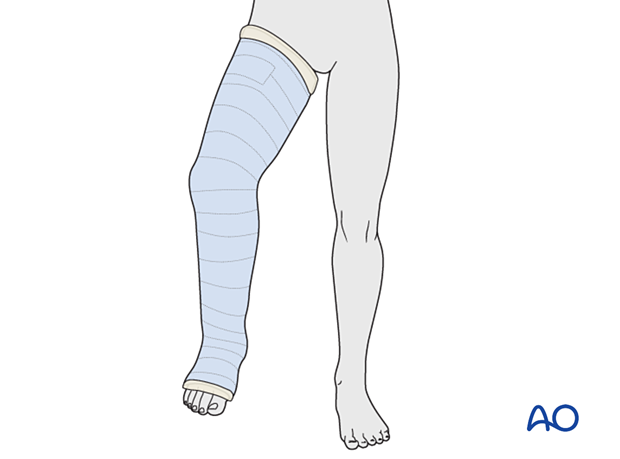
Unstable injuries of the proximal tibia usually require closed reduction under anesthesia and a long leg cast.
It may be necessary to split the cast to accommodate swelling.
Complications
- Pressure sores
- Skin irritation
- Loss of reduction
- Compartment syndrome
- Thermal burns (avoid using hot water)
The leg should not be immobilized in hyperextension as this puts the anterior cruciate ligament under excessive tension and can also cause pre-patellar skin necrosis.
Managing reduction
Closed reduction of proximal tibial fractures may be difficult. Support from at least one assistant is recommended as this provides countertraction and stabilizes the proximal leg.
2. Preparation
Place the patient in a supine position on a radiolucent table.
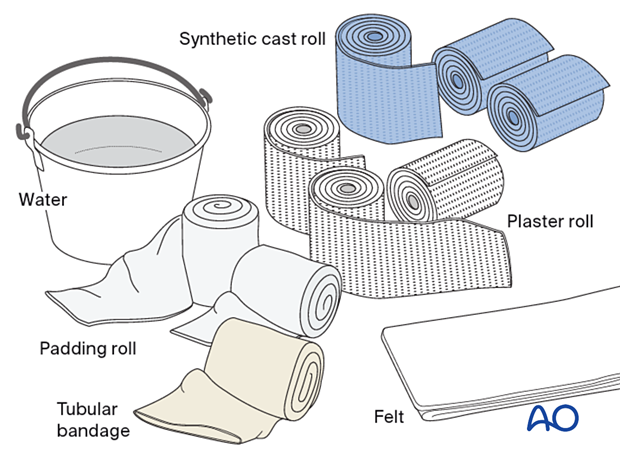
Material
- Tubular bandage (stockinette) of appropriate size
- Cast padding
- Felt
- Casting material: synthetic, plaster of Paris, or a combination of both
- Water
The water temperature should ideally be between 22° and 25° C.
3. Reduction
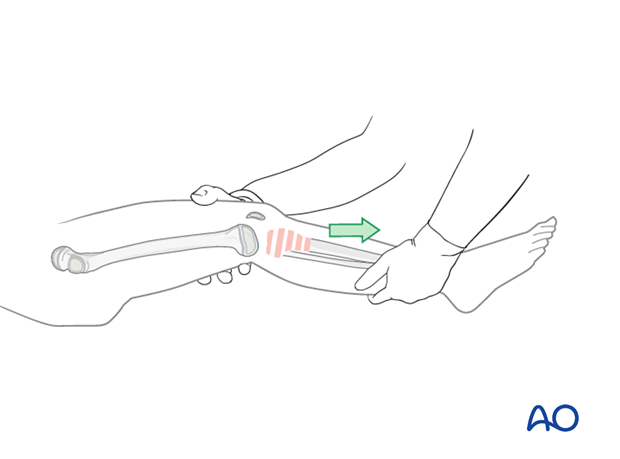
Gentle, prolonged longitudinal traction is the most important maneuver to avoid damage to the physis.
This should be followed by manipulation of the limb for fracture reduction.
An assistant should be available to apply countertraction.
Confirm reduction with an image intensifier.
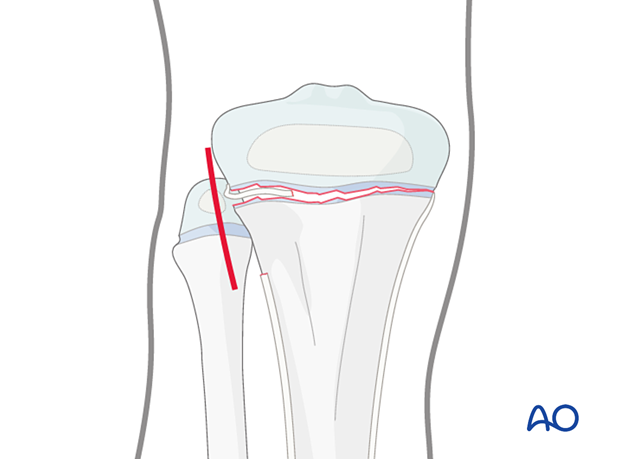
If a gap remains after reduction, a small open approach may be required to release the periosteum.
Open reduction should be considered if closed reduction is unsuccessful.
4. Casting
Dressing
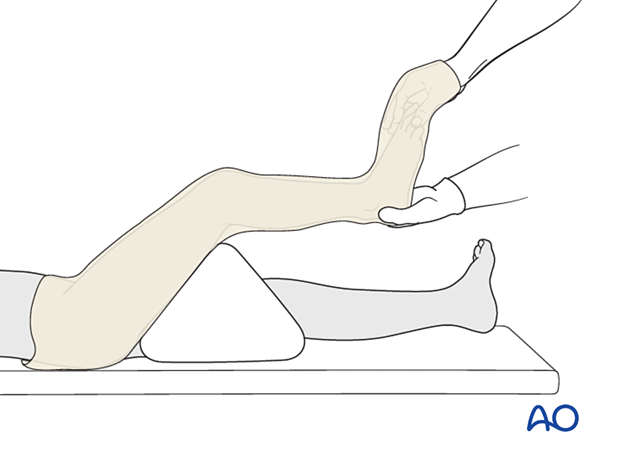
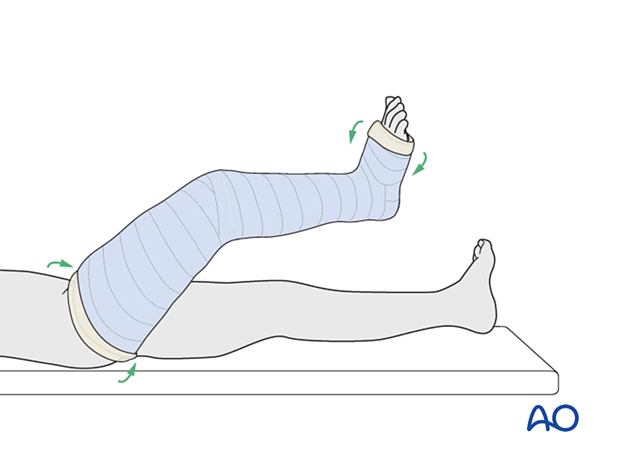
An assistant supports the ankle with the knee in 30° of flexion. A second assistant or triangle supports the thigh.
The distal edge of the cast extends to the base of the toes. The proximal edge lies just below the groin.
Apply a tubular bandage and cut it slightly longer than the length of the final cast.
The assistant holds the toes, not the stockinette, with the ankle in a neutral position.
Padding
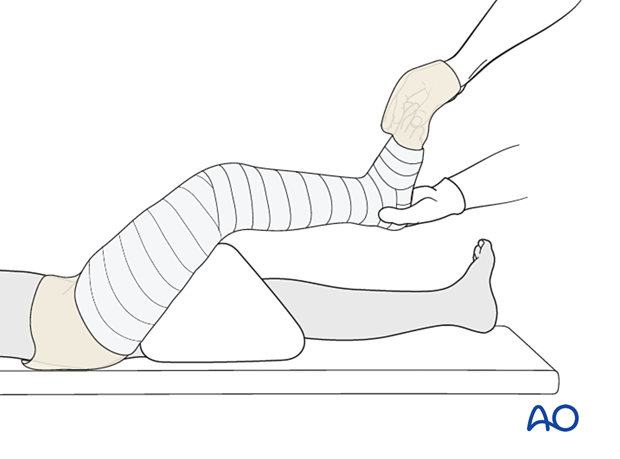
Add thick felt or additional padding at the free edges of the cast and prominent areas (eg, fibular head, patella, tibial crest, malleoli, and heel) to prevent pressure sores.
Apply cast padding without creases, overlapping each layer by 50%.
It should be appreciated that, when more padding is applied, there will be less support at the injury site.
Cast application
The assistant holds the ankle in a neutral position, with the knee in 20°–30° of flexion, if the fracture configuration allows.
Apply the first layer of cast material down to the malleoli and overlap each layer by 50%.
Mold the cast to correct deformity.
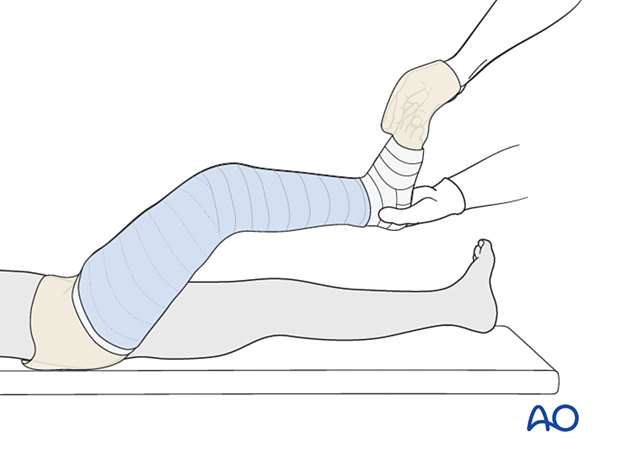
When the cast starts to harden, extend it to include foot and ankle.
Apply further layers of cast material to produce sufficient stability.
Avoid sharp edges at the ends of the cast.
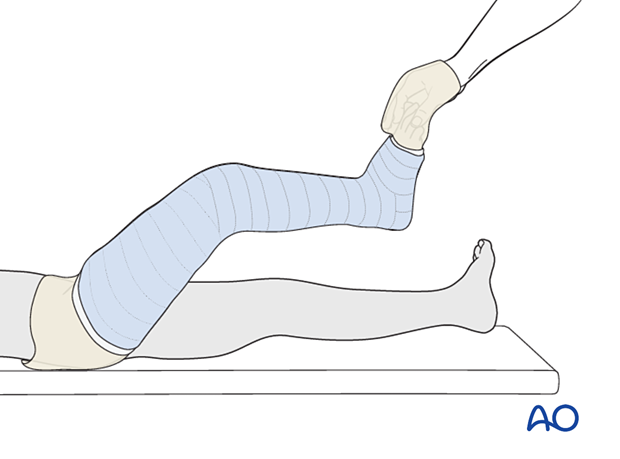
Fold the tubular bandage and padding over the lower edge of the cast before applying the final layer of casting material.
Ensure that all toes are visible for vascular assessment.
5. Final assessment
After cast application, check the fracture configuration with x-rays in both planes.
Confirm normal toe color and capillary refill at the end of cast application.
6. Aftercare
Instructions to parents/carers
Parents/carers should understand the following precautions and instructions:
- Elevate the foot to the level of the heart to avoid swelling
- Check daily for swelling, discoloration, and impaired toe circulation (any of which should be reported urgently)
- Immediately report signs suggesting skin irritation ulceration, and cast soiling
- Make sure the cast padding remains dry and avoid inserting anything between the cast and skin
Immediate postinjury care
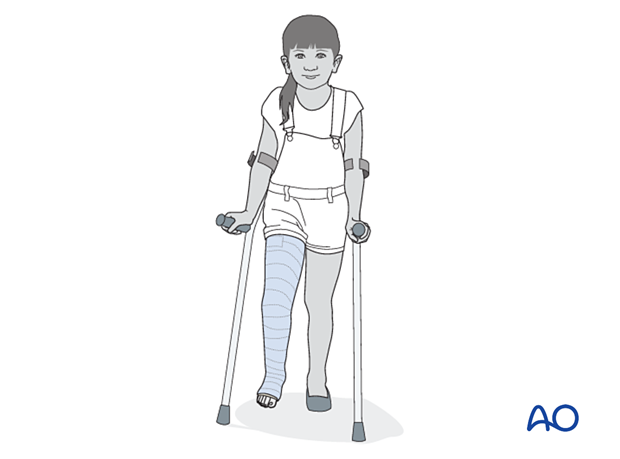
Non-weight-bearing or touch weight-bearing is encouraged for unstable injuries.
Older children may be able to use crutches or a walker.
Younger children may require a period of bed rest followed by mobilization in a wheelchair.
Pain control
Routine pain medication is prescribed for 3–5 days after injury if required.
Neurovascular examination
The patient should be examined frequently to exclude neurovascular compromise or evolving compartment syndrome.
Follow-up
The first clinical and radiological follow-up is usually undertaken 1–2 weeks after injury to confirm fracture stability.
A radiological follow-up for consolidation should be taken after about 4 weeks. When clinical and radiological signs indicate that the fracture no longer needs external support, the cast can be removed.
Mobilization
After cast removal, graduated weight-bearing is usually possible.
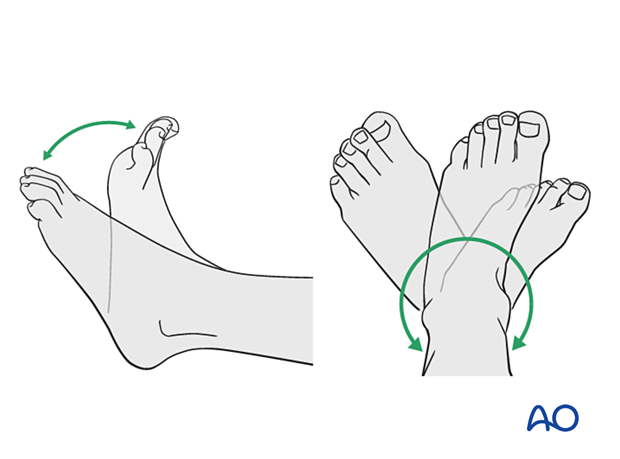
Patients are encouraged to start range-of-motion exercises. Physiotherapy supervision may be necessary in some cases but is not mandatory.
Activities that involve running and jumping are not recommended until full recovery of local symptoms.
Follow-up for growth disturbance
All patients with fractures of the proximal tibia should have clinical and radiological examination 8–12 weeks postoperatively to confirm healing and alignment.
Clinical examination should be repeated at intervals for at least one year to detect early signs of growth disturbance.
If there is a clinically relevant leg length discrepancy or malalignment, radiological assessment is required.


