Cerclage compression wiring
1. General considerations
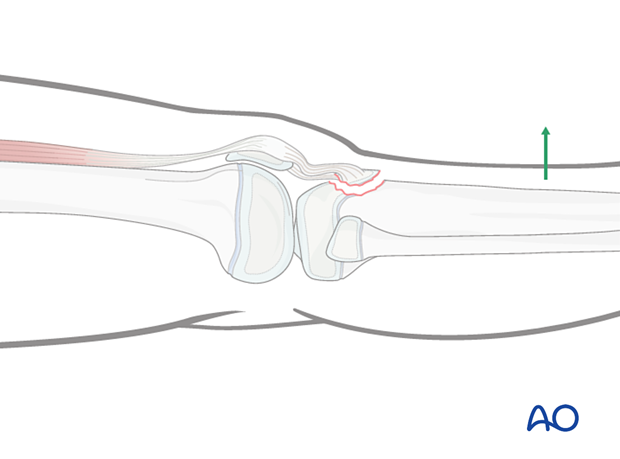
The majority of these fractures are displaced due to the force of the quadriceps through the patellar tendon and require open reduction.
Stable fixation may not be possible in comminuted apophyseal avulsion fractures or fractures with small fragments.
These fractures may require stabilization with a cerclage compression wiring.
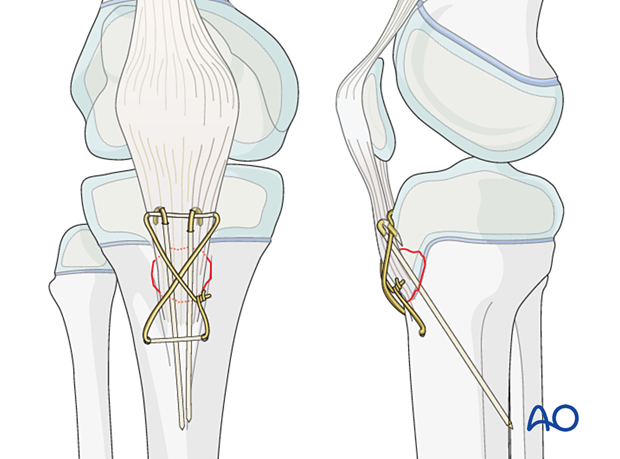
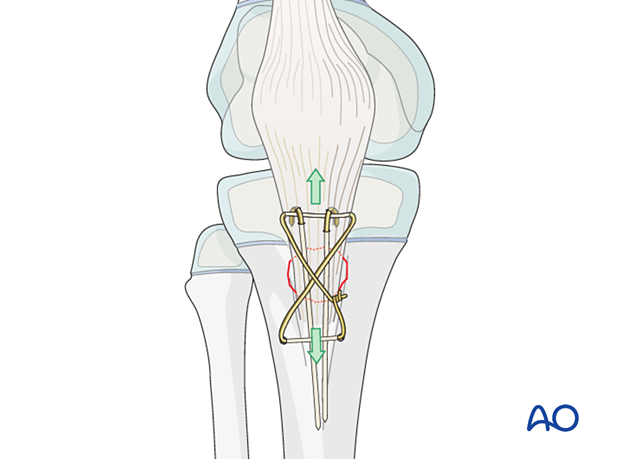
The cerclage wire counteracts the pull of the quadriceps.
Choose a wire of sufficient strength to withstand the tensile forces.
The figure-of-eight loop can be constructed from steel cable or nonabsorbable fiber wire.
2. Patient preparation
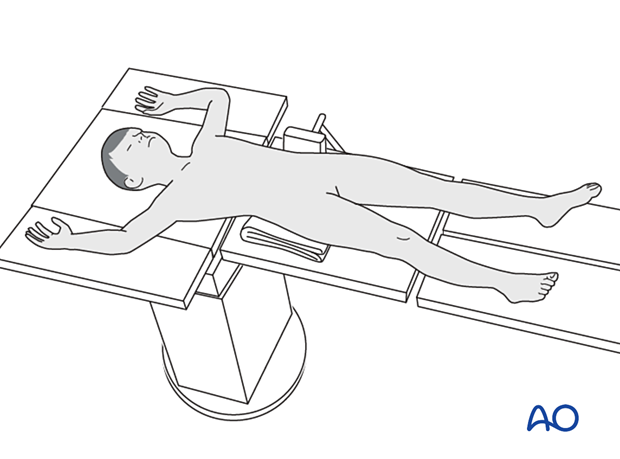
Place the patient in a supine position without traction on a radiolucent table with the knee extended.
3. Approach
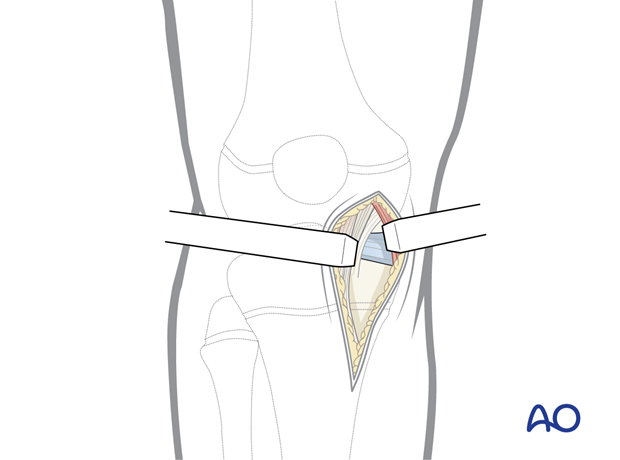
This procedure is commonly performed with a medial parapatellar incision but a lateral parapatellar incision may provide better exposure and depends on the fracture configuration.
4. Reduction
Reduction may be achieved by hyperextending the knee.
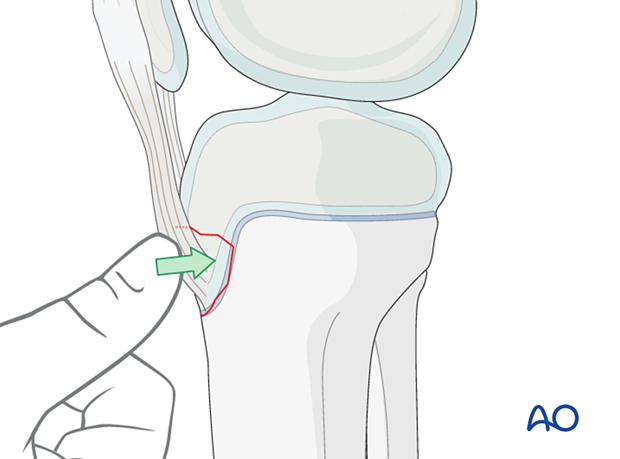
Reduce the fracture manually or with a small reduction forceps placed on the anterior tibial cortex and the bone fragment …
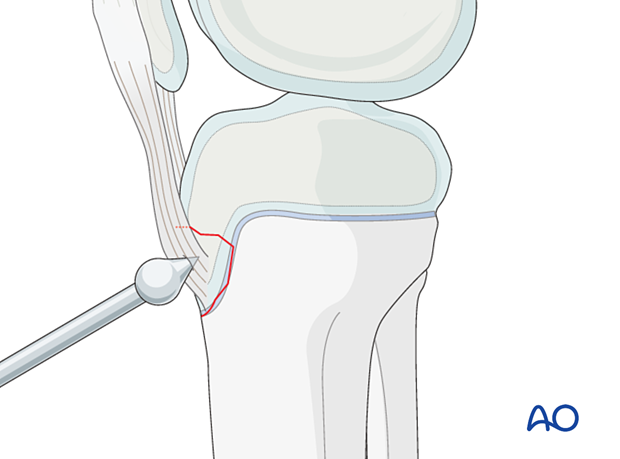
… or a ball-spike pusher.
The reduction may additionally be secured by temporary K-wires.
5. Cerclage wire application
K-wire insertion
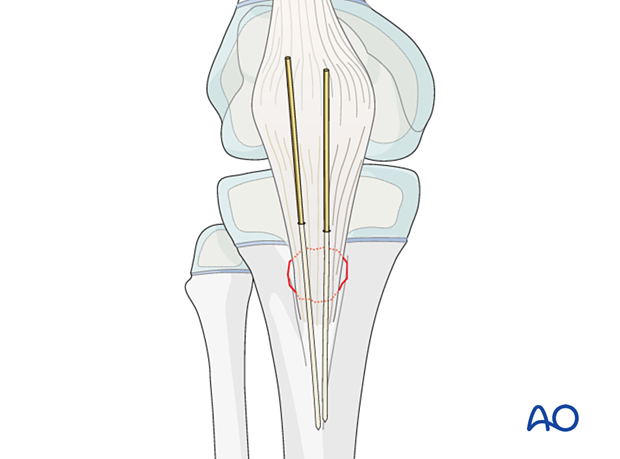
Insert two parallel K-wires through the proximal part of the tibial tuberosity in a posterodistal direction to engage the posterior cortex of the tibia.
The K-wires provide rotational stability.
Select K-wires at least 2.0 mm thick to reduce the risk of breakage.
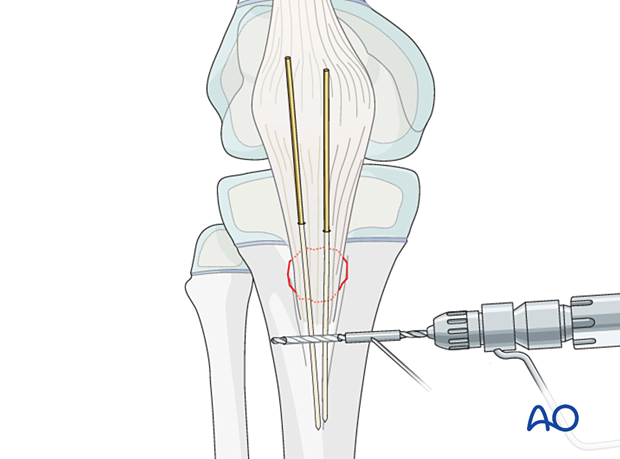
Drilling a hole
Drill a horizontal hole through the tibial crest, distal to the apophysis.
Use either a low speed 2.5 mm drill, or 2 mm K-wire, with a drill guide for soft-tissue protection.
Wire application
Pass a cerclage wire (or alternatively fiber wire or PDS) through the drill hole with a suture passer.
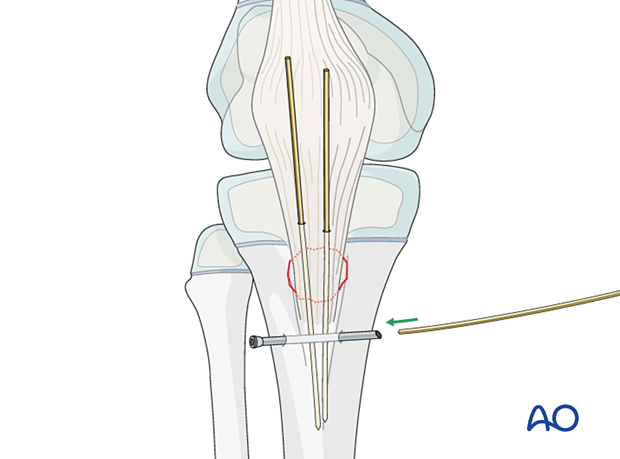
Insert the wire through the fibers at the insertion of the patellar tendon in the tibial tuberosity just proximal to the insertion of the K-wire-wires.
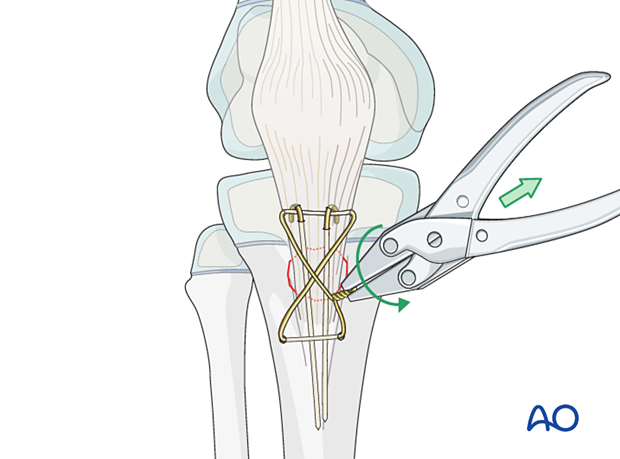
The wire is placed in a figure-of-eight configuration.
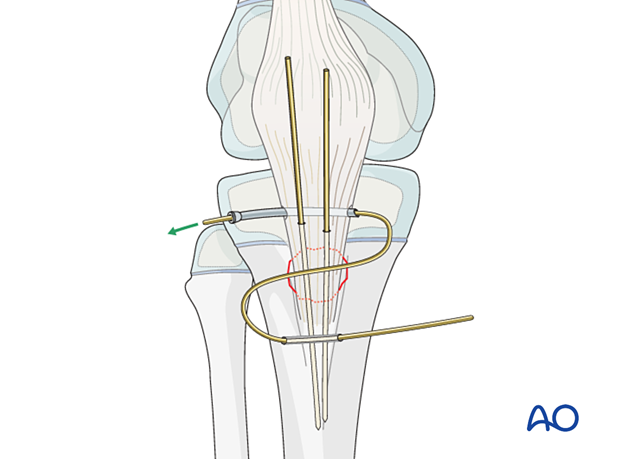
Anchoring the K-wire
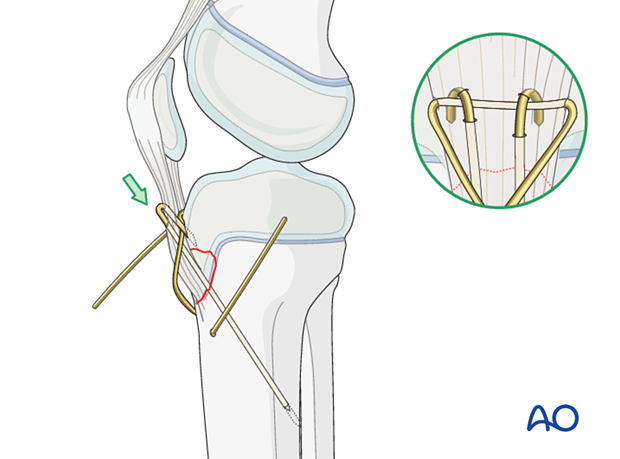
Check the position of the K-wires using image intensification.
If the tips of the wires are in contact with the far cortex, retract by about 2 mm.
Bend them through 180°, cut the wires to form small hooks, and impact the bent tips into the bone.
The hooks should be positioned proximal to the wire loop.
Tightening the wire
Once the fragment is reduced, the wire loop is tightened, cut short, and bent to avoid soft-tissue irritation.
When tightening the wire, ensure that both ends are twisted around each other rather than twisting one end around a straight second wire.
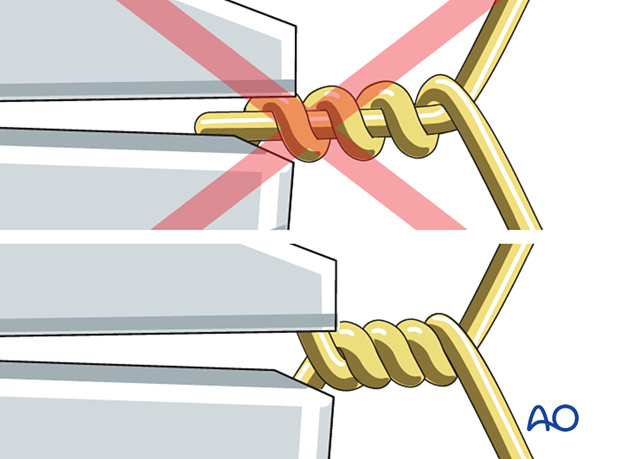
This is achieved using pliers to apply continuous traction whilst twisting the loop to take up the slack.
6. Final assessment
Check reduction of the fragment, the implant position, and tension of the patellar tendon under direct vision and with an image intensifier.

7. Immobilization
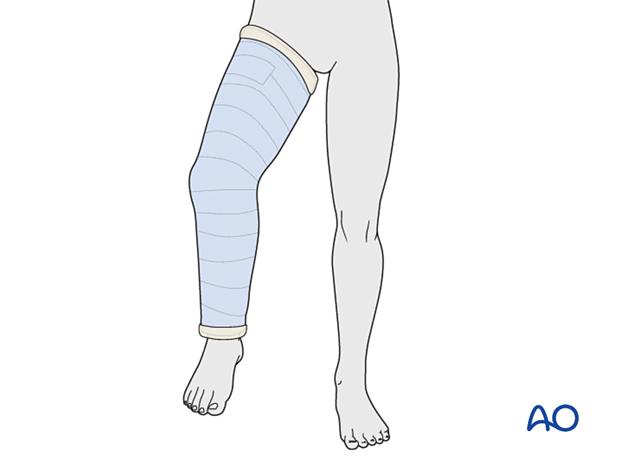
Depending on fixation stability, fracture size and soft-tissue damage, a cylinder cast with the knee flexed 20°–30° should be applied for 4 weeks.
The patient is kept touch-weight bearing.
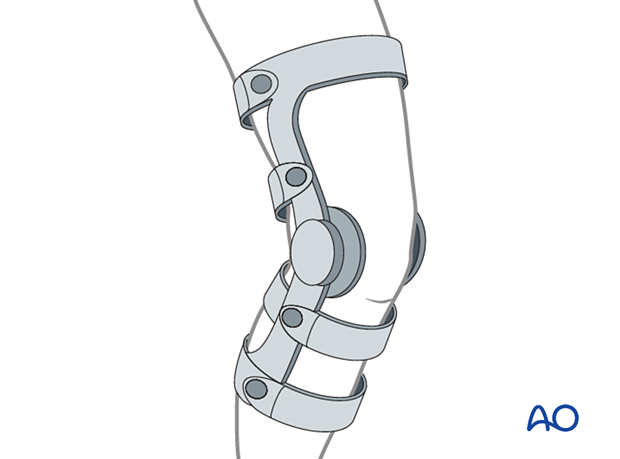
Alternatively, a hinged knee brace may be used with a gradually increasing range of motion over 4 weeks, with the patient instructed to remain touch-weight bearing.
8. Aftercare
Neurovascular examination
The patient should be examined frequently, to exclude neurovascular compromise or evolving compartment syndrome in the period immediately following the injury.
Follow-up
The first clinical and radiological follow-up is usually undertaken after 6 weeks to confirm consolidation of the fracture.
Growth disturbance is not common as the fracture generally occurs in patients close to skeletal maturity. In younger patients, growth disturbance is more likely and requires close clinical follow-up.
Bony overgrowth at the apophysis is possible and may lead to local irritation or pain.
Implant removal
Implants should be removed after 3–4 months.


