Immobilization with a cast
1. Principles
General considerations
Proximal forearm fractures require a long arm cast to control forearm rotation and therefore decrease the risk of displacement.
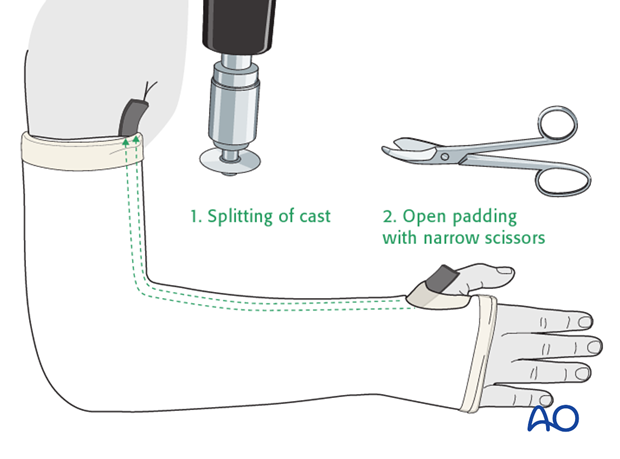
If a complete cast is applied in the acute phase after injury, it is safer to split the cast down to skin over its full length.
Pediatric considerations
Simple application of a plaster of Paris (POP) or fiberglass cast is performed without sedation in older children and in compliant younger children.
The environment should be one in which the child and the parents/carers are comfortable.
Important considerations include:
- A child-sensitive approach
- A child-friendly clinical area
- Careful explanation of the procedure, in language that is understood by the child and the parents/carers
- Availability of all equipment and material
When a procedure including manipulation is required, general anesthesia or conscious sedation is usually necessary.
2. Preparation for cast application
Equipment
- Examination couch
- Tubular bandage (40-80 mm wide, depending on the size of the child)
- 2-4 rolls of padding (40-150 mm wide, depending on the size of the child)
- 2-8 plaster of Paris (POP) or synthetic fiberglass bandages (40-150 mm wide, depending on the size of the child)
- Malleable (thermoplastic, leather, or lead) strip
- Bucket with cold water
- Protective aprons for the team members and the child
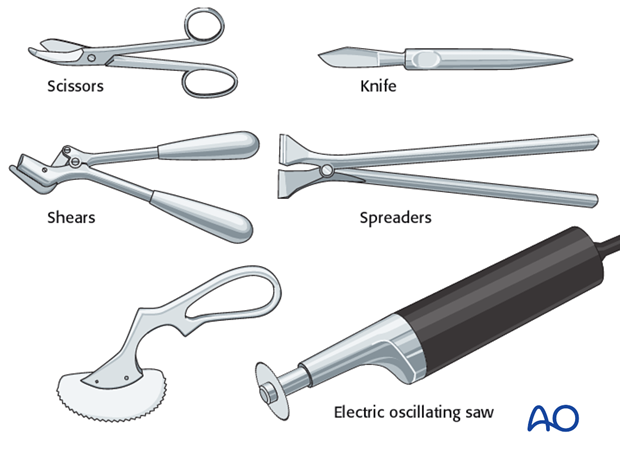
- Appropriate equipment to cut, split, or remove the cast
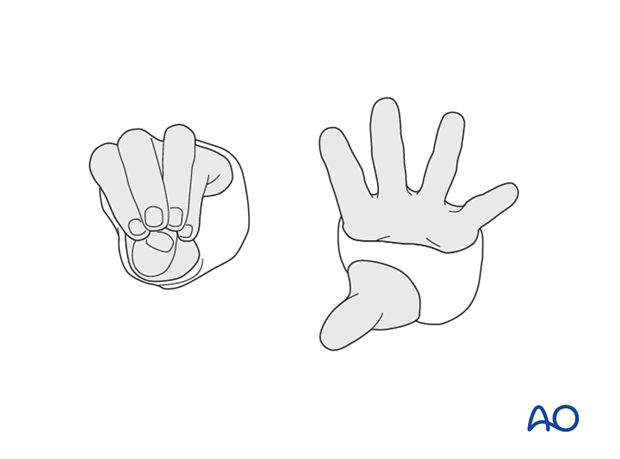
Pearl: Finger traps
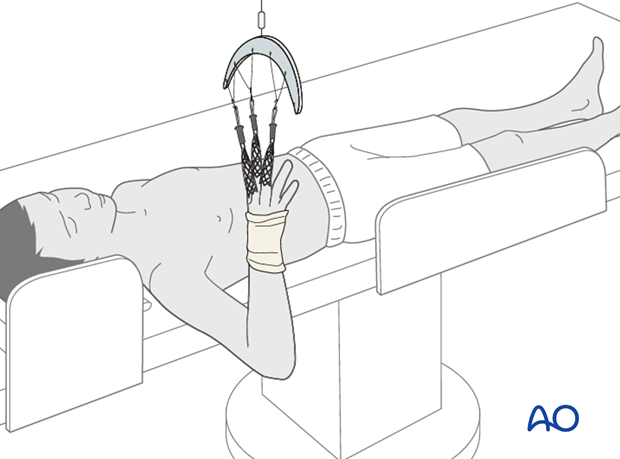
Holding the arm using finger traps as illustrated allows easy manipulation, reduction, imaging, and mobilization for a surgeon working without an assistant.
To avoid damage to the skin of the fingers ensure that the pressure is evenly distributed, and that prolonged or excessive force is avoided.
3. Cast application
Arm position
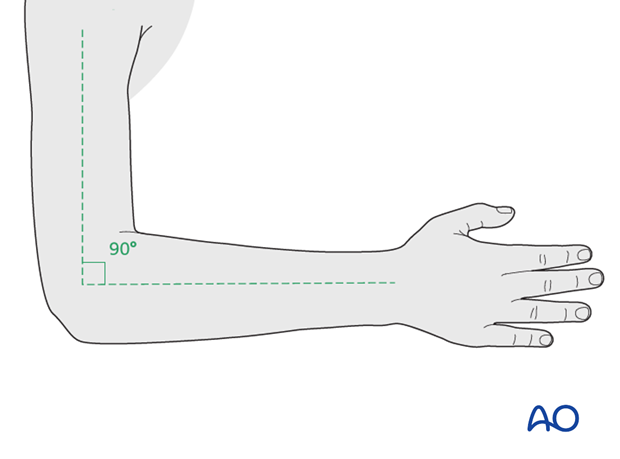
Flex the elbow to 90° prior to application of the tubular bandage and padding, to avoid compression at the antecubital fossa.
Place the forearm in neutral rotation for undisplaced, stable fractures.
Preparation for splitting the cast
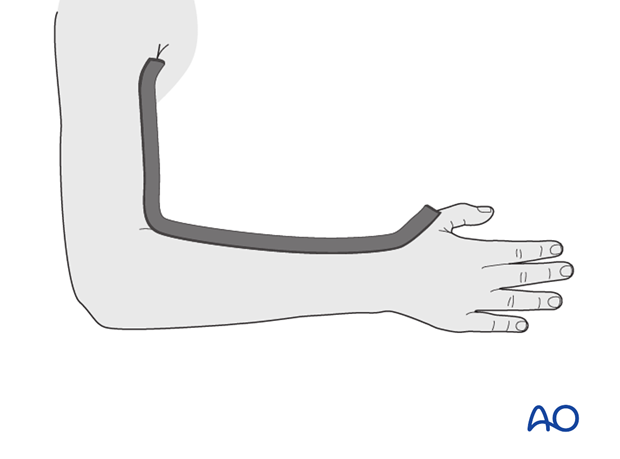
A temporary malleable (thermoplastic, leather or lead) strip can be placed beneath the tubular bandage, prior to plaster application, to protect the skin when plaster splitting is required.
The location of the strip should be planned to avoid areas of molding.
Application of tubular bandage
Apply a tubular bandage, directly onto the skin and malleable strip, from the axillary crease to just distal to the MCP joints allowing sufficient bandage for protection of the cast edges.
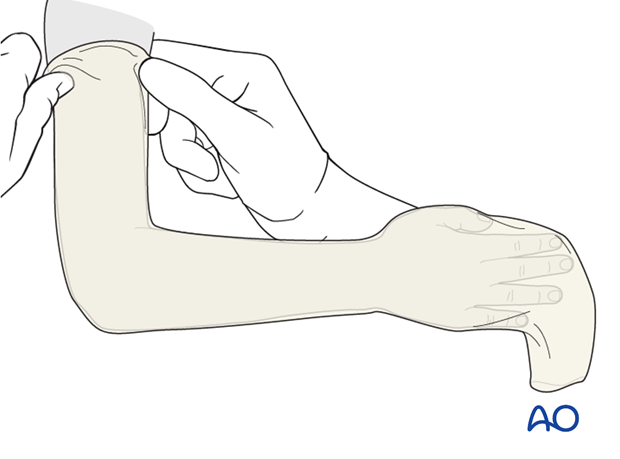
Cut a hole for the thumb.
Application of padding
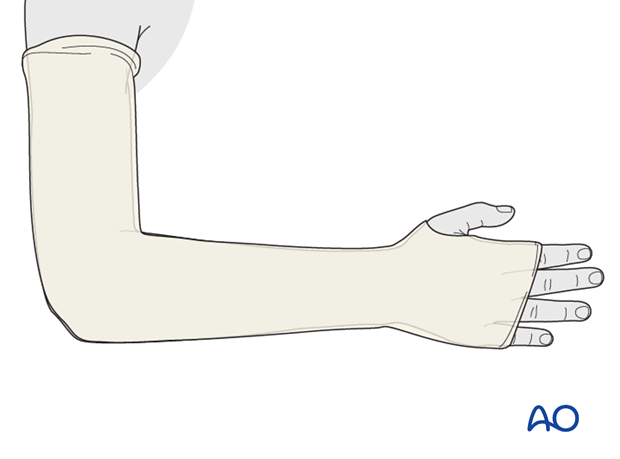
Apply a single layer of padding from the MCP joints of the fingers and thumb to the axillary crease.
Overlap each layer by 1/2.
Apply extra padding over pressure areas, including the olecranon.
Take care not to constrict the antecubital fossa.
The tubular bandage and padding should be applied without creases.
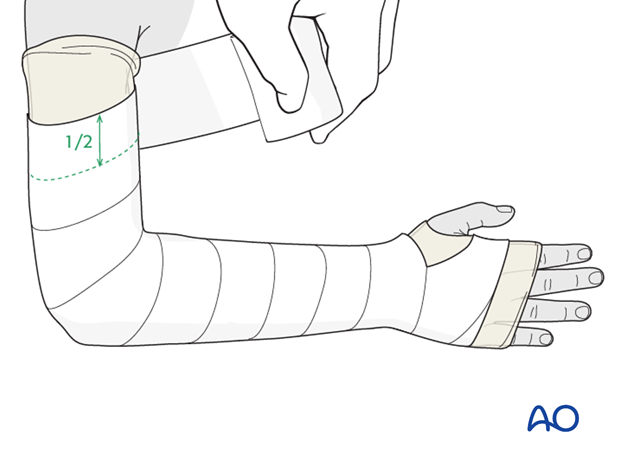
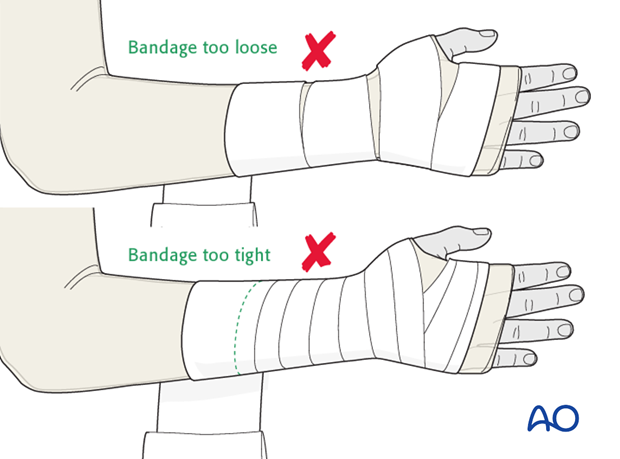
Consistent firm but not tight wrapping should result in a neat stable layer of padding that does not constrict the arm.
Application of plaster
Immerse the POP/fiberglass bandage for 5-10 seconds and then remove excess water by gentle squeezing.
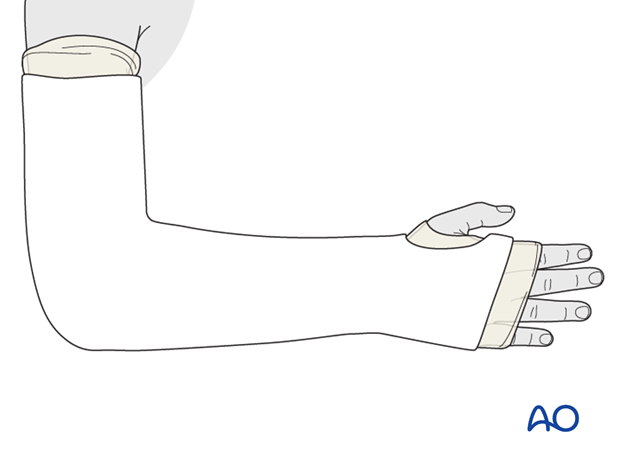
Apply a first layer of circumferential POP/fiberglass.
The plaster extends distally exposing the metacarpal heads and palmar flexor crease and proximally to just distal to the axillary crease.
Trim excess plaster to accommodate the thumb and fingers.
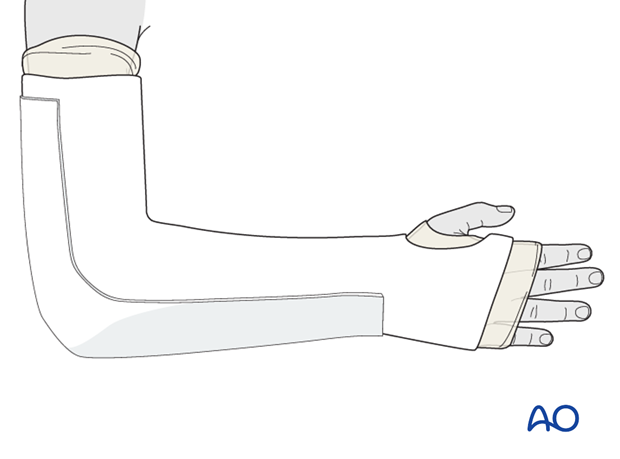
Apply a slab the width of the forearm over the ulnar aspect and the posterior humerus.
Completion of plaster cast
Fold the proximal and distal ends of the tubular bandage over the cast and cover the cast with an additional single layer of POP/fiberglass bandage.
Ensure that the edges of the cast are well-padded and smooth, to avoid abrasion during the period of plaster immobilization.

Molding the cast
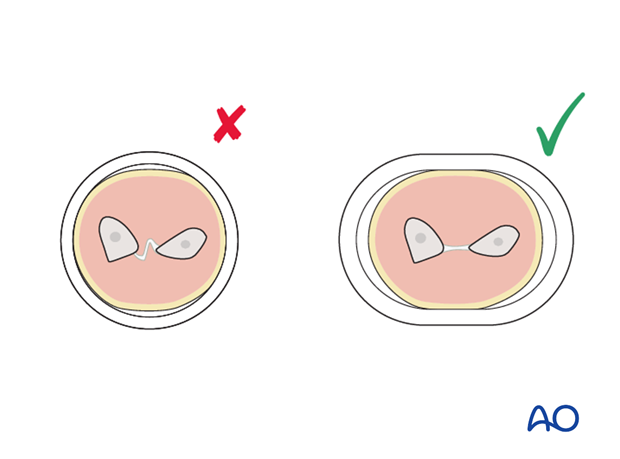
For an undisplaced fracture the cast should be molded to an oval cross-section to match the shape of the forearm.
The assistant should support the limb until the cast is hardened.
4. Final assessment
Compartment syndrome
The ability to fully extend the fingers passively, or actively, without discomfort indicates absence of muscle compartment ischemia.

Flexion of MCP joints
Care should be taken to ensure that the plaster cast does not restrict flexion of the MCP joints.
Sling
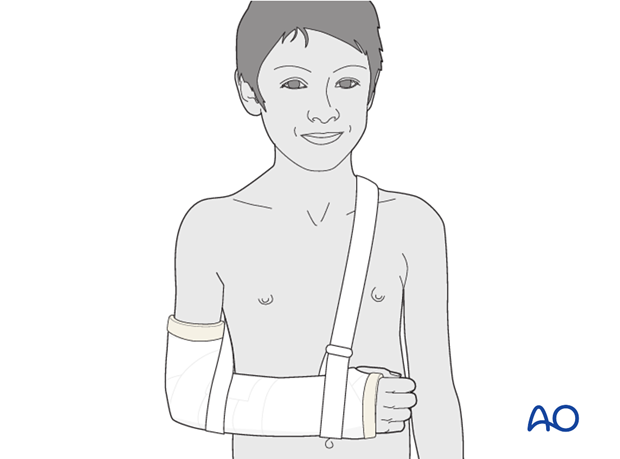
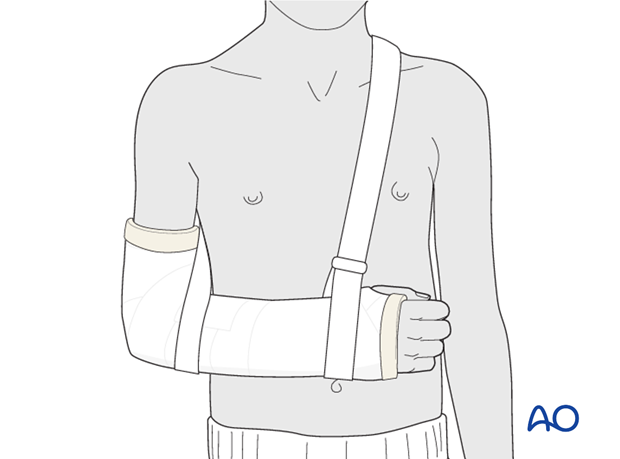
The arm is supported in a broad arm sling.
5. Cast splitting
When required, the plaster should be split along the entire length.
Once the cast is hardened, mark it, then split using an oscillating saw, a hand saw, or a sharp plaster knife (1).
Take great care to avoid injury to the underlying skin.
Widen the split with a cast spreader. Then divide the underlying padding with scissors (2) and remove the protective strip to expose the skin.
Apply a crêpe bandage to protect the split cast.
When the swelling has subsided (after 5-7 days), complete the cast with a single POP bandage.
