Cast or splint fixation without reduction
1. Principles
Pediatric considerations
Simple application of a plaster of Paris (POP) or fiberglass cast for an undisplaced, stable fracture is performed without sedation in older children and in compliant younger children.
The environment should be one in which the child and the parents/carers are comfortable.
Important considerations include:
- A child-sensitive approach
- A child-friendly clinical area
- Careful explanation of the procedure, in language that is understood by the child and the parents/carers
- Availability of all equipment and material
When a procedure including manipulation is required, general anesthesia or conscious sedation is usually necessary.
General considerations
Forearm diaphyseal fractures require a long arm cast to control forearm rotation and therefore decrease the risk of displacement.
Correct molding of the cast helps to prevent displacement of the fracture.
If a complete cast is applied in the acute phase after injury, it is safer to split the cast down to skin over its full length.
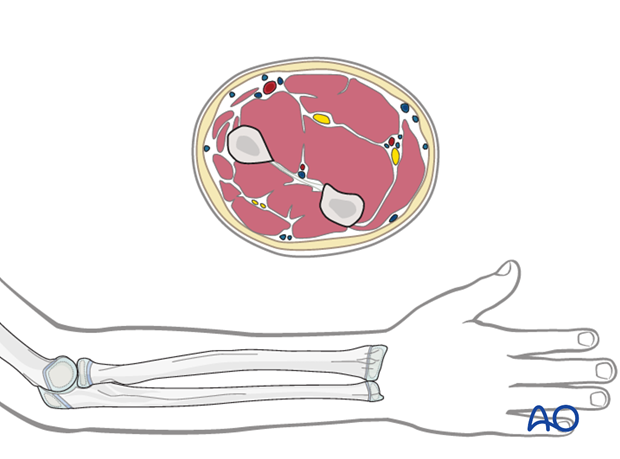
An understanding of the forearm surface anatomy particularly bony prominence and the cross-sectional contour is important for safe application of a cast. Read more here.
Cast versus splint
A splint may be preferred to a cast in three situations:
- Stable injuries with no risk of displacement
- Injuries with a greater degree of soft-tissue swelling
- Temporary immobilization before operative fixation
Advantages
- Potentially lower risk of compartment syndrome
- No need for cast-saw removal
Disadvantages
- Less stability
- Difficult or impossible to provide effective molding
2. Preparation for cast application
Equipment
- Examination couch
- Tubular bandage (40-80 mm wide, depending on the size of the child)
- 2-4 rolls of padding (40-150 mm wide, depending on the size of the child)
- 2-8 plaster of Paris (POP) or synthetic fiberglass bandages (40-150 mm wide, depending on the size of the child)
- Malleable (thermoplastic, leather, or lead) strip
- Bucket with cold water
- Protective aprons for the team members and the child
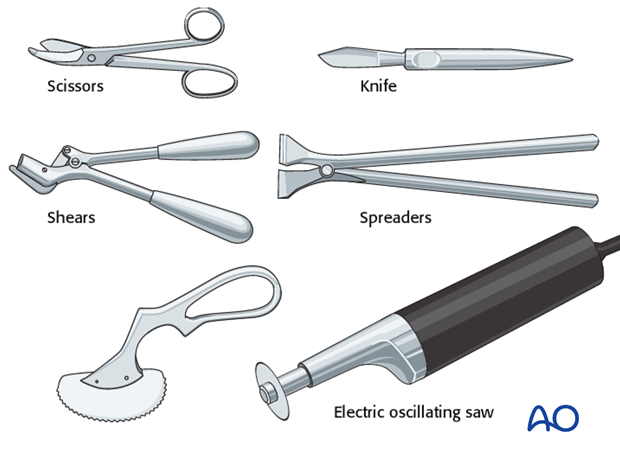
- Appropriate equipment to cut, split, or remove the cast
Patient preparation
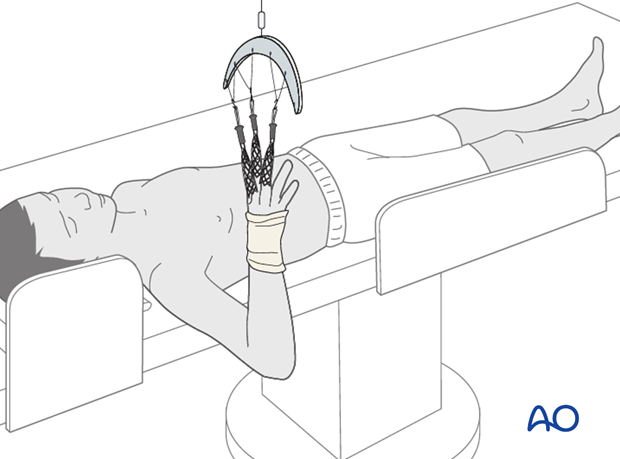
This procedure is normally performed with the patient in a supine position.
Pearl: Holding the arm using finger traps as illustrated allows easy manipulation, reduction, imaging, and mobilization for a surgeon working without an assistant.
To avoid damage to the skin of the fingers ensure that the pressure is evenly distributed, and that prolonged or excessive force is avoided.
3. Cast application
Arm position
Flex the elbow to 90° prior to application of the tubular bandage and padding, to avoid compression at the antecubital fossa.
Place the forearm in neutral rotation for undisplaced, stable fractures.
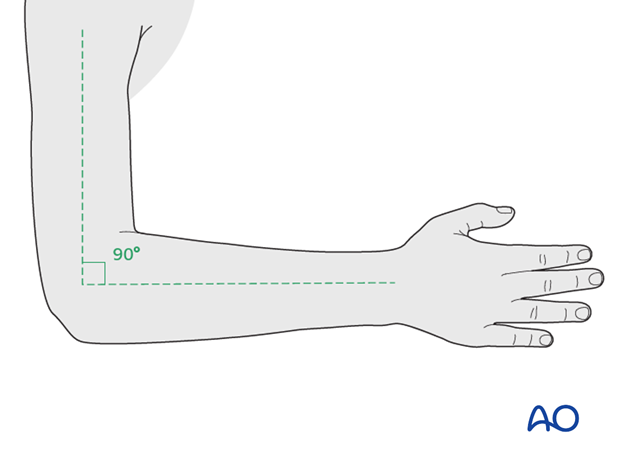
Preparation for splitting the cast
A temporary malleable (thermoplastic, leather or lead) strip can be placed beneath the tubular bandage, prior to plaster application, to protect the skin when plaster splitting is required.
The location of the strip should be planned to avoid areas of molding.
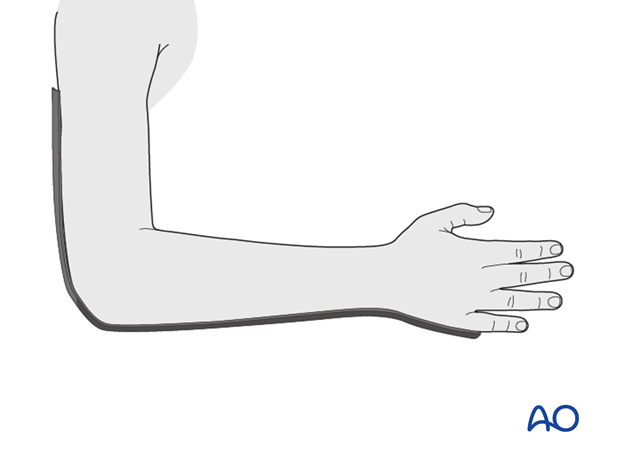
Application of tubular bandage
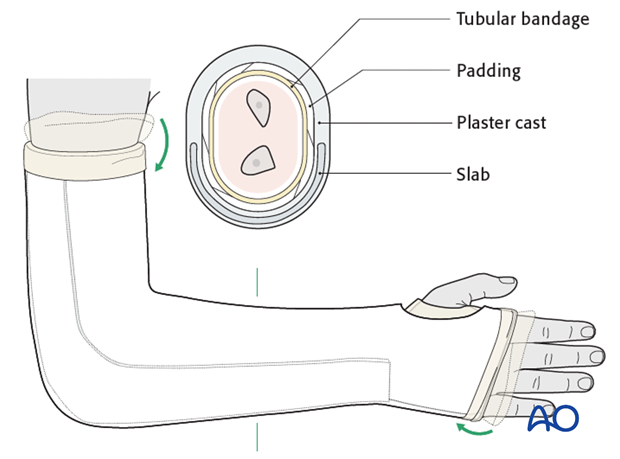
Apply a tubular bandage, directly onto the skin and malleable strip, from the axillary crease to just distal to the MCP joints allowing sufficient bandage for protection of the cast edges.
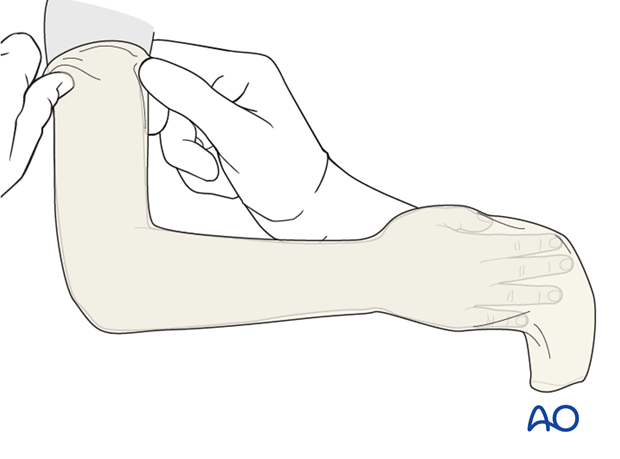
Cut a hole for the thumb.
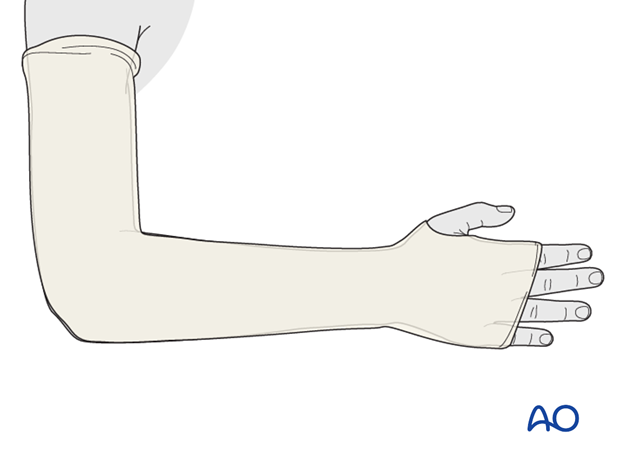
Application of padding
Apply a single layer of padding from the MCP joints of the fingers and thumb to the axillary crease.
Overlap each layer by 1/2.
Apply extra padding over pressure areas, including the olecranon.
Take care not to constrict the antecubital fossa.
The tubular bandage and padding should be applied without creases.
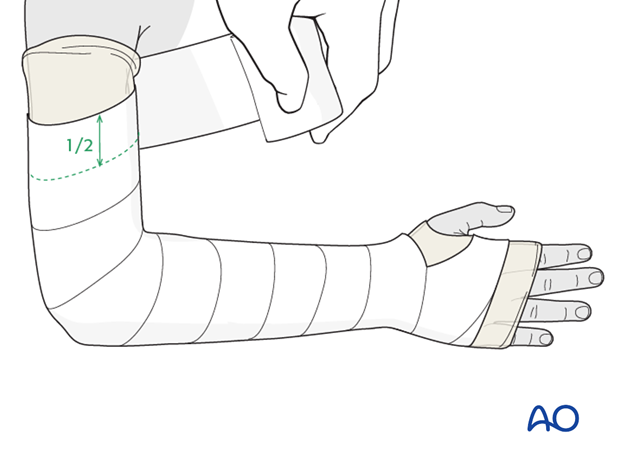
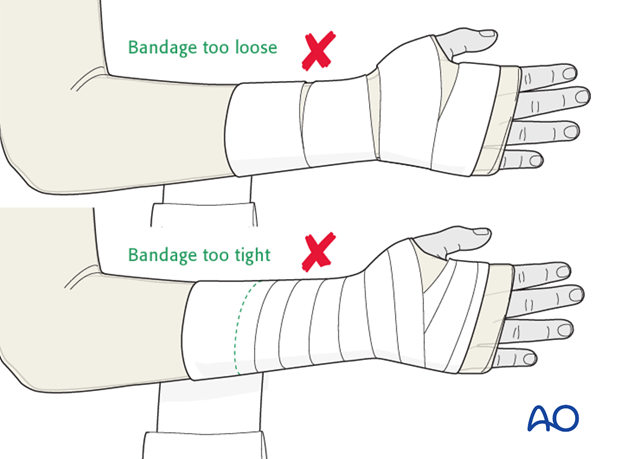
Consistent firm but not tight wrapping should result in a neat stable layer of padding that does not constrict the arm.
Application of plaster
Immerse the POP/fiberglass bandage for 5-10 seconds and then remove excess water by gentle squeezing.
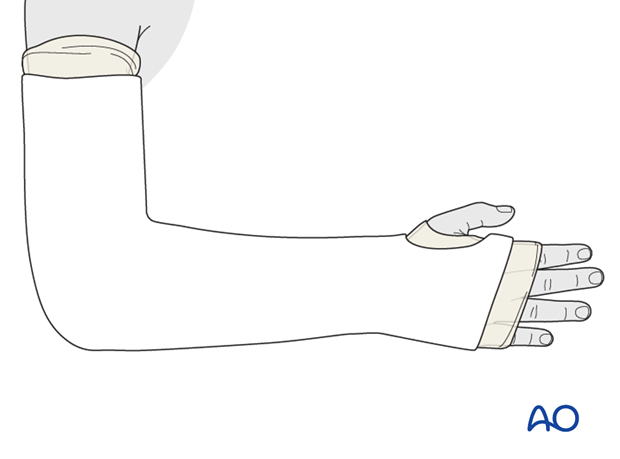
Apply a first layer of circumferential POP/fiberglass.
The plaster extends distally to the metacarpal heads and palmar flexor crease and proximally to just distal to the axillary crease.
Trim excess plaster to accommodate the thumb and fingers.
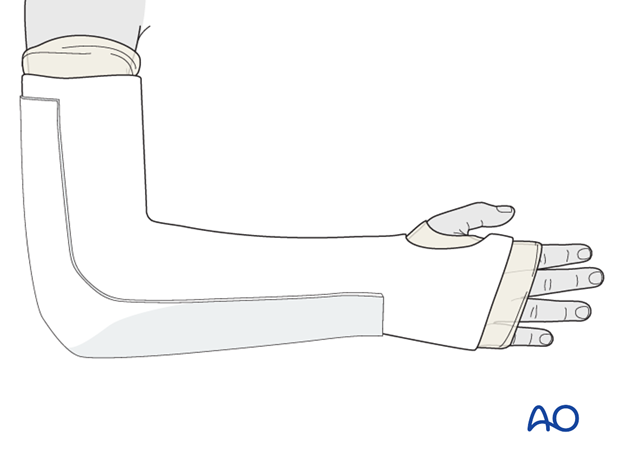
Apply a slab the width of the forearm over the ulnar aspect and the posterior humerus.
Completion of plaster cast
Fold the proximal and distal ends of the tubular bandage over the cast and cover the cast with an additional single layer of POP/fiberglass bandage.
Ensure that the edges of the cast are well-padded and smooth, to avoid abrasion during the period of plaster immobilization.
Molding the cast
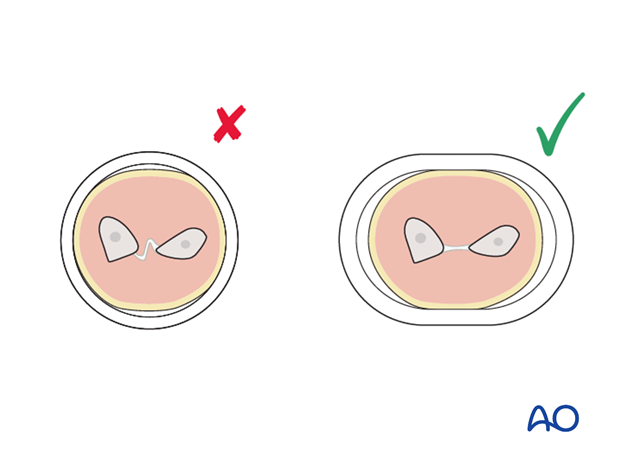
For an undisplaced fracture the cast should be molded to an oval cross-section to match the shape of the forearm.
To prevent displacement, ensure that the ulnar border of the cast is straight.
The assistant should support the limb until the cast is hardened.
4. Final assessment
X-ray evaluation of the cast
An x-ray in both AP and lateral view of a well applied forearm cast will show:
- A cast index of 0.7 or less (width on lateral view/width on AP view; CI = A/B)
- The ulnar border of the cast should be straight.
- If the ulnar border is convex there is a high likelihood that both bones will displace with gravity into an apex ulnar position.

Compartment syndrome
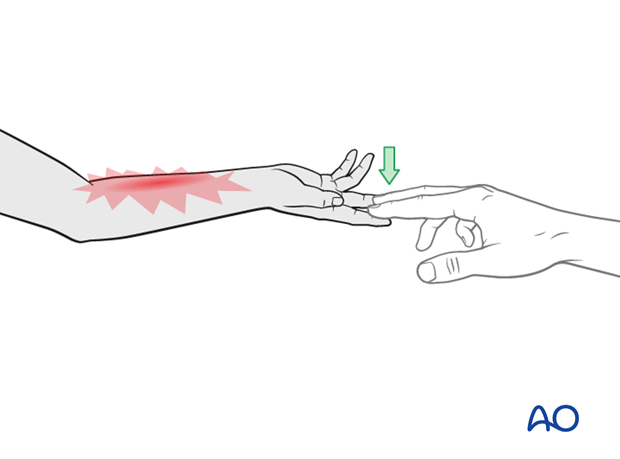
The ability to fully extend the fingers passively, or actively, without discomfort indicates absence of muscle compartment ischemia.
Flexion of MCP joints
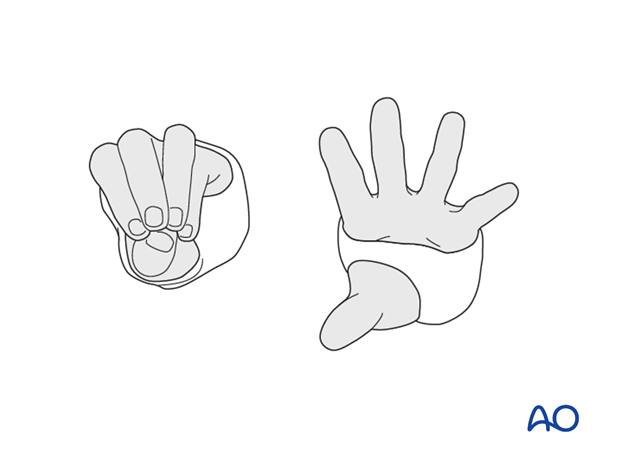
Care should be taken to ensure that the plaster cast does not restrict flexion of the MCP joints.
Sling
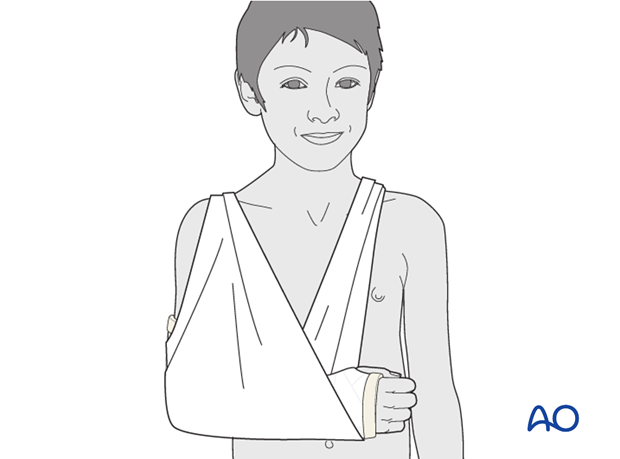
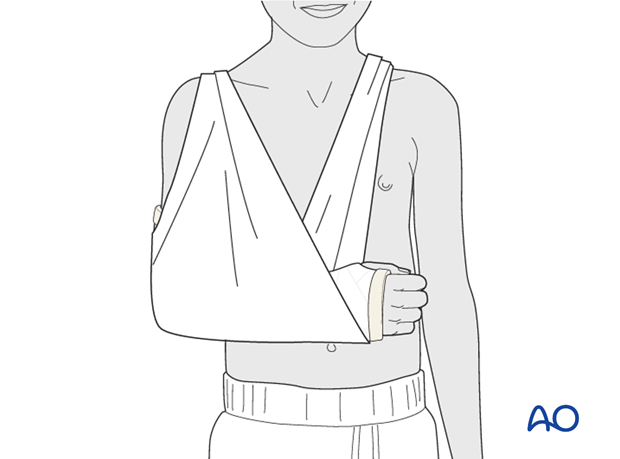
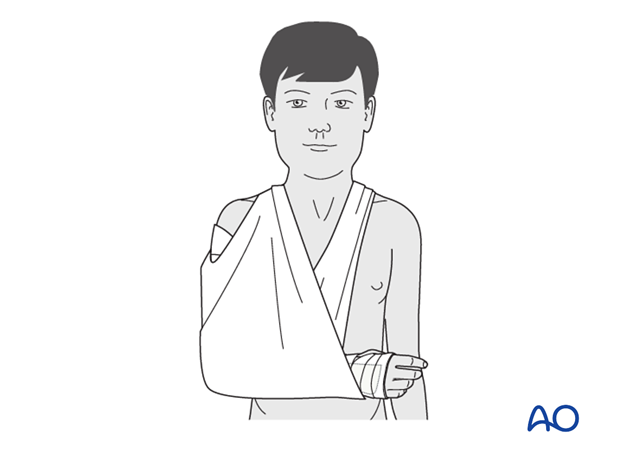
The arm is supported in a broad arm sling.
5. Cast splitting
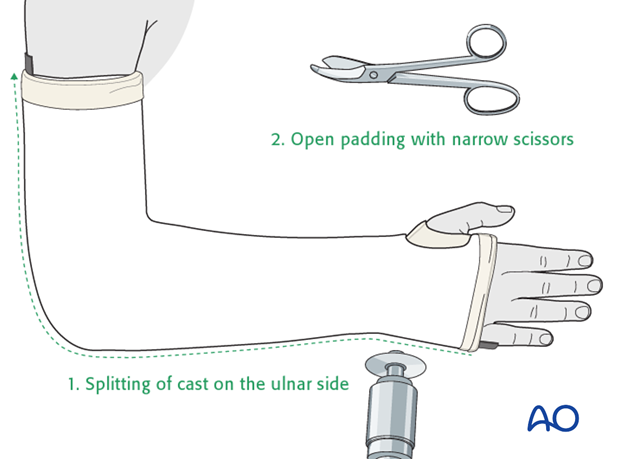
When required, the plaster should be split along the entire length.
Once the cast is hardened, mark it, then split using an oscillating saw, a hand saw, or a sharp plaster knife (1).
Take great care to avoid injury to the underlying skin.
Widen the split with a cast spreader. Then divide the underlying padding with scissors (2) and remove the protective strip to expose the skin.
Apply a crêpe bandage to protect the split cast.
When the swelling has subsided (after 5-7 days), complete the cast with a single POP bandage.
6. Splint application
Application of cast padding
Wrap cast padding around the upper arm, elbow, forearm and hand, as far as the transverse flexor crease of the palm (the MP joints are left free). According to surgeon’s preference a tubular bandage may be applied to the arm beneath the padding.
Hold the elbow in 90° flexion and the forearm in neutral rotation.
Make sure that the epicondyles of the humerus and the antecubital area are well padded.

Application of splint
Apply a splint of fiberglass, or plaster, on the posterior aspect of the arm and forearm. It should be wide enough to cover more than half the circumference of the arm and forearm.
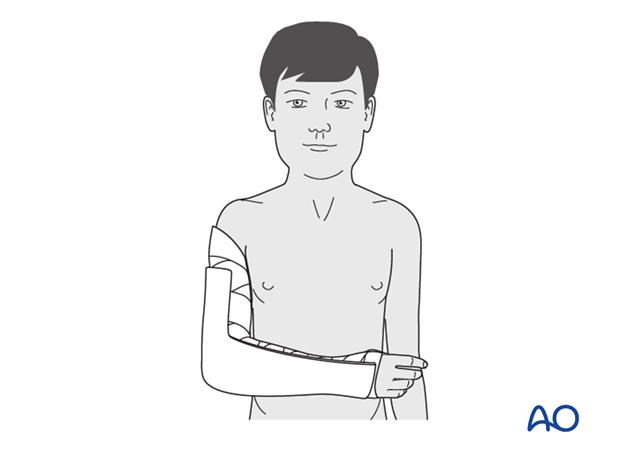
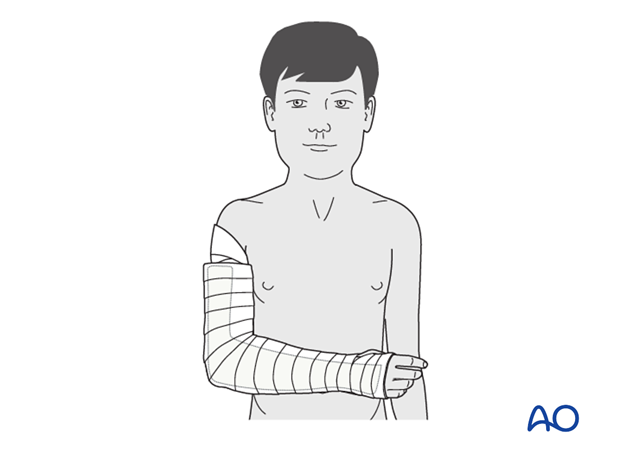
Secure the splint with a noncompressive bandage.
Ensure that this is not tight, to accommodate subsequent swelling.
Sling
The injured arm and splint are supported with a sling.
7. Aftercare following closed management
Duration of immobilization
Diaphyseal fractures of the radius and ulna usually require 4-6 weeks of immobilization for adequate callus formation (see also the additional material on healing times).

Analgesia
Ibuprofen and paracetamol should be administered regularly during the first 4-5 days of injury, with additional oral narcotic medication for breakthrough pain.
If the level of pain is increasing the child should be examined.
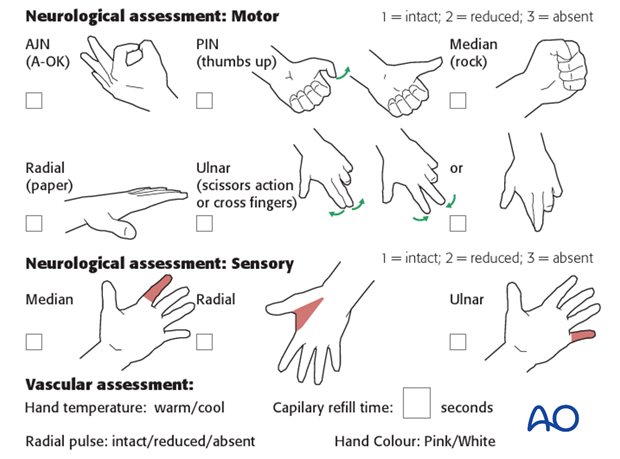
Neurovascular examination
The child should be examined regularly, to ensure finger range of motion is comfortable and adequate.
Neurological and vascular examination should also be performed.
Compartment syndrome should be considered in the presence of increasing pain, especially pain on passive stretching of muscles, decreasing range of active finger motion or deteriorating neurovascular signs, which are a late phenomenon.
Compartment syndrome
Compartment syndrome is a possible early postoperative complication that may be difficult to diagnose in younger children.
The presence of full passive or active finger extension, without discomfort, excludes muscle compartment ischemia.
If there are signs of a compartment syndrome in a child in a cast or splint:
- Split the cast, along its full length, down to skin level.
- Elevate the limb.
- Encourage active finger movement.
- Reexamine the child after 30 min.
If a definitive diagnosis of compartment syndrome is made, then a fasciotomy should be performed without delay.

Discharge care
When the child is discharged from the hospital, the parent/carer should be taught how to assess the limb.
They should also be advised to return if there is increased pain or decreased range of finger movement.
It is important to provide parents with the following additional information:
- The warning signs of compartment syndrome, circulatory problems and neurological deterioration
- Hospital telephone number
- Information brochure
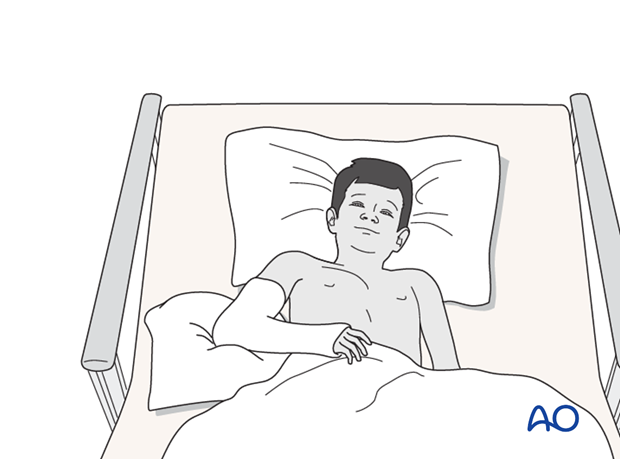
For the first few days, the elbow and forearm can be elevated on a pillow, until swelling decreases and comfort returns.
When the limb is comfortable, the child may use a sling but many children are more comfortable without support.
Follow-up x-rays
AP and lateral x-rays may be taken to assess fracture position at intervals decided by the fracture configuration and age of patient.
Loss of reduction can be treated by cast wedging, further manipulation or conversion to internal fixation.
Removal of cast or splint
Fractures treated by closed reduction should have the cast removed 4-6 weeks after the injury.
Clinical assessment and x-rays without the cast are used to judge adequate healing.
Recovery of motion
As symptoms recover, the child should be encouraged to remove the sling and begin active movements of the forearm.
The majority of forearm motion is recovered rapidly and within two months of cast removal.
The older child may take a little longer.
Once the child is comfortable, with a nearly complete range of motion, (s)he may incrementally resume noncontact sports.
Resumption of unrestricted physical activity is a matter for judgment by the treating surgeon.
Shaft fractures treated closed are at risk of refracture for 6 months after injury.


