Open reduction; plate fixation
1. General considerations
Introduction
Metaphyseal fractures can be managed with open reduction and plate fixation.
The plate is usually placed on the medial side of the tibia. Due to the lack of muscle coverage in this area, low-profile implants should be used. Avoid plate fixation if the skin is compromised.
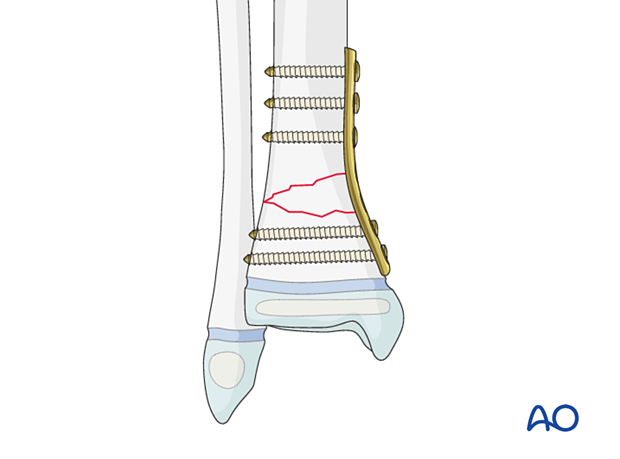
Associated fibular fracture
A fibular fracture often reduces with reduction and fixation of the tibial fracture and does not require separate consideration.
If the alignment and stability of the fibular fracture are unsatisfactory after fixation of the tibial fracture, surgical treatment of the fibular fracture is also required.
If the distal tibial fracture is highly comminuted, fixation of the fibular fracture may add to overall stability.
Size and type of implant
2.0–4.5 mm plates are typically used in pediatric practice.
The age and weight of the patient, the anatomical site, and the load to which they will be subjected dictate the size of the implant.
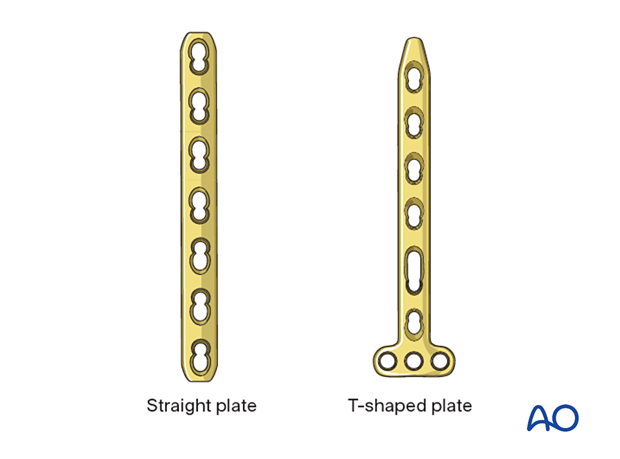
A straight plate can be used in more proximal metaphyseal fractures.
A T-shaped plate can be used in more distal metaphyseal fractures.
Adult anatomic plates for the distal tibia are contoured for periarticular placement. These may be appropriate for patients with a closing physis or, in rare cases, where stable fracture fixation requires bridging the physis. If they are applied proximal to the physis, an angular deformity may result.
2. Preoperative planning
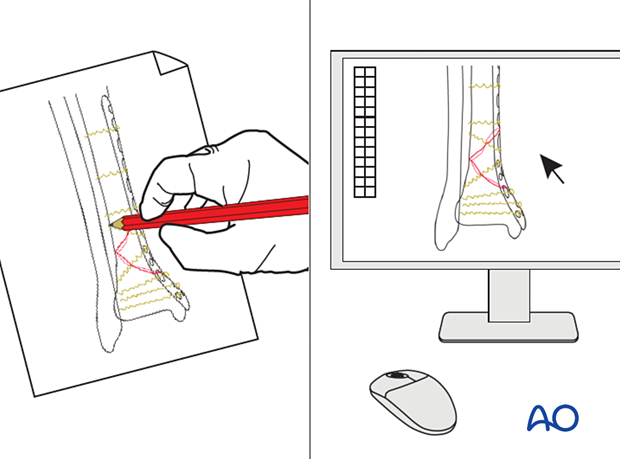
Preoperative planning is an essential part of the treatment of all distal tibial fractures because of the variability of the fracture pattern and patient characteristics.
This involves:
- Careful study of the x-rays
- Assessment of physis and growth remaining
- Definition of the fracture fragments and the desired result. This may be achieved with appropriate imaging software
- Choice of implants
3. Patient preparation and approach
Patient positioning
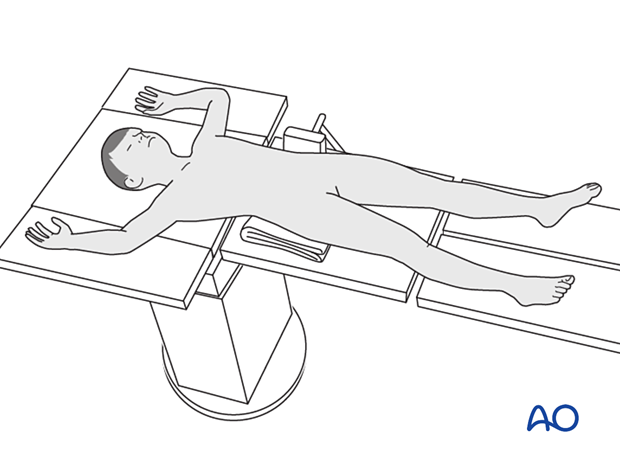
Place the patient in a supine position on a radiolucent table.
Approach
These fractures are typically managed with an anteromedial approach.
Confirm the location of the physis with an image intensifier and protect the perichondral ring and adjacent periosteum.

4. Reduction
Removal of impediments
It may be necessary to remove interposed soft tissue and periosteum without devitalizing the fracture fragments.
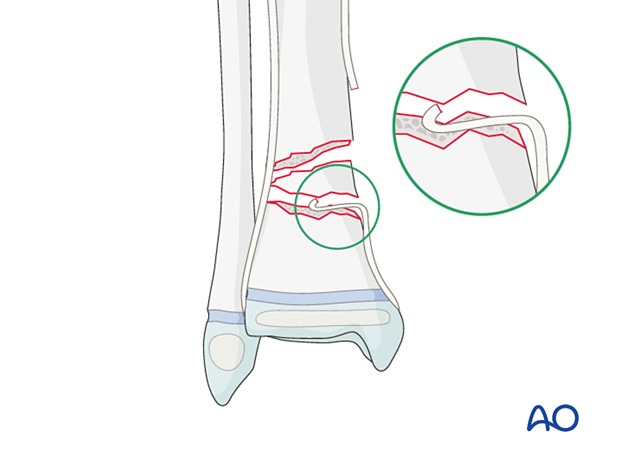
Reduction maneuvers
The gastrocnemius muscle can be relaxed by flexing the knee and the ankle.
Reduction can be performed with:
- Pointed reduction forceps
- A Hohmann retractor, used as a lever to correct translation
- K-wires, used as a joystick to control the distal fragment
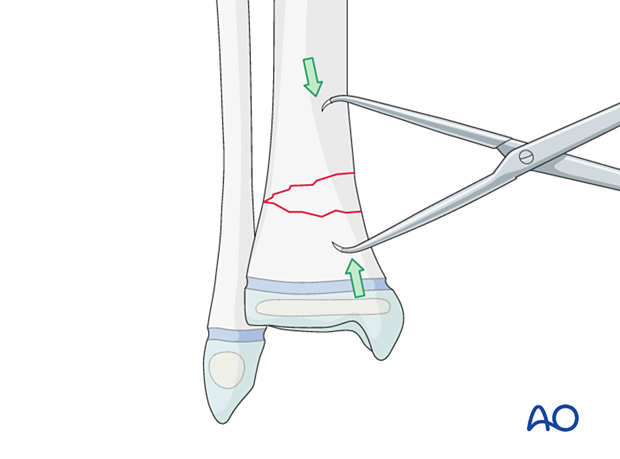
Reduction maneuvers
- Tibial distractor or temporary external fixator, used to achieve and maintain fracture reduction
If needed, temporarily stabilize the fracture with K-wire(s).
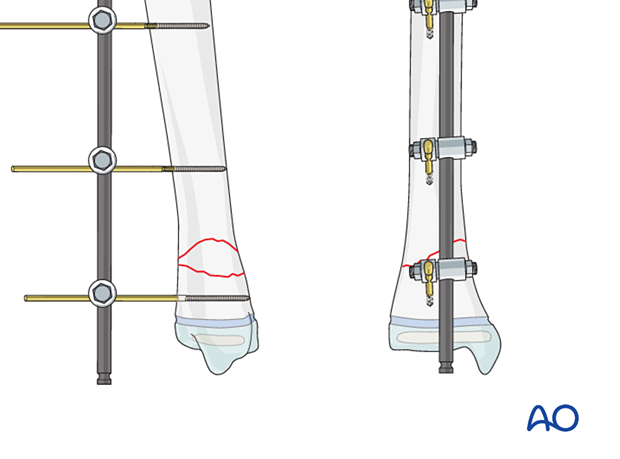
5. Plate fixation
Apply the plate in a standard manner.
Multifragmentary fractures often require bridge plating.
Plate application
Plate contouring is required to match the anatomy of the distal tibia.
Secure the plate with bone holding forceps.
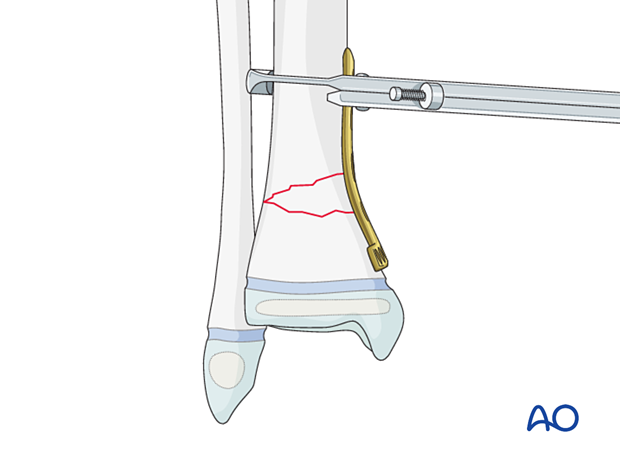
Screw insertion
The periosteum and perichondral ring should not be disturbed.
Before screw insertion, ensure that both plate ends are aligned and have good contact with the bone. Check the tibial alignment with an image intensifier before screw insertion.
The order of screw insertion depends on the fracture configuration.
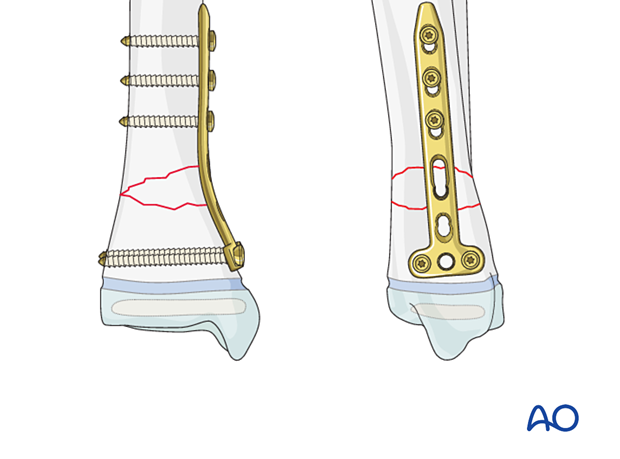
Final construct with a straight LCP

6. Fibular fracture management (Plating)
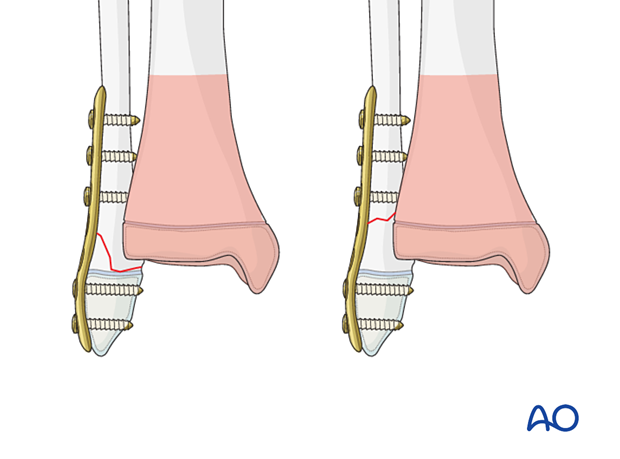
Most fibular fractures do not require treatment. Indications for fixation include:
- Augmentation of the stability of tibial fracture fixation
- Significant displacement of the fibular fracture
Fibular fractures may be stabilized with plate fixation.
If screws are inserted on both sides of the physis, compression should be avoided and the periosteum and perichondral ring not be disturbed. To protect the perichondral ring, a dissector or elevator may be used to offset the plate during screw insertion. The plate should be removed soon after the fracture has healed.
7. Final assessment
Recheck the fracture alignment and implant position clinically and with an image intensifier before anesthesia is reversed.
Confirm stability of the fixation by moving the ankle through a range of dorsi/plantar flexion.
8. Immobilization
A molded below-knee cast or fixed ankle boot is recommended for a period of 2–6 weeks as the strength of fixation may not provide sufficient stability for unrestricted weight-bearing.
9. Aftercare
Immediate postoperative care
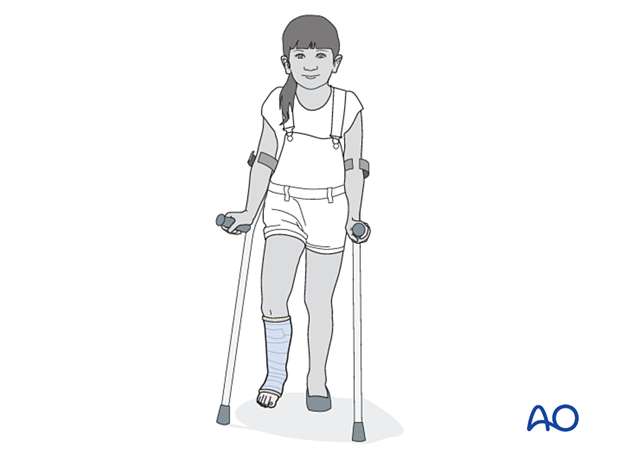
Toe-touch weight-bearing is encouraged.
Elevation is recommended for the first 2–5 days to decrease soft-tissue swelling.
Older children may be able to use crutches or a walker.
Younger children may require a period of bed rest followed by mobilization in a wheelchair.

Pain control
Patients tend to be more comfortable if the limb is splinted.
Routine pain medication is prescribed for 3–5 days after surgery.
Neurovascular examination
The patient should be examined frequently to exclude neurovascular compromise or evolving compartment syndrome.
Discharge care
Discharge follows local practice and is usually possible within 48 hours.
Follow-up
The first clinical and radiological follow-up is usually undertaken 5–7 days after surgery to check the wound and confirm that reduction has been maintained.
Cast removal
A cast or boot can be removed 2–6 weeks after injury.
Mobilization
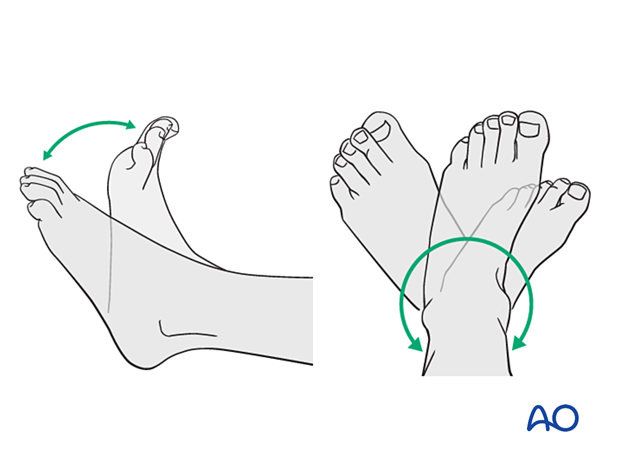
After cast removal, graduated weight-bearing is usually possible.
Patients are encouraged to start range-of-motion exercises. Physiotherapy supervision may be required in some cases but is not mandatory.
Sports and activities that involve running and jumping are not recommended until full recovery of local symptoms.
Implant removal
Implant removal is not mandatory and requires a risk-benefit discussion with patient and carers.


