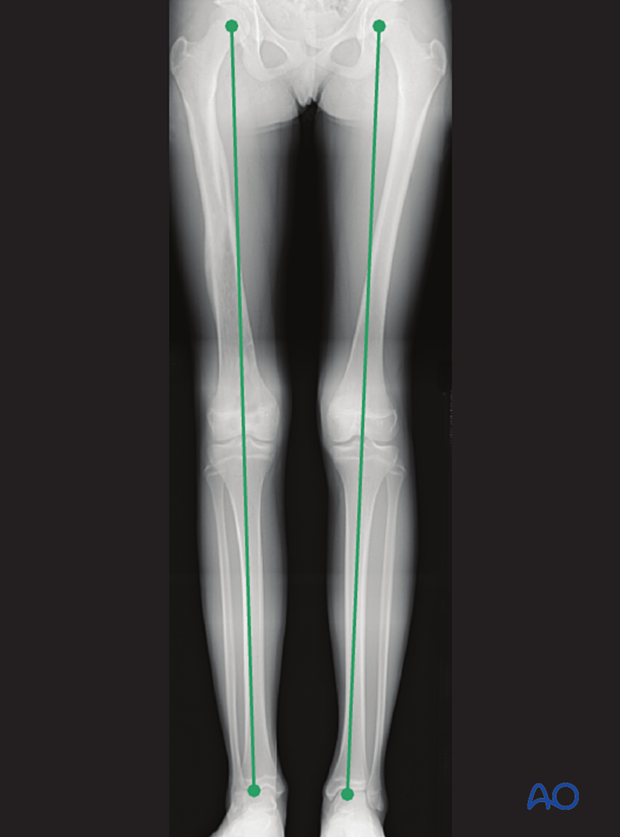
Immobilization
1. General considerations
Indications
Only nondisplaced fractures are suitable for nonoperative treatment.
A long leg cast is required to provide sufficient stability.
Choice of immobilization
If there is severe soft-tissue swelling, it is safer to initially splint the limb, converting to a long leg cast when swelling has resolved.
It is important not to immobilize the limb for longer than 4 weeks to avoid knee stiffness. Conversion to a brace allows early mobilization of the knee.
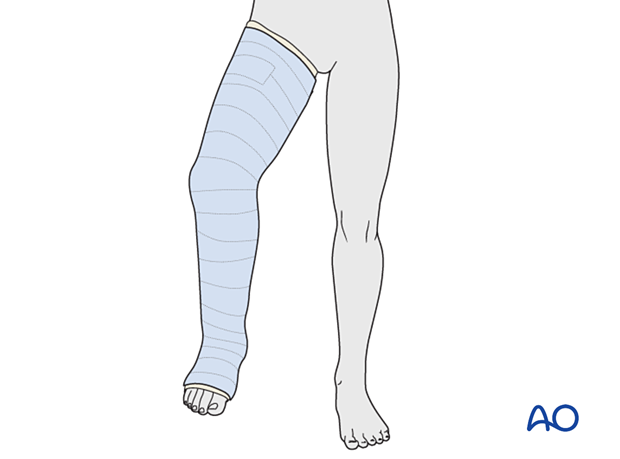
Complications
- Loss of reduction
- Compartment syndrome
- Pressure sores
Splinting
If severe swelling is interfering with circumferential casting, a splint may be applied until swelling resolves.
With the knee in 60° flexion, apply slabs of plaster of Paris posteriorly along the whole leg, covering half of the circumference.
Secure the splint with an elastic bandage.
2. Preparation
Read the additional material on preoperative preparation.
Material
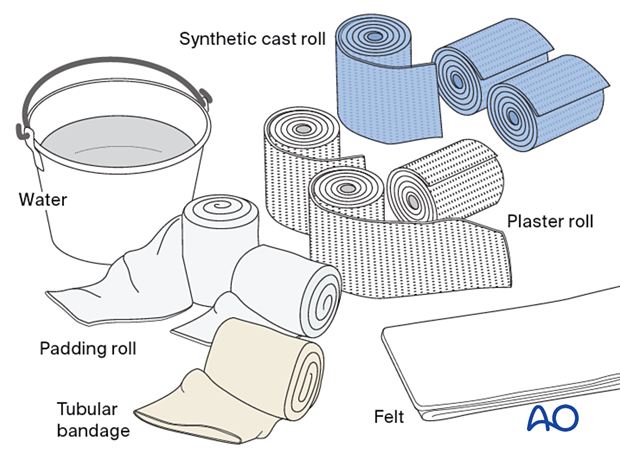
- Tubular bandage (stockinette) of appropriate size
- Cast padding
- Felt
- Casting material: fiberglass, plaster of Paris or a combination of both
- Water
The water temperature should ideally be between 22° and 25° C.
Colder water, or a bandage that is wetter, increases working time, while warmer water, or a bandage that is drier, reduces the working time.
3. Long leg cast
Patient and leg positioning
Place the anesthetized patient supine on a radiolucent table. The patient should be positioned on the edge of the table or with a bump under the sacrum to facilitate bandaging into the groin.
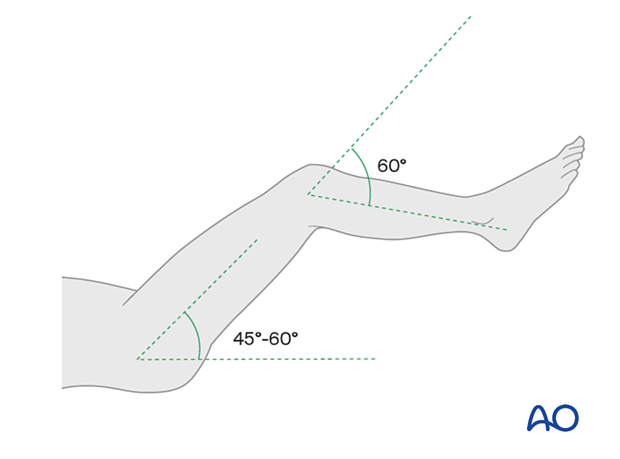
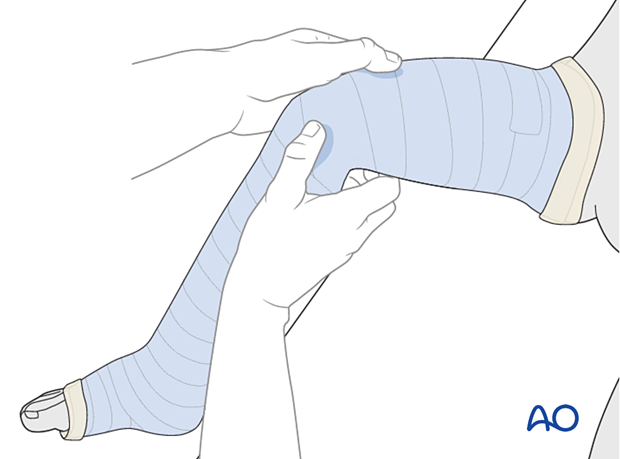
An assistant supports the leg with 45°–60° hip flexion.
The patient’s knee should be flexed to approximately 60°, which will prevent the cast from slipping.
Dressing
Apply the tubular bandage and cut it slightly longer than the length of the final cast.
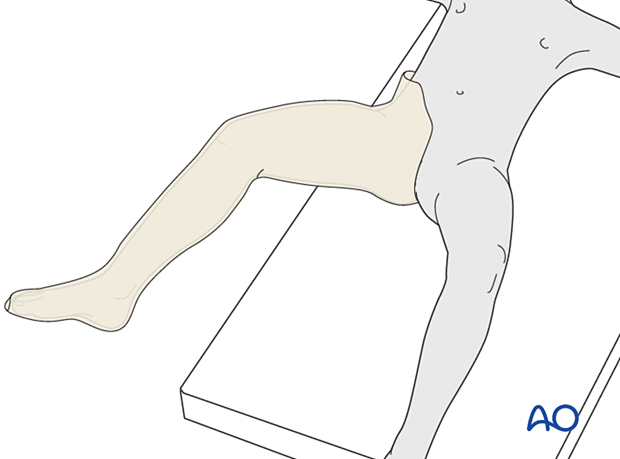
Padding
The distal edge of the cast extends to the base of the toes.
The proximal edge lies just above the greater trochanter on the lateral side, and just below the groin on the medial side.
Apply a layer of cast padding.
Consider adding thick felt over the padding at the free edges of the cast.
Overlap each layer by 1/2.
The tubular bandage and padding should be applied without creases.
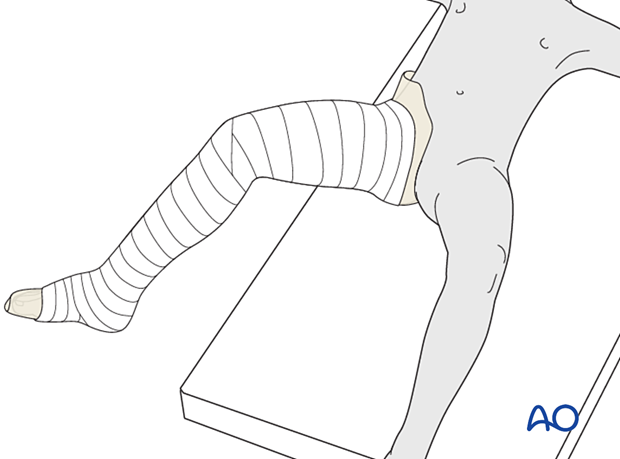
Apply additional cast padding over the patella, malleoli, ankle, and heel, to protect these areas from pressure sores.
It should be appreciated that, when more padding is applied, there will be less support at the injury site.
Cast application
Apply a first layer of cast material to the leg starting distally.
Overlap each layer by 1/2.
Take care not to create sharp ridges at the level of the popliteal fossa.
Apply further layers of cast material to produce sufficient stability.
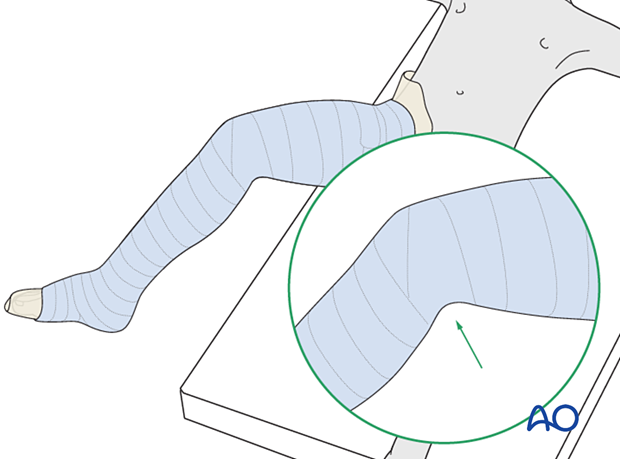
Fold the tubular bandage and padding over the edges before applying the final layer of casting material.
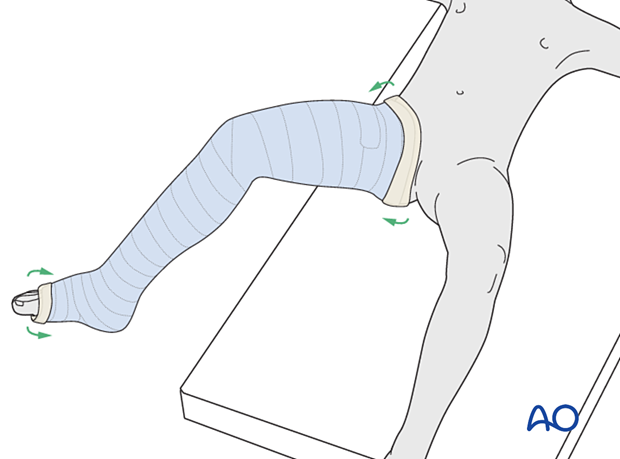
Final molding
While the cast is still soft, create a supracondylar mold and a varus or valgus mold to counter the potential direction of displacement, determined by the configuration and level of the fracture.
Gently mold the cast to the curve of the tibia and around the knee.
Pressure should be continued until the cast hardens.
4. Spica casting
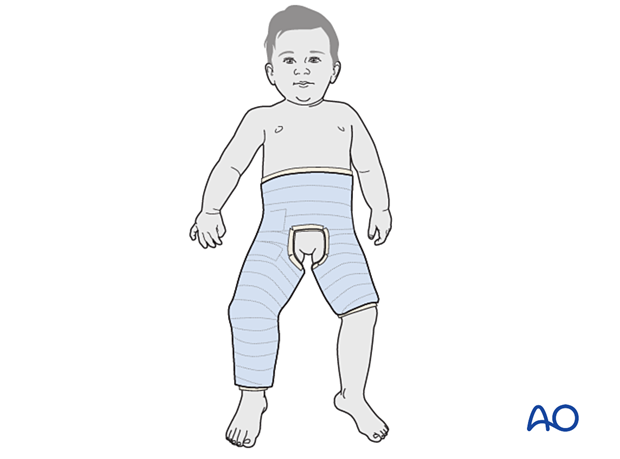
In very small children a long leg cast may be difficult to apply and a hip spica cast may be necessary as an alternative.
5. Confirmation of reduction
After completion of the cast, check the fracture configuration with x-rays in both planes.
6. Aftercare
Immediate postoperative care
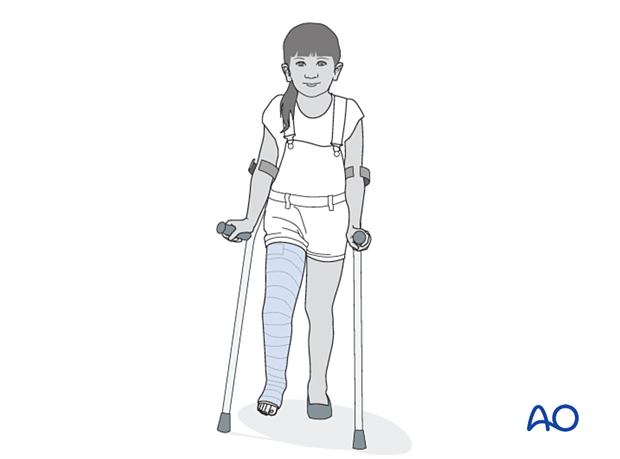
The patient is kept touch-weight bearing to decrease forces across the fracture. Older children may be able to use crutches or a walker. For younger children, bed rest and a wheelchair is more reliable.
Analgesia
Routine pain medication is prescribed for 3–5 days after injury.
Neurovascular examination
The patient should be examined frequently, to exclude neurovascular compromise or evolving compartment syndrome.
With displaced high-energy fractures, watch for signs of delayed vascular problems.
Follow-up
The first clinical and radiological follow-up is usually undertaken 5–7 days after injury to confirm reduction.
Cast removal
Physeal fractures heal quickly and the cast is typically removed 3–6 weeks after injury.
Mobilization
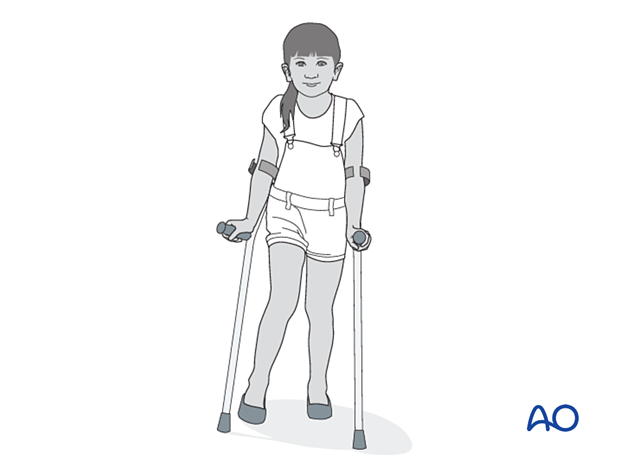
After conversion from a cast to a brace, patients are encouraged to start range-of-motion exercises, without weight bearing, preferably under supervision of a physiotherapist.
Sports, running, and jumping is not recommended for three months.
Follow-up for growth deformity
All patients with physeal fractures of the distal femur should have clinical and radiological examination 8–12 weeks postoperatively to assess for signs of physeal growth disturbance or resumption of growth.
Examination should be repeated at intervals until resumption of normal growth is documented. This can be seen as a horizontal growth line (Harris line) that is parallel to the entire physis on both AP and lateral views.
A growth line that converges towards the growth plate may be the earliest sign of growth arrest and should prompt investigation/treatment or referral as appropriate.
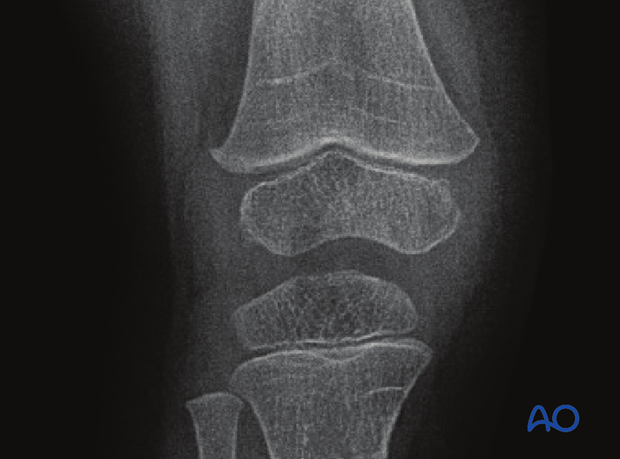
Clinical assessment of leg length and alignment is recommended at one-year.
Clinical assessment of leg length uses a tape measure from the ASIS to the medial malleolus.
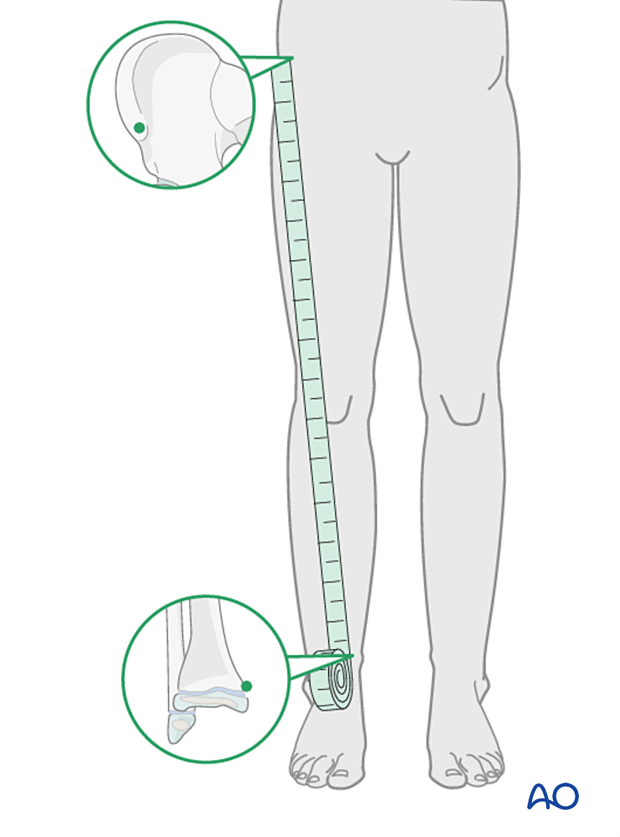
If there is any concern about leg length discrepancy or malalignment, long leg x-rays are recommended.
Leg length is measured from the femoral head to the ankle joint.
