Open reduction; screw fixation
1. General considerations
Introduction
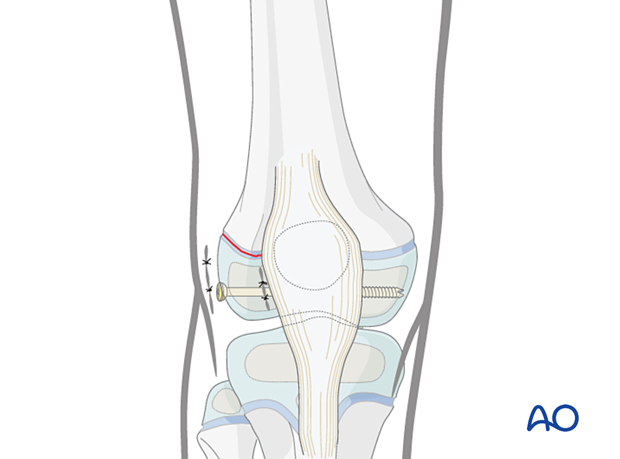
A simple SH III fracture may be fixed with one or two screws through the epiphysis, parallel to the growth plate.
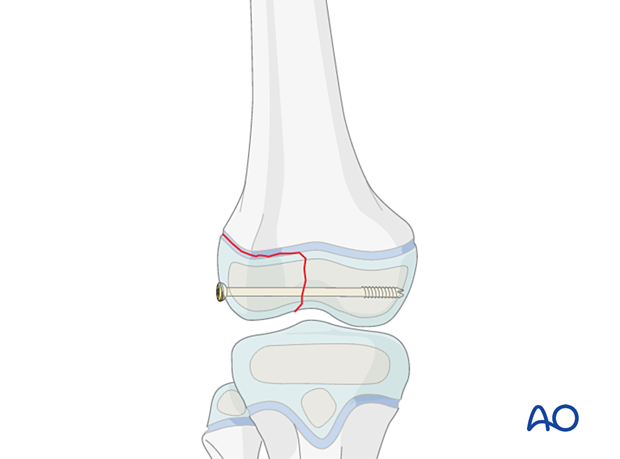
Treatment goals for SH III fractures
The main goals of treatment of these fractures are:
- Restore joint congruity
- Uncomplicated healing
- No secondary displacement
- Minimize injury to the growth plate
Distal femoral physeal fractures are associated with a high rate of growth arrest (30–50%). To minimize the risk reduction should be anatomical and conducted with minimal force.
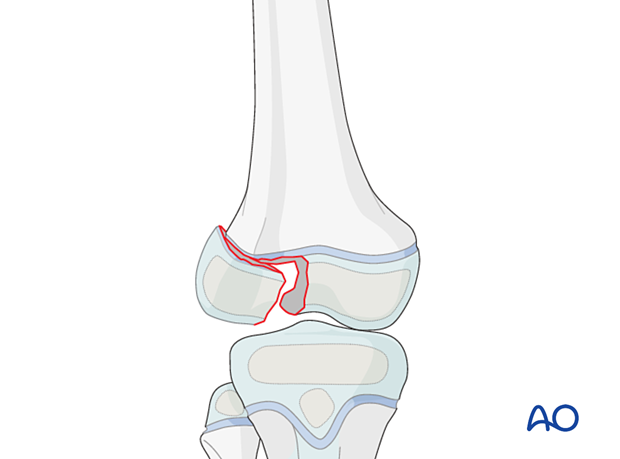
Minimally open vs extended open reduction
Most of these fractures are displaced and require open reduction, using a small incision, to restore articular surface while the screws for fixation are often placed percutaneously.
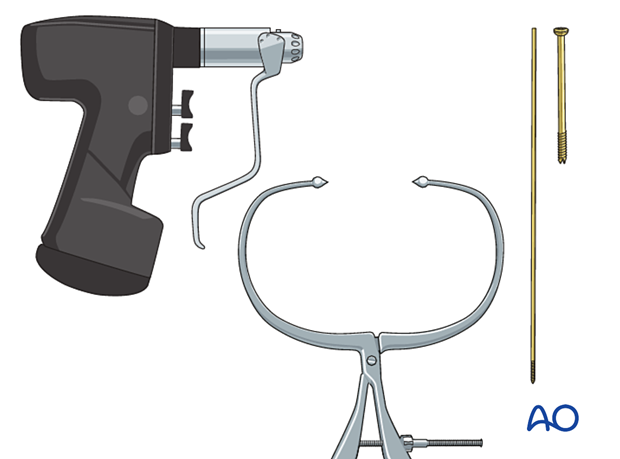
2. Instruments and implants
4.0–7.3 mm cannulated lag screws (ideally self-drilling, self-tapping) should be used.
The following equipment is needed:
- Cannulated screw set
- Drill
- Threaded guide wire
- Forceps for fracture reduction
- Image intensifier
3. Patient preparation and approach
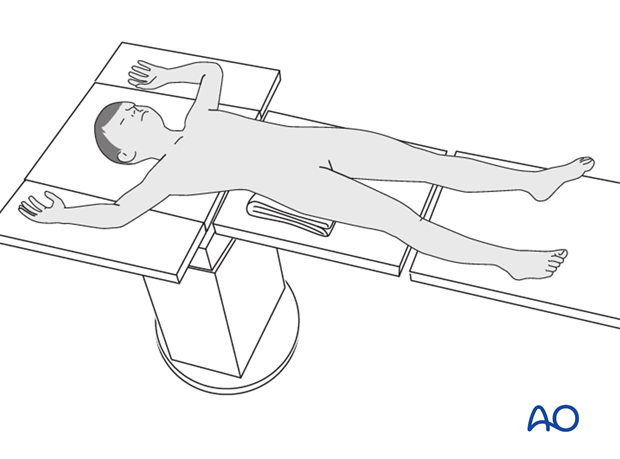
Patient positioning
Place the patient supine on a radiolucent table with a C-arm.
Approach
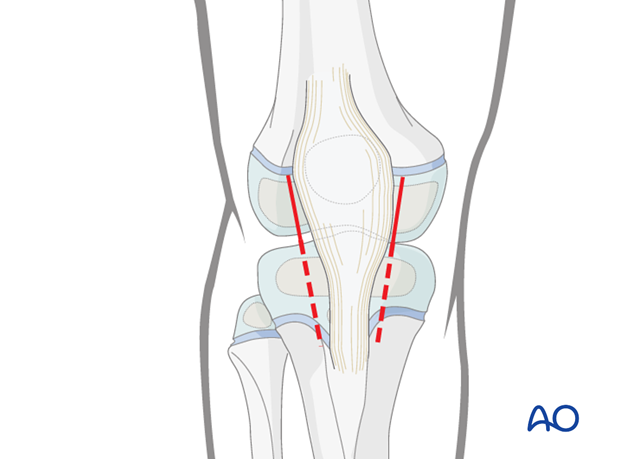
Perform a parapatellar arthrotomy on the side of the fracture to remove debris and allow direct visualization of the articular fracture.
4. Reduction
Minimal open reduction
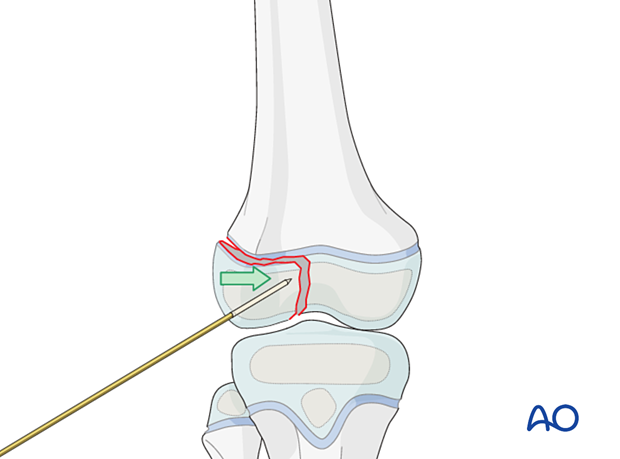
Directly reduce the fracture and hold the fragment with forceps or a K-wire which can also be used as a joystick. Take care to ensure that this wire does not impede subsequent fixation.
Confirm anatomical reduction with image intensification.
Fixation with K-wires
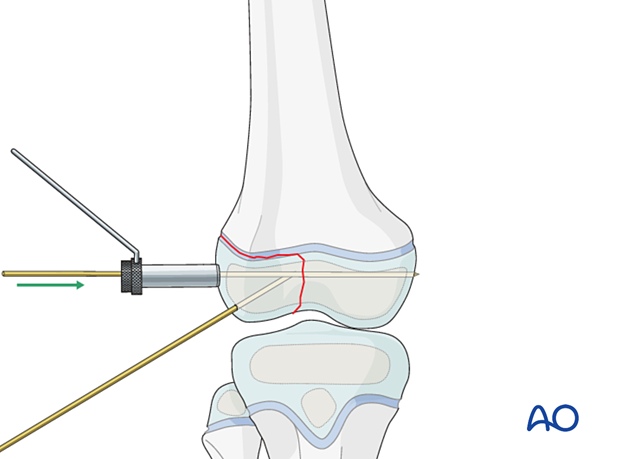
Insert a K-wire in the epiphysis, parallel to the growth plate, to temporarily fix the fracture.
Remove the initial, joystick K-wire.
Confirm anatomical reduction with image intensification.
5. Fixation
Percutaneous screws
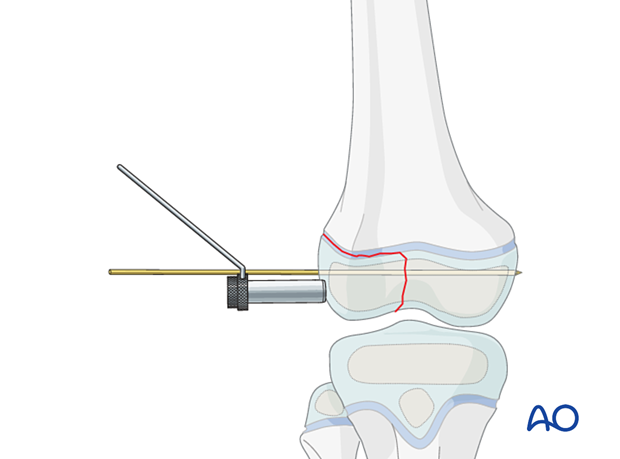
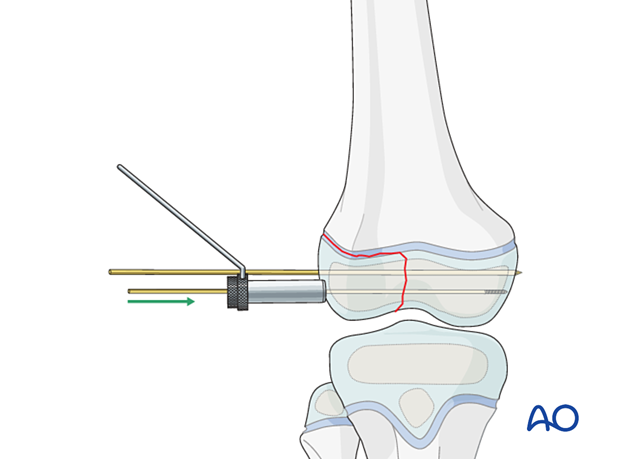
Perform a separate stab incision at the level of the planned screw insertion.
Spread the underlying soft tissues with a clamp and place a soft-tissue protector down to the bone.
Insertion of guide wire
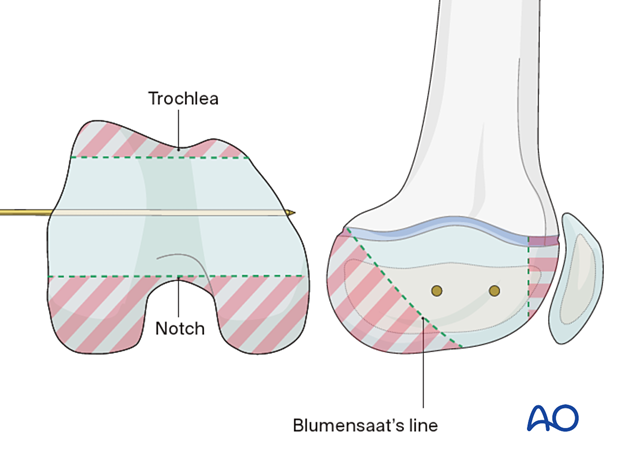
Insert a guide wire in the epiphysis parallel to and away from the growth plate.
If the K-wire for temporary fixation is in an ideal position for the screw this may be used instead.
Screw insertion
Determine the appropriate screw length.
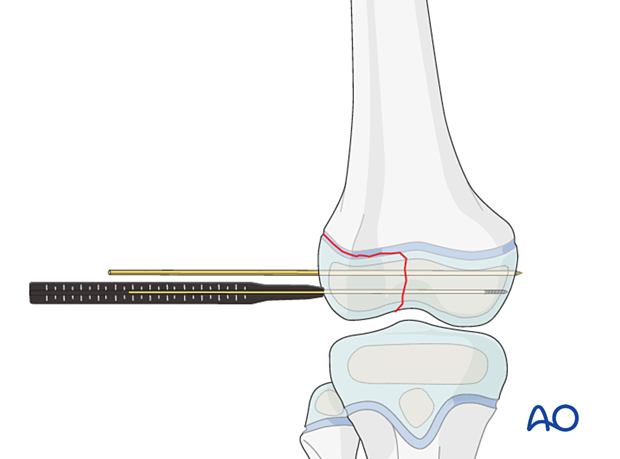
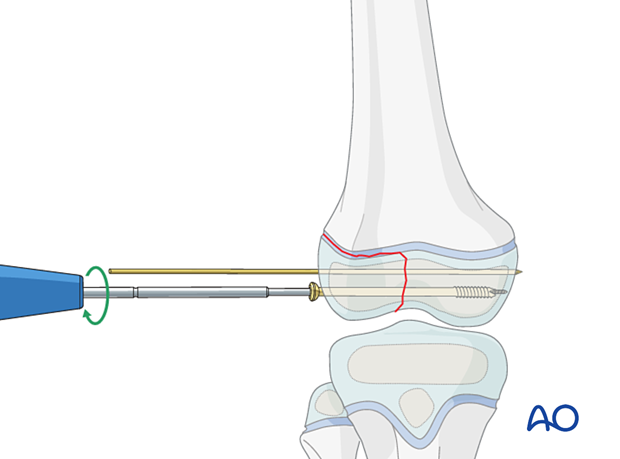
Choose a partially threaded screw ensuring that the thread will not cross the fracture.
Insert the screw and compress the fracture.
Confirm anatomical reduction, fixation, and stability with image intensification.
Remove the temporary K-wire(s).
Wound closure
Close the arthrotomy and percutaneous incisions with resorbable sutures.
6. Final assessment
Check implant position and fracture reduction with image intensification.
Use clinical examination to check lower extremity alignment.

7. Additional immobilization
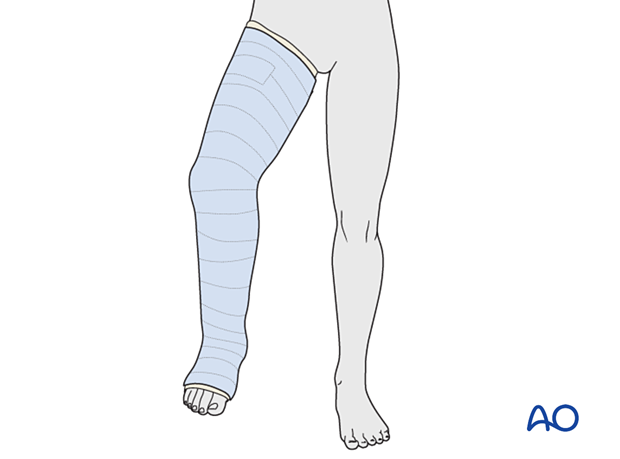
This construct usually requires protected weight bearing and knee immobilization with a molded long leg cast or brace for 3–6 weeks.
8. Aftercare
Immediate postoperative care
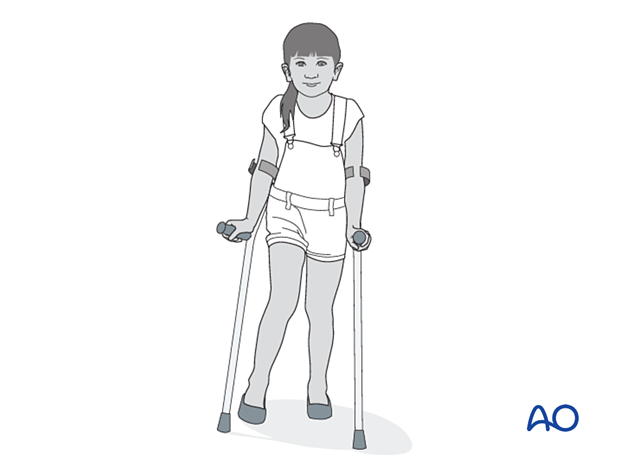
The patient should get out of bed and begin ambulation with crutches on the first postoperative day.
In most cases the postoperative protocol will be touch-weight bearing for the first 4 weeks.
Analgesia
Routine pain medication is prescribed for 3–5 days postoperatively.
Neurovascular examination
The patient should be examined regularly, to exclude neurovascular compromise.
With displaced high-energy fractures watch for signs of delayed vascular problems.
Compartment syndrome, although rare, should be considered in the presence of severe swelling, increasing pain, and changes to neurovascular signs.
Discharge care
Discharge from hospital follows local practice and is usually possible after 1–3 days.
Mobilization
The patient should ambulate with crutches.
In stable fractures the knee is immobilized in a removable brace and range-of-motion exercises can begin early in the postoperative phase.
For the more unstable or comminuted fractures, range-of-motion exercises will begin after cast removal.
Follow-up
Clinical and radiological follow-up is usually undertaken 2 weeks postoperatively.
Cast and K-wire removal
Physeal fractures heal quickly and cast and K-wires are typically removed 3–6 weeks postoperatively.
Follow-up for growth deformity
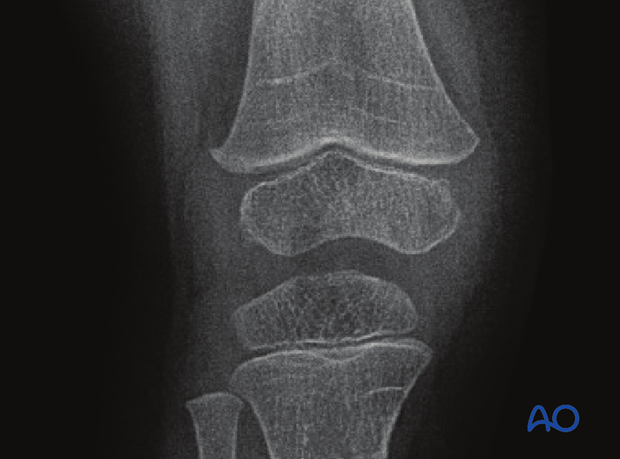
All patients with physeal fractures of the distal femur should have clinical and radiological examination 8–12 weeks postoperatively to assess for signs of physeal growth disturbance or resumption of growth.
Examination should be repeated at intervals until resumption of normal growth is documented. This can be seen as a horizontal growth line (Harris line) that is parallel to the entire physis on both AP and lateral views.
A growth line that converges towards the growth plate may be the earliest sign of growth arrest and should prompt investigation/treatment or referral as appropriate.
Clinical assessment of leg length and alignment is recommended at one-year.
Clinical assessment of leg length uses a tape measure from the ASIS to the medial malleolus.
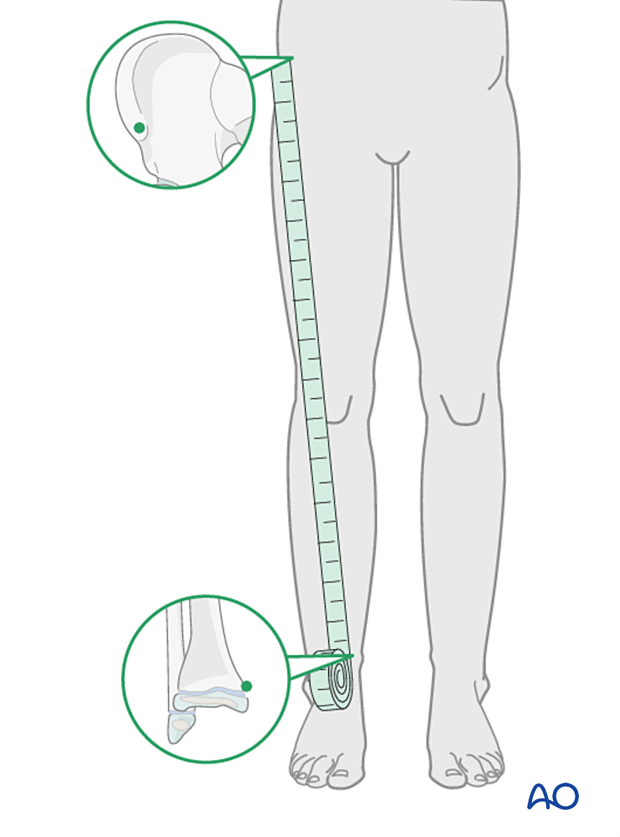
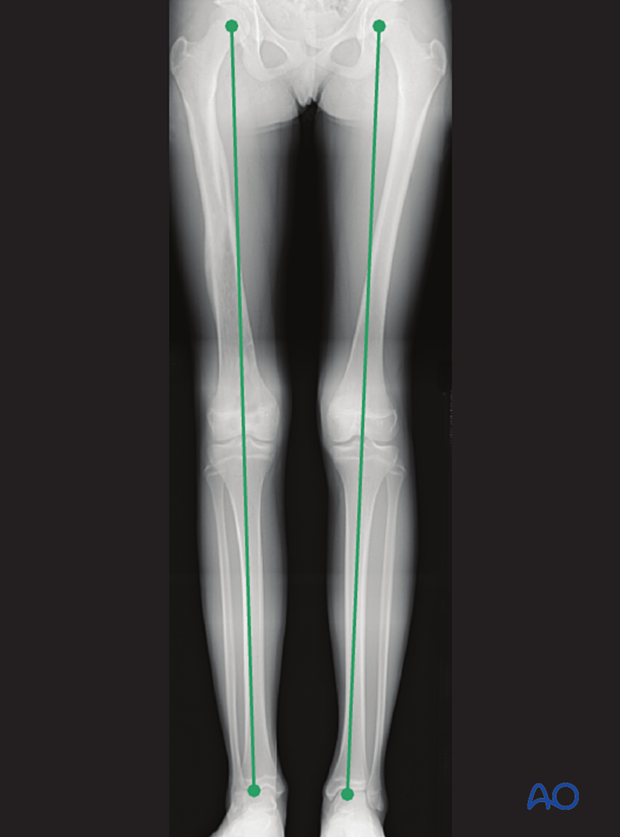
If there is any concern about leg length discrepancy or malalignment, long leg x-rays are recommended.
Leg length is measured from the femoral head to the ankle joint.
Implant removal
If symptoms develop, screws can be removed once the fracture is completely healed, usually 6–12 months postoperatively.
