Fibula, oblique C1 fracture: lag screw and neutralization plate
1. Principles
Lag screw principles for cortical bone
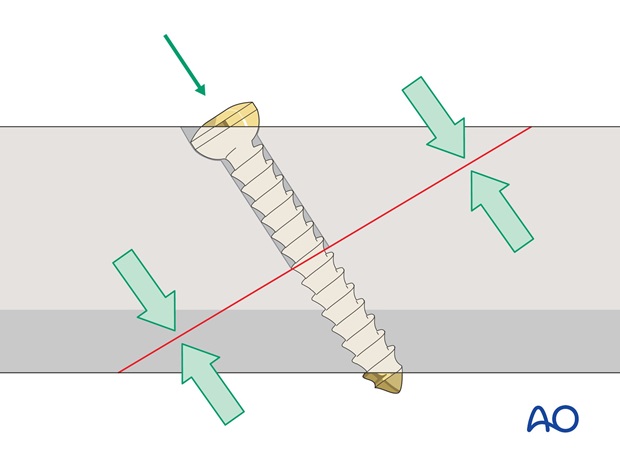
The threads only engage in the bone on the far side of the fracture. The hole on the near side of the fracture, the 'gliding hole', is larger so that the portion of the thread in the gliding hole does not purchase in the surrounding bone.
As the screw is tightened, the thread pulls the opposite bone fragment towards the head of the screw, which compresses the near fragment against the opposite fragment.
Insert the lag screw as perpendicularly to the fracture plane as possible.
Neutralization plate
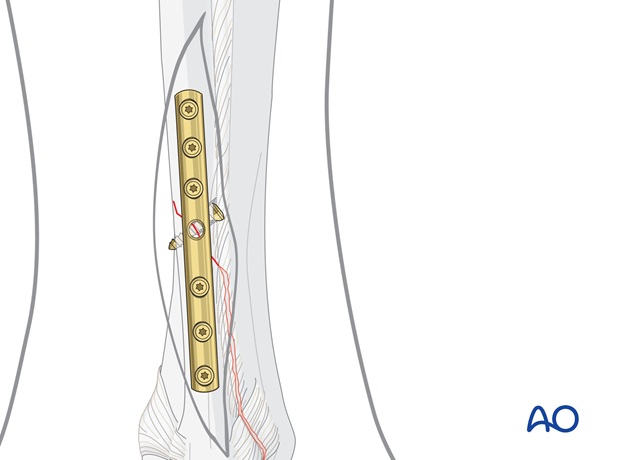
As a lag screw osteosynthesis alone is not able to bear weight and sufficiently resist shearing forces, a neutralization plate should be added to allow early mobilization.
2. Reduction
If possible, reduce and temporarily hold the fracture with small pointed reduction forceps.
Place the forceps so that they do not interfere with the planned lag screw.
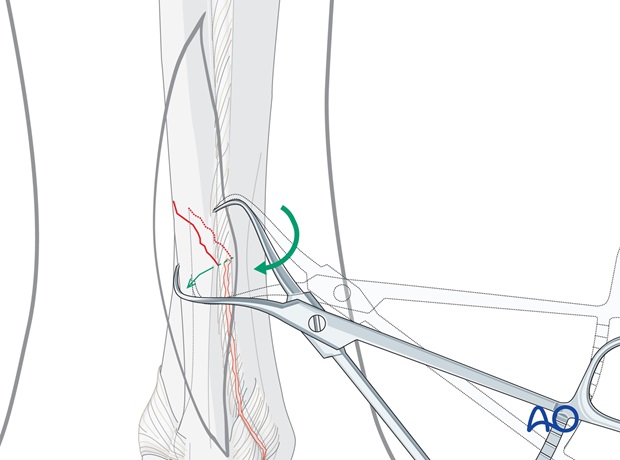
3. Insertion of a lag screw
Drilling
Drill a 3.5 mm gliding hole for the lag screw into the anterior cortex of the proximal fragment. The hole should be drilled as perpendicular to the fracture plane as possible.
Insert the 2.5 mm drill sleeve into the gliding hole, then drill the far cortex with the 2.5 mm drill bit.
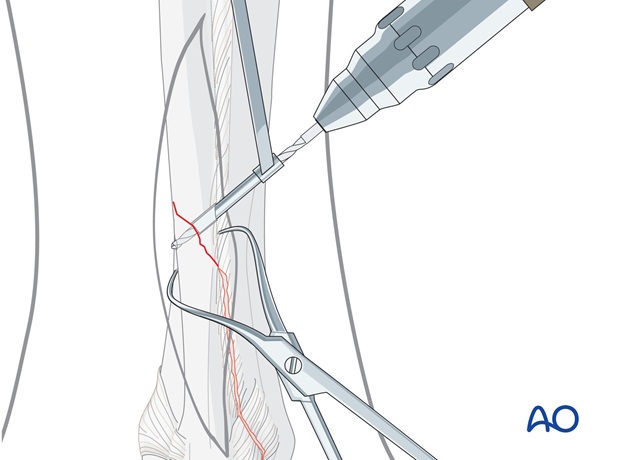
Countersinking
T prevent cortical stress and micro fractures, the cortex can be countersunk to increase the area of contact between the bone and the screw head.
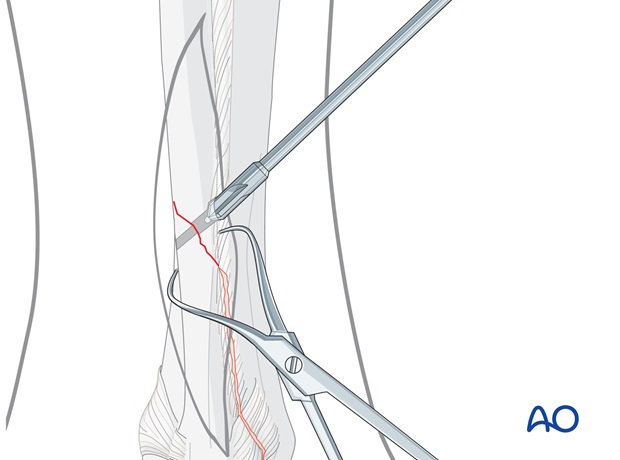
Measuring
Measure the depth of the hole with the hook of the depth gauge pointing distally.
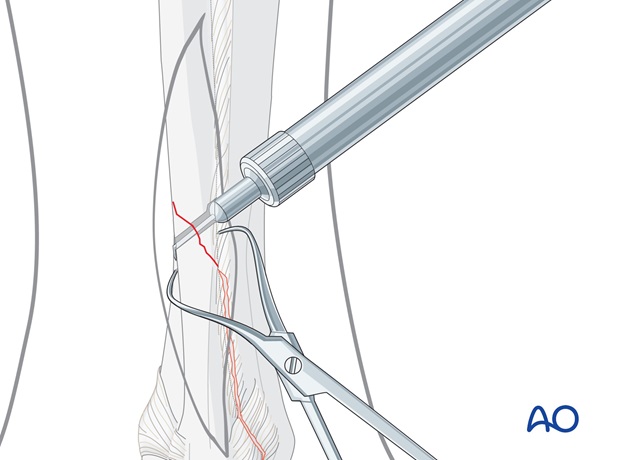
Tapping
Tap the far cortex with the 3.5 mm cortical tap and protection sleeve.
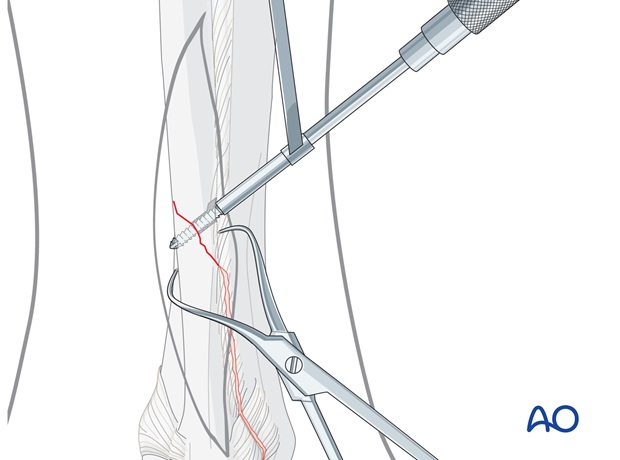
Lag screw insertion
Closely observe the compression effect on the fracture line while tightening the lag screw.
The reduction forceps should be removed just before the final tightening of the screw.
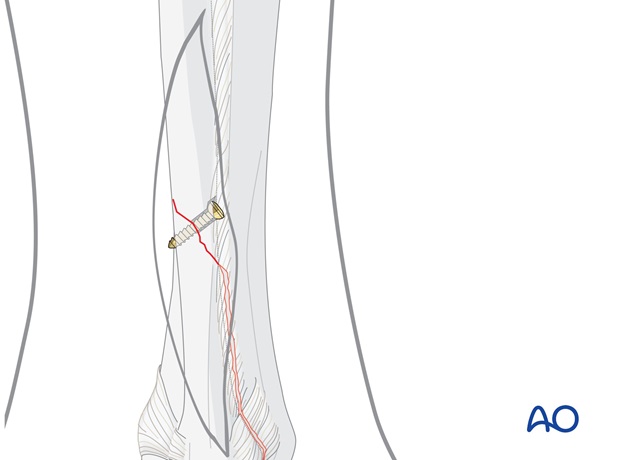
4. Preparation of the plate
Position of the plate
Use a seven or eight hole one-third tubular plate that can be positioned laterally, so that three screws find a secure hold in the distal fragment and three in the proximal fragment.
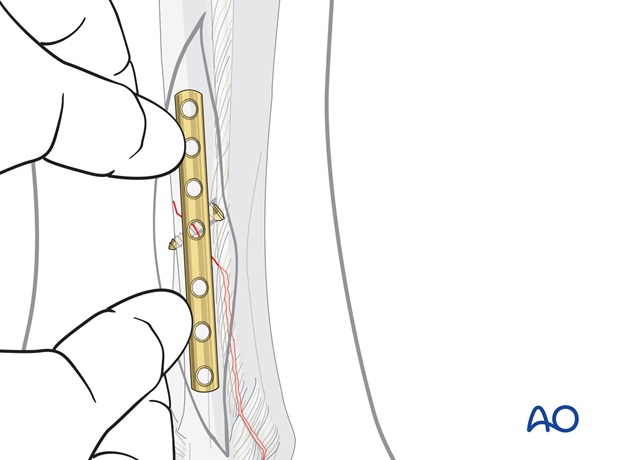
Contouring the plate
Before the plate is applied, it must be contoured with the help of an appropriate aluminum template.
The plate is contoured according to the shape of the fibula. It should fit perfectly onto the bone contour throughout its entire length.
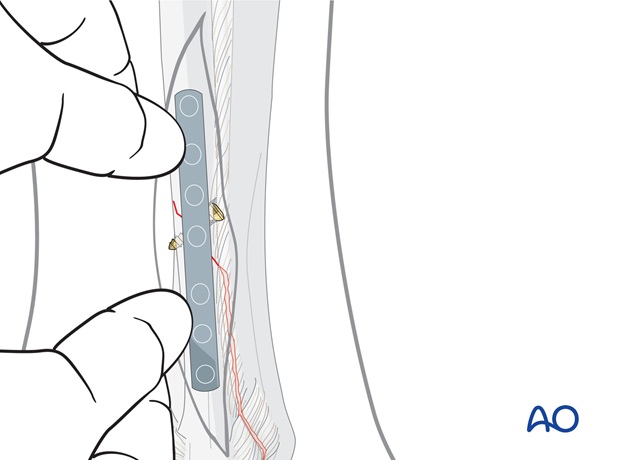
5. Application of the plate
First proximal screw
Position the plate firmly by hand and plan the position of the first proximal screw near the fracture.
Drill a 2.5 mm hole through both fibular cortices.
After measuring the length through the plate, tap with the 3.5 mm cortical tap and protection sleeve.
Insert the corresponding cortex screw. The screw should just penetrate the far cortex but not come into contact with the tibia.
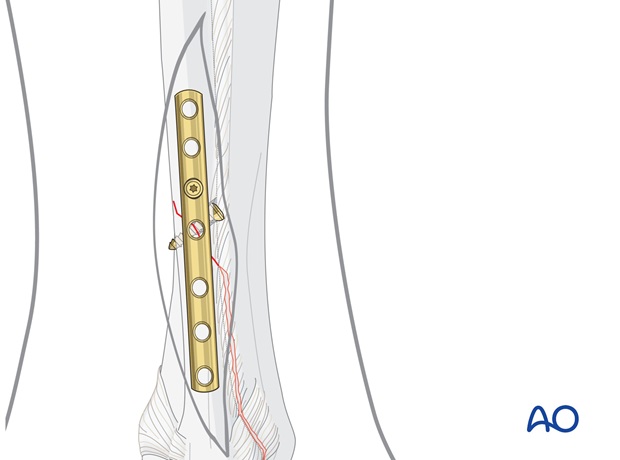
First distal screw
Next insert a screw into the most proximal of the distal plate holes. Drill carefully until just penetrating the opposite cortical bone.
Measure the length and select the screw. Tap threads in both cortices and insert the chosen cortex screw.
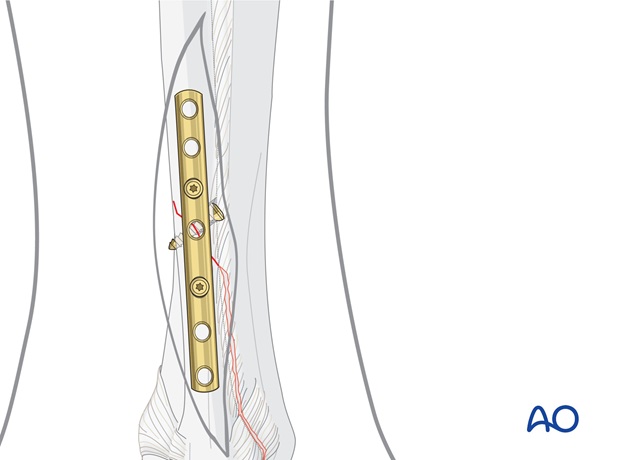
Insertion of remaining screws
Insert the remaining proximal screws as described above.
The remaining distal screws are inserted perpendicularly to the bone.
All the screws are gently tightened.

Final check
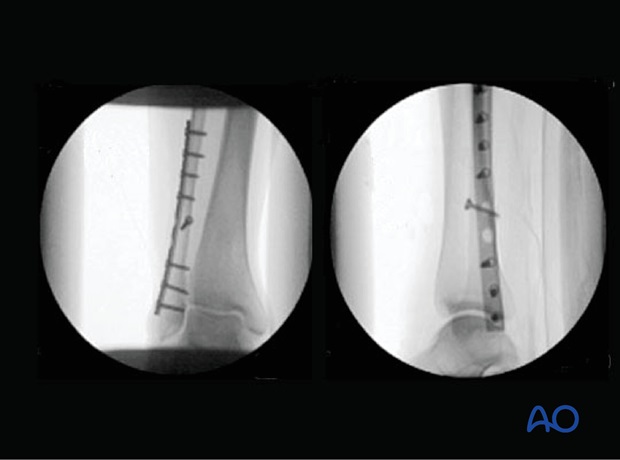
Check final fixation under image intensification.
