Antegrade nailing approach to the distal femur with trochanteric entry point
1. General considerations
Most femoral nailing procedures are performed with antegrade nailing position. It is extremely successful and utilizes minimally invasive techniques.
The trochanteric entry point is used for proximally curved nails.

As a general rule, draping should always be applied up to the pelvic rim, in order to find the correct individual location for the skin incision.
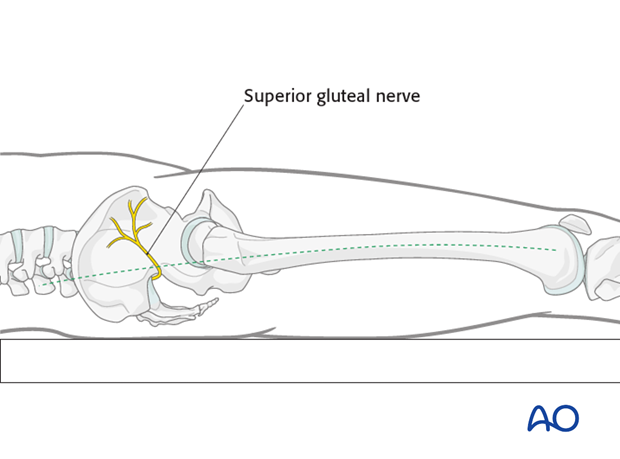
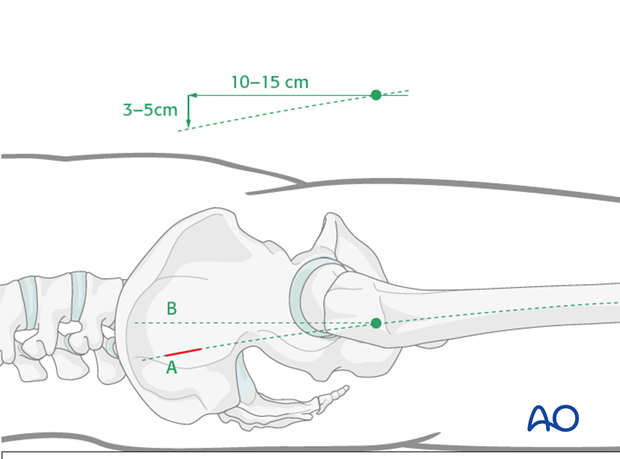
Care should be taken to make the skin incision in line with the curved axis (dashed line) of the femoral canal in order to minimize the risk of injury to the superior gluteal nerve.
Another reason to make the skin incision in line with the bow of the femur is to minimize the risk of eccentric reaming of the proximal fragment, leading to the risk of perforation of the posterior femoral shaft cortex.
Correct trochanteric entry point
The correct location for the trochanteric entry point is just next to the tip of the greater trochanter in the AP view. It is important that the entry be exactly centered on the axial view, in order to prevent eccentric reaming.
In unreamed nailing, an incorrect entry point may lead to blow out of either the posterior, or anterior wall of the greater trochanter.

2. Skin incision
To locate the site of the skin incision, the tip of the greater trochanter and the axis of the femur are marked with the help of the image intensifier and by palpating the trochanter.
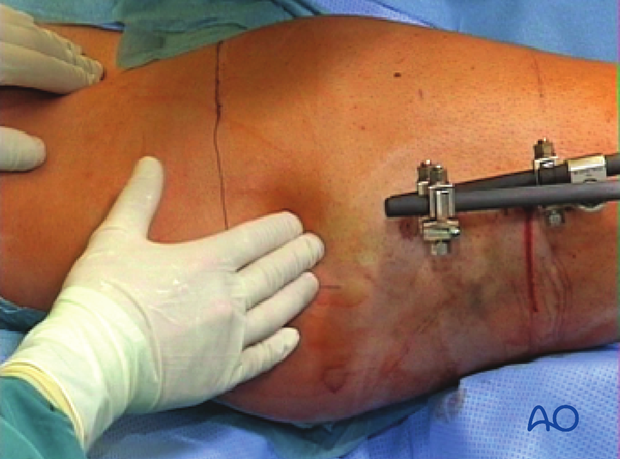
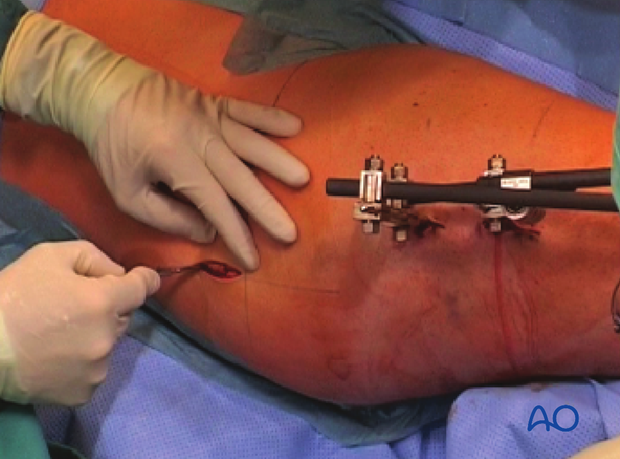
A 3-5 cm incision is made 10-15 cm proximal to the tip of the greater trochanter on the proximal extension of the anatomical femoral bow (A).
(B) marks a horizontal line drawn from the top of the greater trochanter, which represents an incorrect skin incision.
The external fixator is maintaining the reduction for femoral nailing.
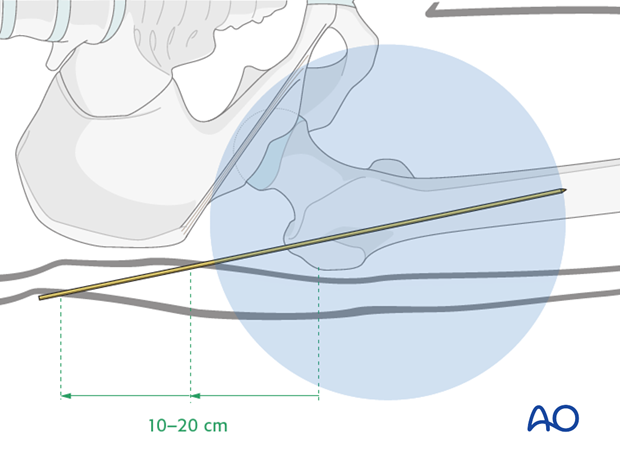
If in doubt whether to make the incision ten or fifteen cm proximal to the tip of the greater trochanter (eg, in an obese patient), the correct entry point may be assessed with a K-wire and the AP view of the hip.
In cases of morbid obesity, it may be necessary to make the incision even further proximally (up to 20 cm (lower skin line)).
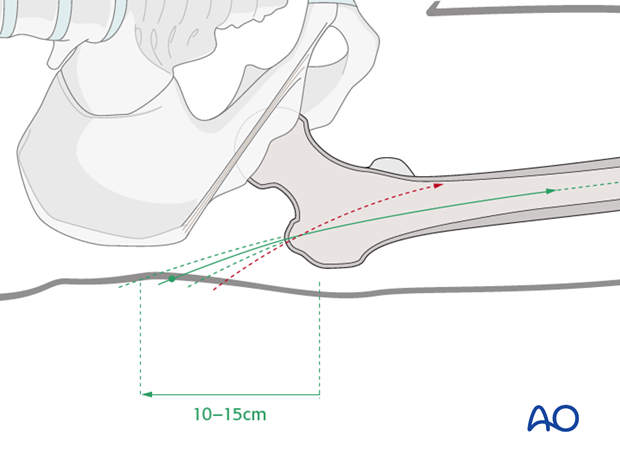
Pitfall: too distal incision
If the incision is too far distal (closer to the greater trochanter), the approach will not be in line with the femoral shaft (red dashed line), and eccentric reaming may lead to weakening of the medial cortex and possibly a medial blow-out fracture.
3. Deep dissection
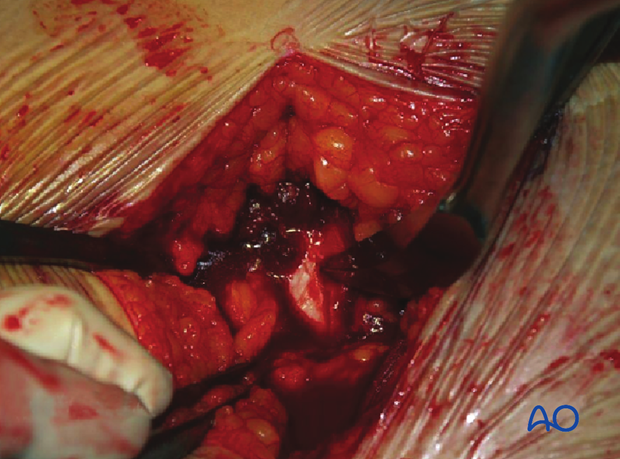
The fascia is opened with scissors and the gluteus muscle is split along its fibers.
(Image shows external fixator used as temporary fixation device.)
Dissection is carried down to bone.
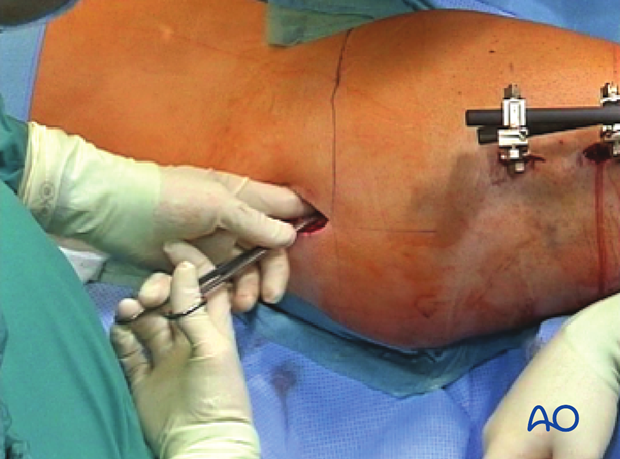
4. Determination of entry point and guide-wire insertion
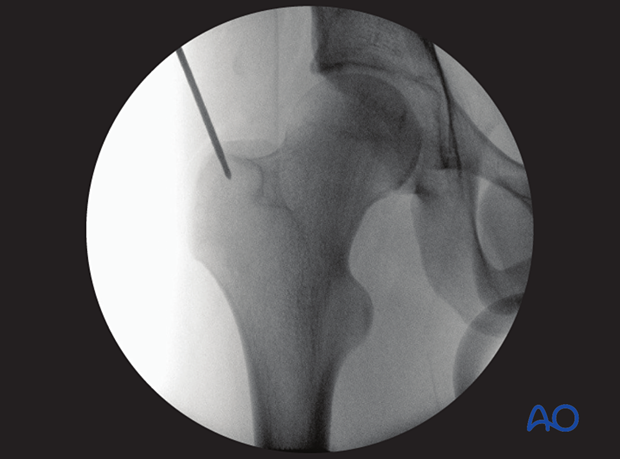
A finger is inserted to palpate the greater trochanter. The 2.8 mm guide wire, inserted under image intensifier control, enters the medullary canal at a slightly oblique angle. Introduction is manual, using the universal chuck with T-handle.
Verify the entry point by both AP and lateral views with image intensifier.
(Image shows external fixator used as temporary fixation device.)
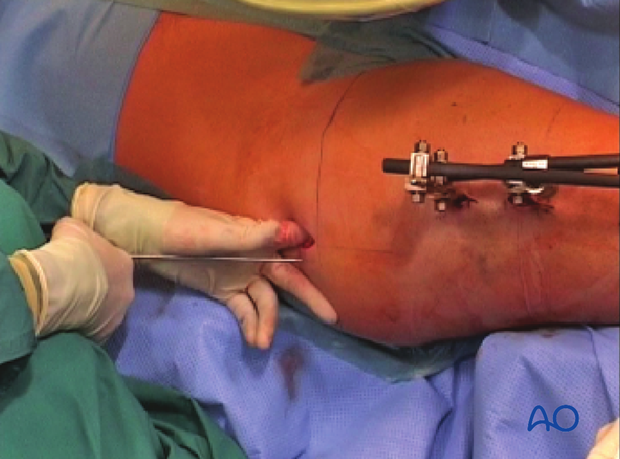
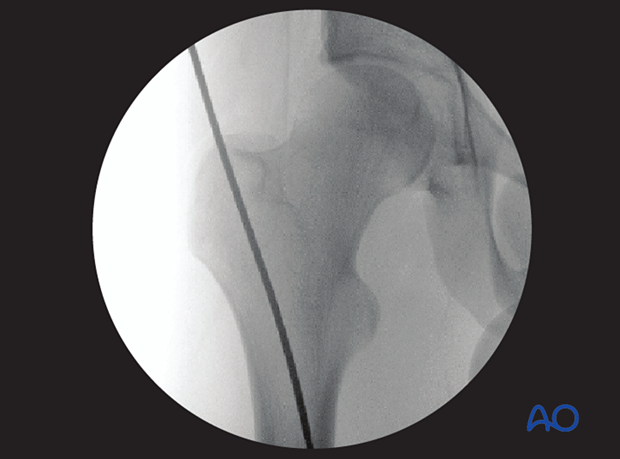
Fluoroscopy of guide wire inserted into the trochanter.
If there is difficulty pushing the guide wire through the cortex of the greater trochanter, the awl can be used to start the track.
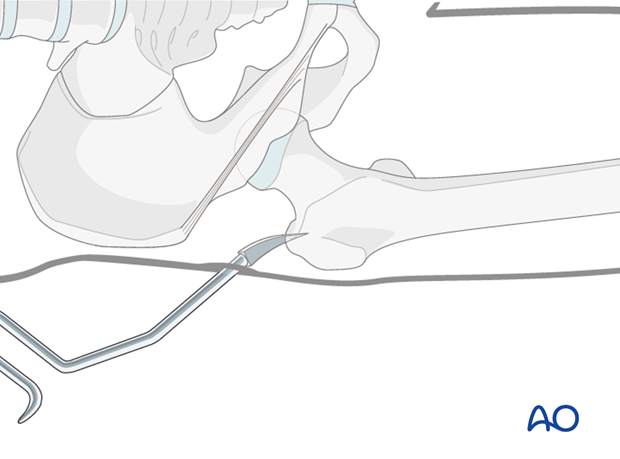
Lateral position with awl marking trochanteric starting point.
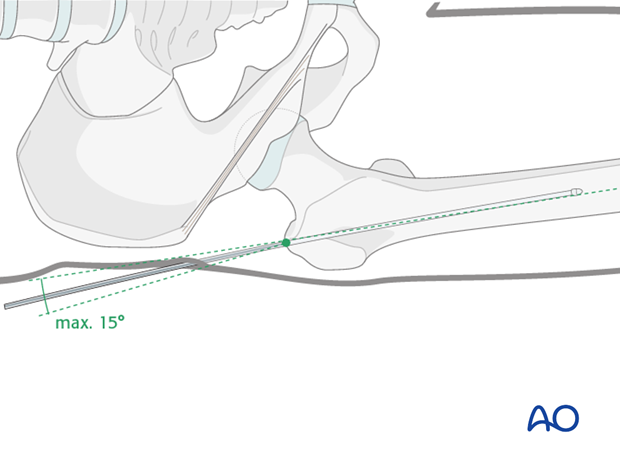
The soft-tissue track for determination of the entry point should deviate less than 15° from the axis of the femoral shaft in order to avoid any stress on the femoral neck upon insertion of the nail.
X-ray showing the correct position of the guide wire.
5. Opening the canal
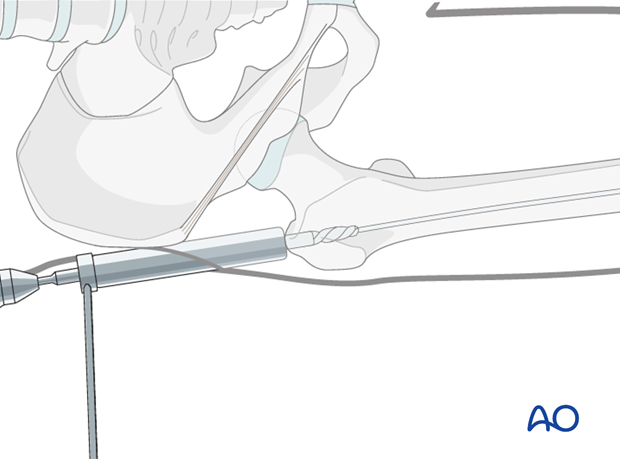
The cannulated drill bit is passed over the guide wire and through the protection sleeve to open the medullary canal.
(Image shows external fixator used as temporary fixation device.)
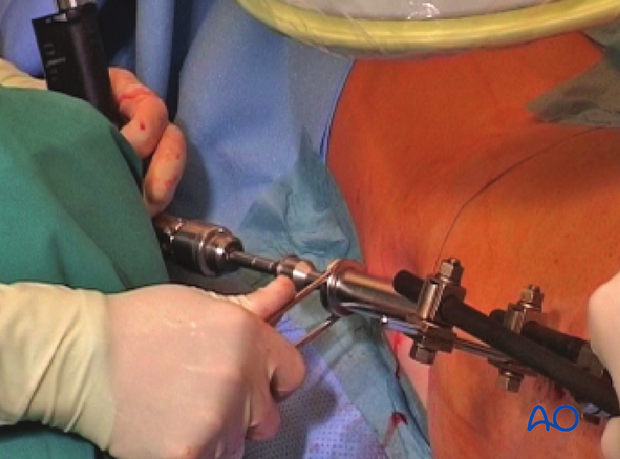
Image shows opening the canal using the drill bit.
