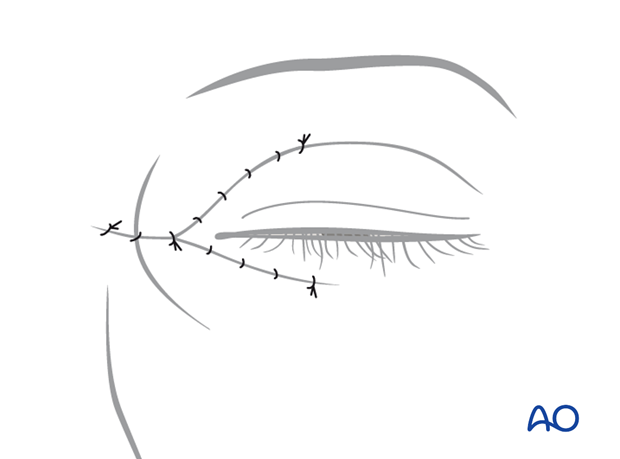
Extended glabellar approach (“Horizontal Y-approach”)
1. General considerations
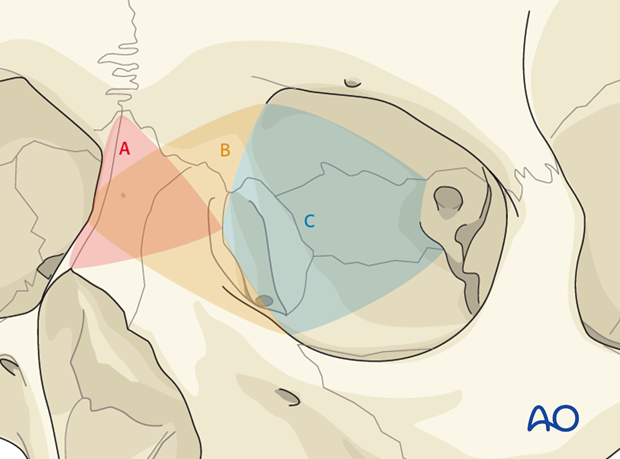
The glabellar approach is used to address the NOE area (A) but it does not provide enough access when the medial canthal tendon area needs to be reduced. When wide visualization of the medial canthal area, lacrimal sac, and medial orbital wall is needed an extended glabellar approach is advantageous (B). When further exposure is needed (C), other approaches such as the transcaruncular or coronal approach can be used.
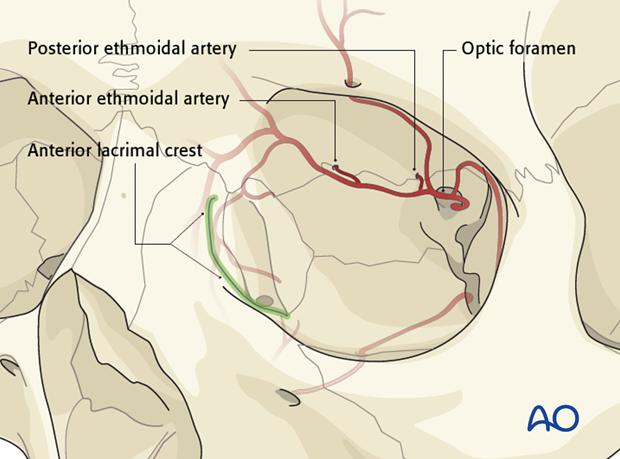
Surgical landmarks along the dissection of the medial orbital wall are the:
- Anterior lacrimal crest
- Anterior ethmoidal artery (15 mm from the crest)
- Posterior ethmoidal artery (25 mm from the crest)
Pitfall: avoiding injury to the optic nerve
Dissection should stop at the posterior ethmoidal artery in order not to endanger the optic nerve at the optic foramen (located at about 35-40 mm from the crest)
2. Corneal protection
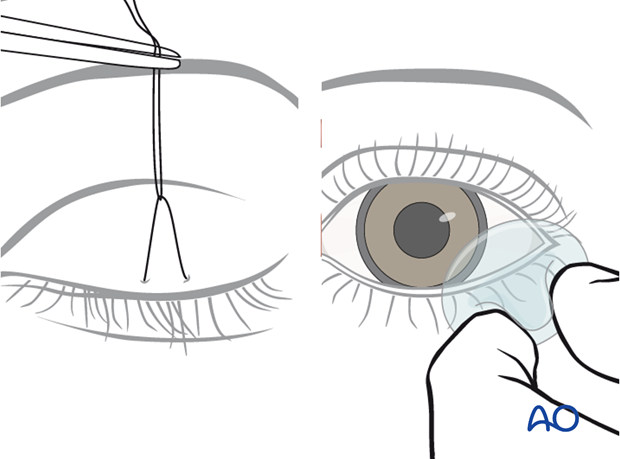
The cornea should be protected. A transparent corneal cover shield with markings allowing undisturbed observation of the eye during surgery or a tarsorrhaphy are useful.
Tarsorrhaphy
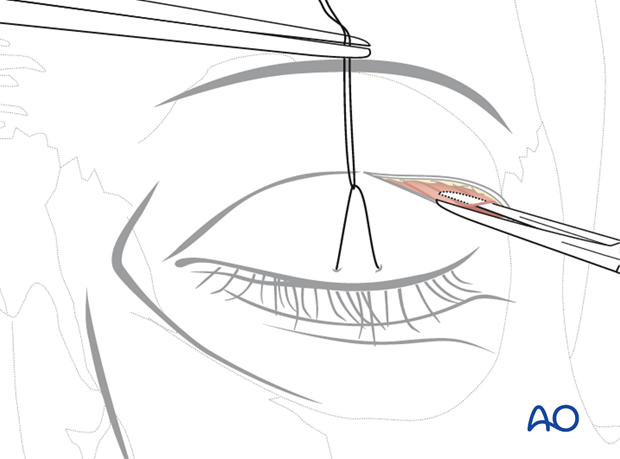
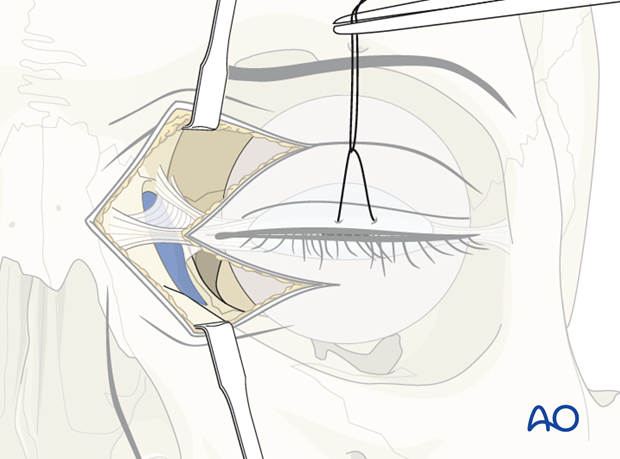
A temporary tarsorrhaphy is recommended to help protect the cornea. This is done by employing a mattress suture.
A 6.0 suture is passed through the skin of the upper eyelid and then passed through the Gray line of the upper lid margin.
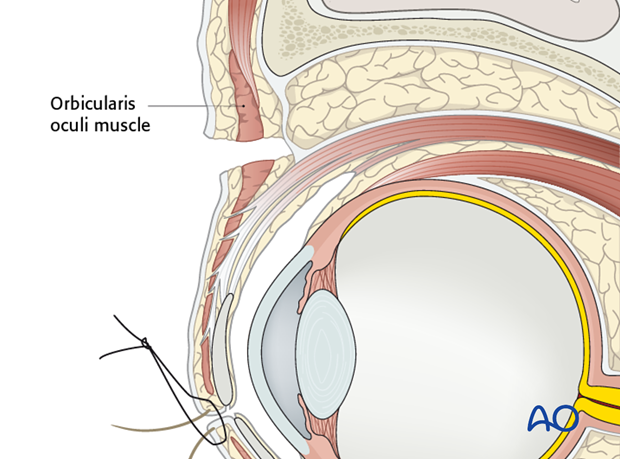
In the lower eyelid, the needle is passed from the Gray line into the skin.
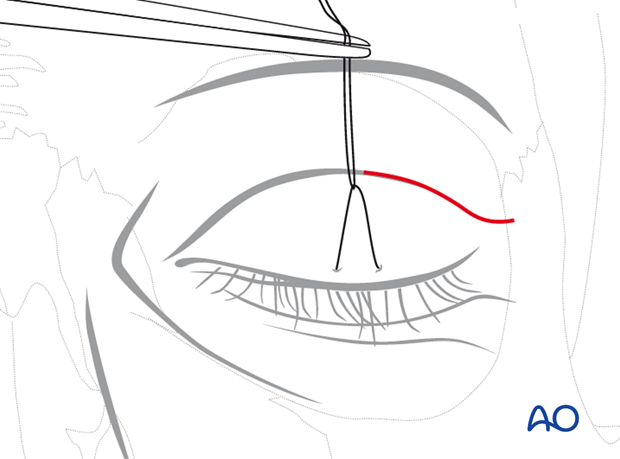
The suture is guided back picking up the same soft-tissue portions in the lower and upper eyelid to complete the mattress loop.
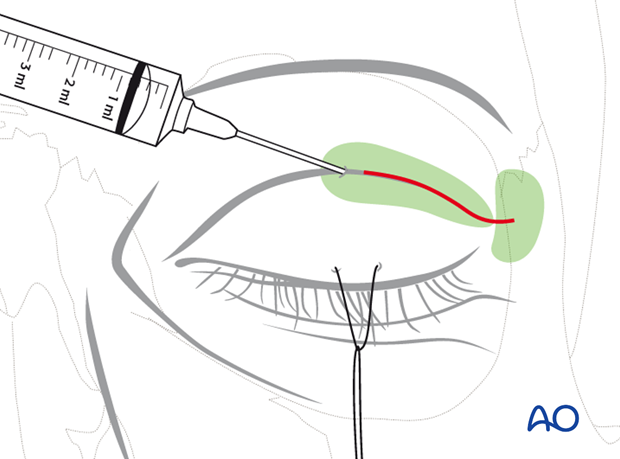
The tarsorrhaphy is not tightly secured and some space is left between the knot and the upper eyelid skin. A hemostatic clamp is used to grasp the suture and apply traction to the lower lid for full eyelid closure during the surgical procedure.
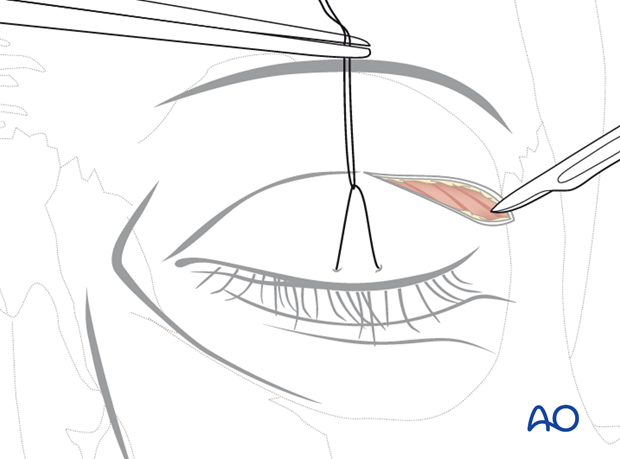
Since the suture is not fully tightened, when the hemostatic clamp is released, the lid may be opened to perform a forced duction test or to evaluate the pupil during the procedure.
3. Skin incision
Locating the skin incision
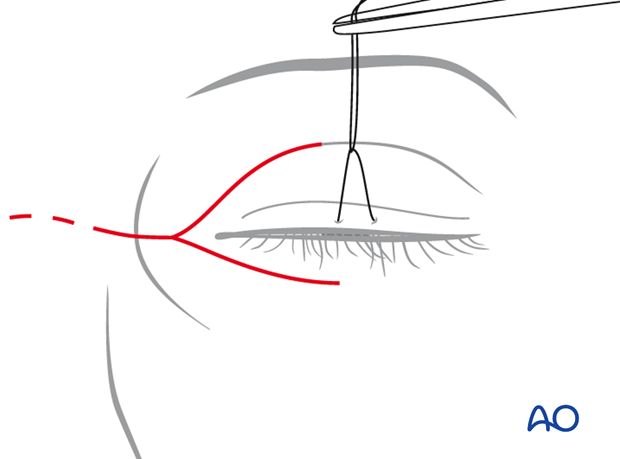
The incision should be planned in the glabellar furrows or, if appropriate, in the region camouflaged by the bridge of eyeglasses.
The incision is then extended from the lateral nasal bridge to about 3 mm medial to the skin edge of the caruncle. From there it bifurcates into an upper and lower eyelid incision. These two extensions can be taken up to the midline of the globe.
Skin incision
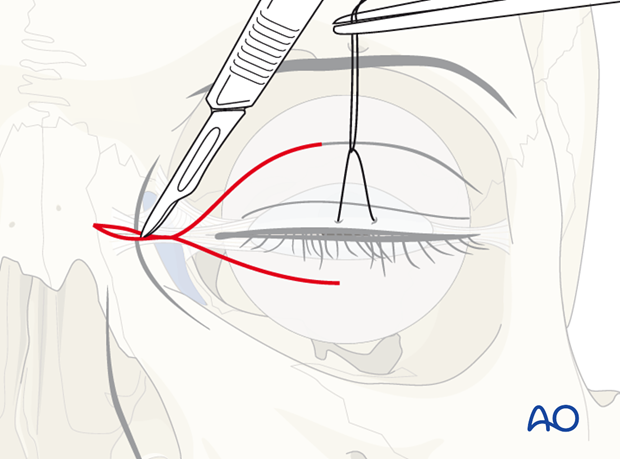
Perform a skin incision with a scalpel along the planned incision line. Dissection should be carried down in the canthal area and the medial canthal tendon should be identified. Then, dissection should be extended on the upper and lower eyelid incision.
4. Dissection
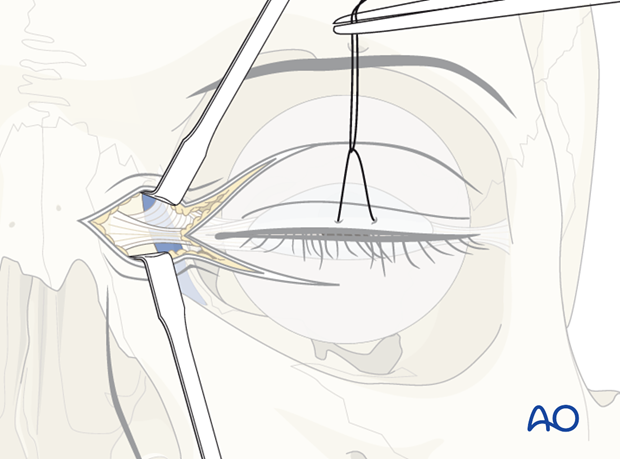
Once the canthal tendon is clearly identified, the dissection can then proceed to a subperiosteal plane in order to expose the nasofrontal suture, the frontal process of the maxillary bone along the medial orbital rim.
5. Exposure
Using retractors, the bone can be exposed.
6. Wound closure
A simple layered closure is performed as for any incision or laceration in this area.
