Approach to the Le Fort I level of the midface in cleft lip and palate patients
1. General consideration
The basic principles of a Le Fort I osteotomy in patients who have had previous repair of a cleft palate are the same as for a non-cleft patient. However there are some special considerations.
The posterior blood supply to the maxilla may be compromised in the cleft patient because of previous surgery and scar tissue formation, Furthermore, the maxilla tends to be small and access to it more limited. Consequently mobilization of the cleft maxilla may be more challenging.
Because of the scar tissue, relapse of the advanced maxilla has been commonly reported.
Transient velo-pharyngeal dysfunction (VPD) following maxillary advancements in cleft patients may occur. In some cases long term VPD may result.
The descriptions in this section are based on the assumption that the maxilla is in one piece and if necessary has received a good quality alveolar cleft bone graft. There will be occasional instances when a multi-piece maxillary le Fort I osteotomy has to be considered but our principal approach is to try to avoid this.
The maxillary vestibular approach is modified to improve the blood supply and to facilitate more radical mobilization.
2. Preparation
The patient is positioned on the operating table supine with the head in a head holder.
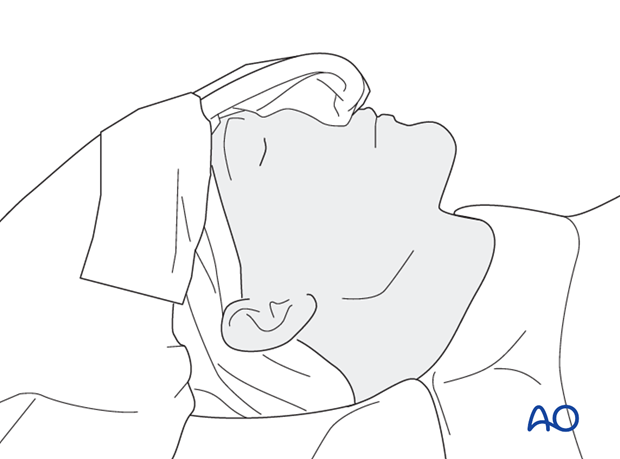
For corrective bone surgery, the whole face including the lower part of the forehead and eye brows, the auricles and the superior part of the neck need to be visible, and not covered with drapes. The nasal anaesthetic tube is covered with sterile adhesive tape and the cranium covered with two sterile drapes as illustrated. The eyes are protected with a bland eye ointment and the lips are lubricated.
Anaesthesia
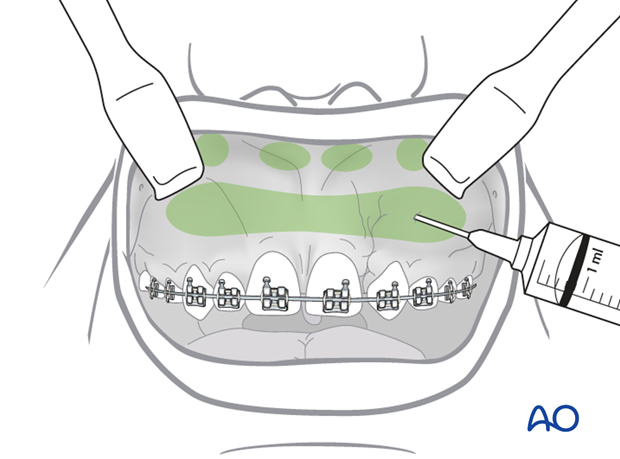
To achieve a good hemostatic effect, local anaesthesia with a vasoconstrictor is injected into the labio-buccal sulcus from the midline to the maxillary tuberosities and pterygomaxillary areas.
Hypotensive anaesthesia is routinely employed during all but the final stages of the surgery maintaining the systolic blood pressure around 80 mm Hg.
Vertical reference
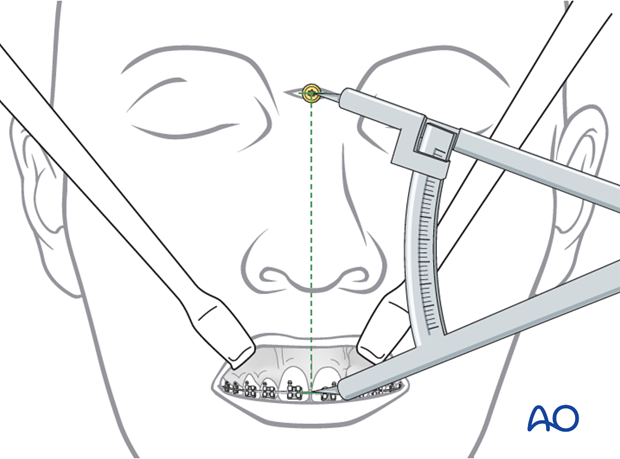
Many methods have been described for ensuring that vertical changes during orthognathic surgery especially Le Fort I osteotomy are accurate. In the authors experience a screw inserted into the glabella (the root of the bridge of the nose) provides a good vertical reference point.
The procedure starts with the insertion of a 12-14 mm long screw with a cruciform head into a 6-8 mm hole drilled into the glabella. The distance between the middle of the cruciform head and the arch wire is measured with a caliper and recorded. All vertical changes are then measured against this reference distance.
3. Incision
Pearl: Using the electrocautery, two vertical reference dots are made in the labial frenum area of the maxillary midline to ensure that the incision is replaced accurately during suturing.
The incision starts 5 mm anterior and 5 mm superior to the opening of the parotid duct and proceeds forwards and slightly downwards in the labio-buccal sulcus crossing the labial frenulum in the midline and proceeds upwards in the same manner on the contralateral side.
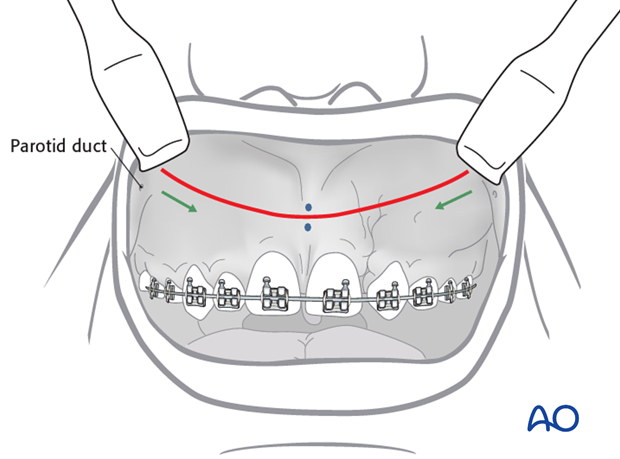
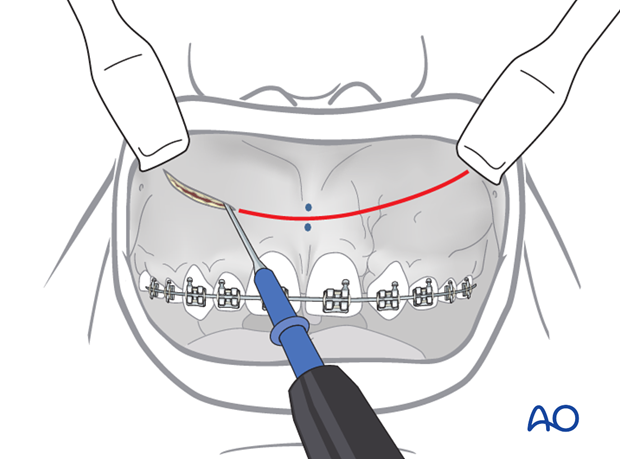
The incision is made through the mucosa, submucosa, underlying facial muscles and periosteum using an electrocautery needle to further reduce bleeding. Care should be taken with the electrocautery in the region of the nasal floor so as not to damage it and also on the bone if the tooth roots have perforated the buccal plate.
4. Subperiosteal dissections
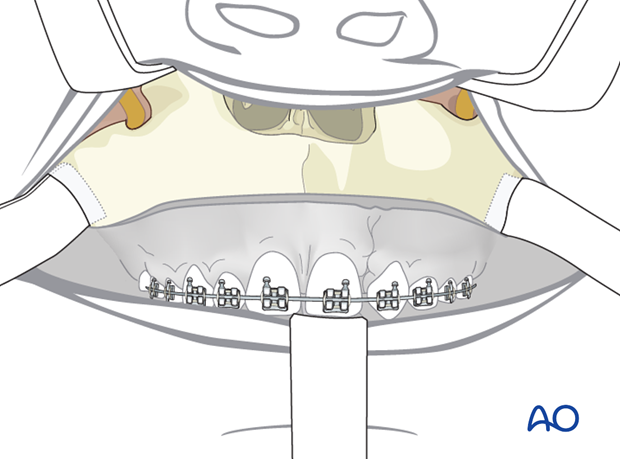
Sharp periosteal elevators are used to raise the soft tissues in the subperiosteal plane to expose the anterior maxillary wall, pyriform rims and nasal apertures, and zygomatico-maxillary buttresses.
The periosteal dissection is performed in a systematic fashion
It must be remembered that scar tissue will usually be present in certain areas of the maxilla following previous cleft surgery. Additionally the anatomy of the anterior maxilla may be different as a result previous surgery and the deformity itself. Dissection of the soft tissues from the maxilla can therefore be more challenging than in a non-cleft patient.
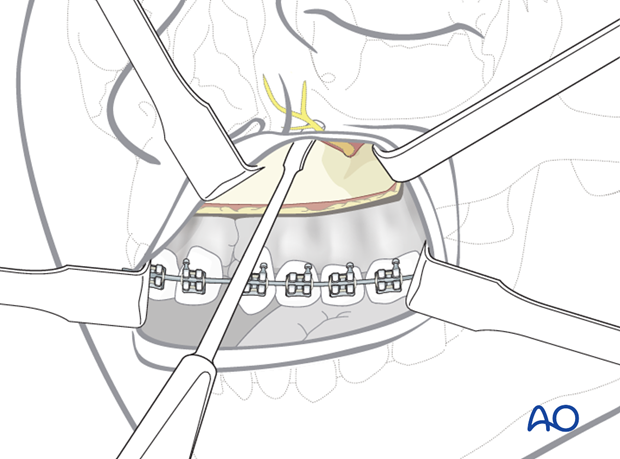
This clinical photograph shows the exposure gained.

Anterior midline and posterior (pterygopalatine fissure)
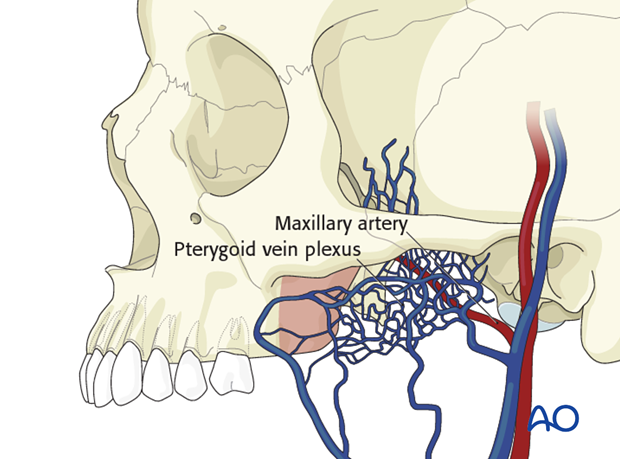
The subperiosteal dissection continues in a tunnel behind the zygomaticomaxillary buttress into the region of the maxillary tuberosity and the pterygomaxillary fissure.
The tip of the periosteal elevator is always kept in intimate contact with the bony surface.
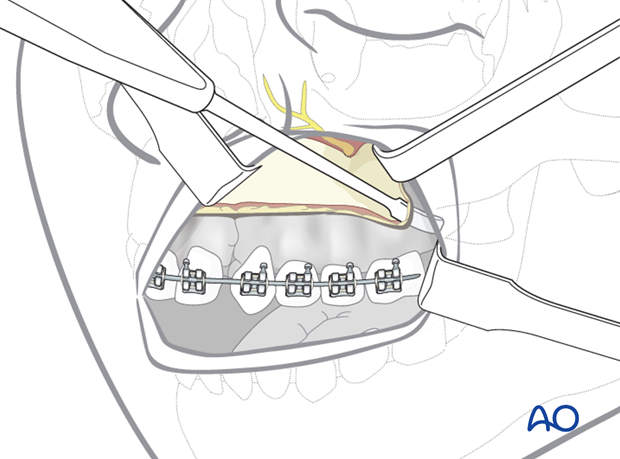
Pitfall: A perforation of the periosteum and slippage into the soft tissues can either produce a herniation of the buccal fat pad obscuring the surgical field and/or bleeding from veins of the pterygoid plexus.
Nasal cavity
The nasal mucosa should be elevated from the lateral wall and floor of the nose with a periosteal elevator
The anterior nasal spine and the lower border of the cartilaginous septum are addressed by soft-tissue retraction if necessary with a forked retractor, and the perichondrium on top of the cartilaginous septal border is incised.
Note: In the cleft patient elevation of the nasal floor from the maxilla may be impossible and will require sharp dissection of the nasal mucosa from the palatal mucosa.
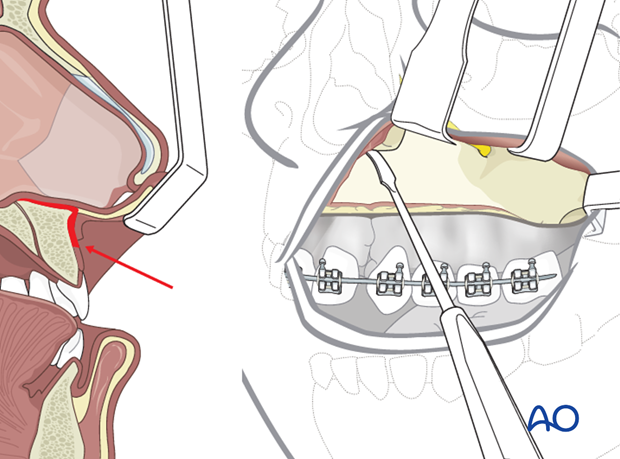
This illustration shows the exposure gained.
5. Closure
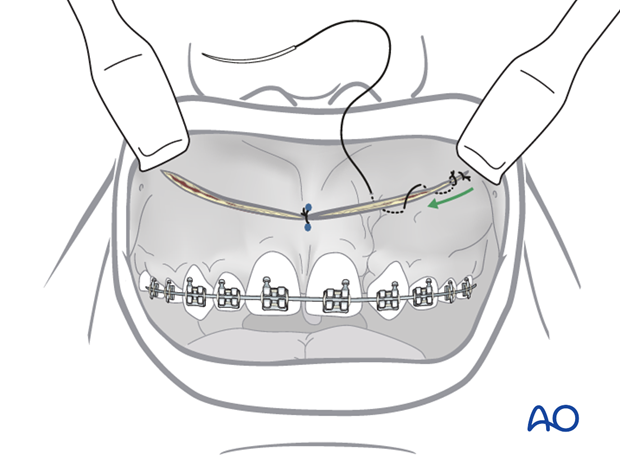
Wound closure begins with the insertion of a single suture in the midline using the previous markings placed at incision.
The rest of the incision is then subsequently closed.
In cases of significant maxillary advancements or if the patients lip is short, a V-Y closure may be considered.
