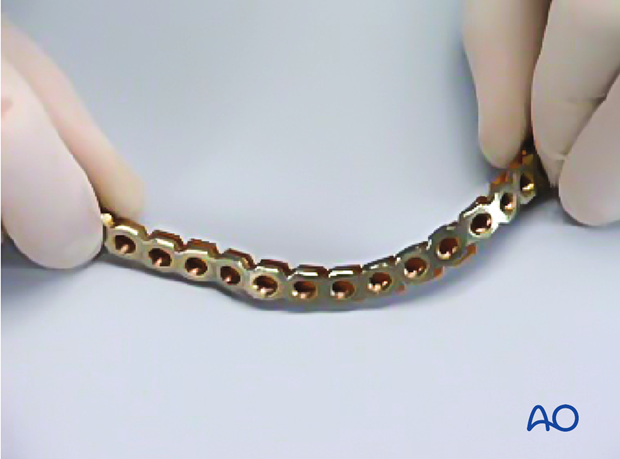
Plate bending
1. General considerations
The contouring of large mandibular reconstruction plates can be challenging due to their stiffness and need for complex 3-dimensional contouring.
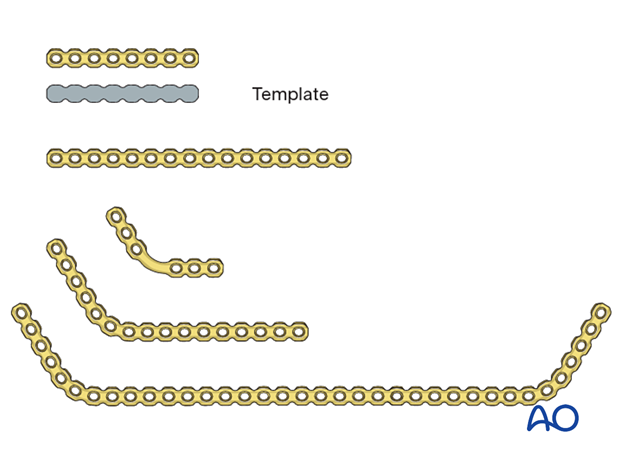
Contouring is done most efficiently with a template.
Several plate configurations are available with corresponding templates to satisfy all clinical situations.
If the plate will span the mandibular angle, it is preferable to use prebent plates to avoid extreme in-plane bending. Metal fatigue with plate fracture can result from excessive or repetitive plate bending.
The templates are very malleable and easy to configure. Note that there are no screw holes in the templates to prevent implanting these devices.
Pre-bent plates can provide a better anatomical fit as the major bends are accounted for in the design. Furthermore, pre-bent plates require less manipulation and are therefore less likely to suffer from metal fatigue.
AO Teaching video on bending a reconstruction plate
2. Contouring the template
First, adapt the template to the desired contour.
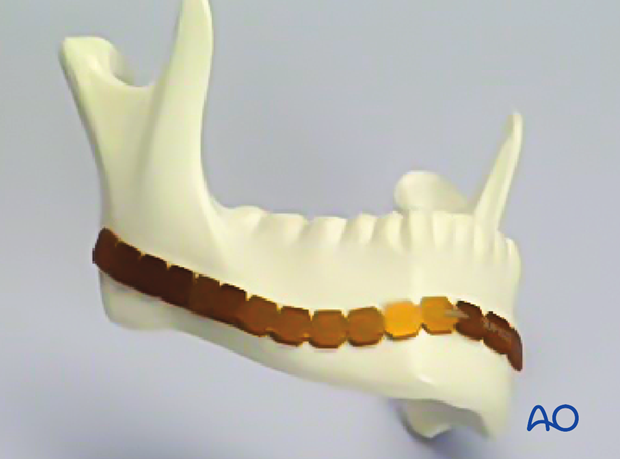
The template is used as a reference throughout the entire bending process.
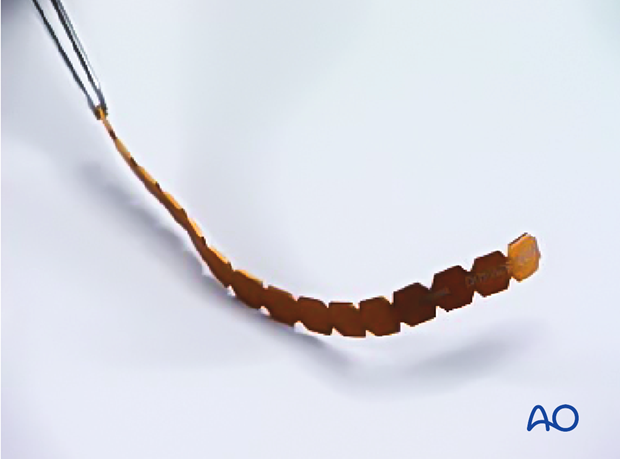
3. Trimming the plate
The template is used to determine the plate length (the number of holes required).
The plate is cut to the desired length using the cutting device (cutting irons).
Insert the plate into the instrument where the desired cut is planned (between two plate holes).
The smooth sides of the cutting irons should face each other.
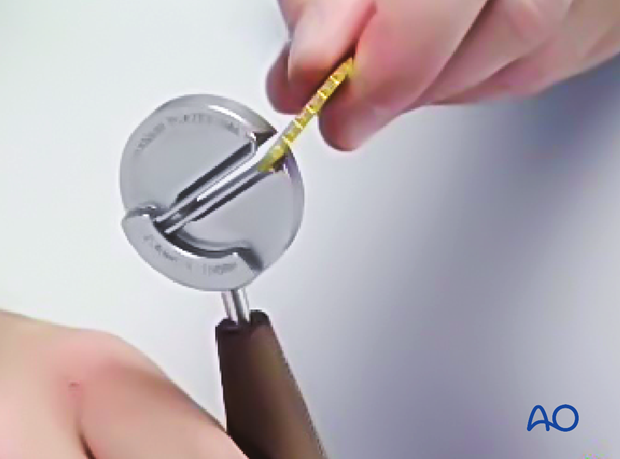
After engaging the cutting irons, confirm the intended site to avoid cutting the plate through a hole, which is a common mistake.
Place the opposite cutting iron immediately adjacent to the desired cut. Squeeze the cutting irons gently together to cut the plate.
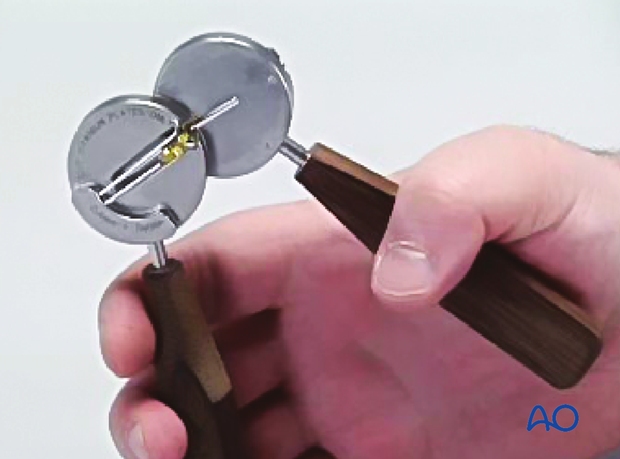
Separate the cutting irons and assess the cut.
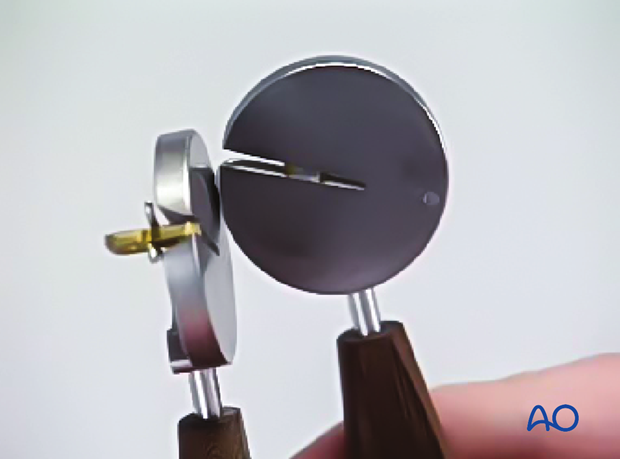
4. Filling plate holes with bending insets
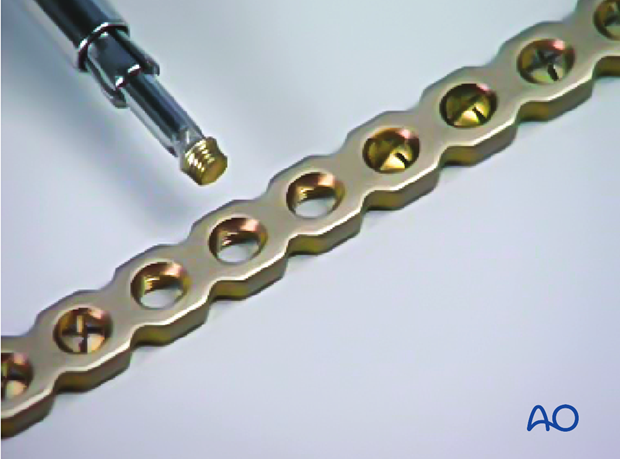
When indicated, fill the threaded plate holes with bending insets. Insert them into the holes, that will later be filled with locking screws. Without the bending insets, the holes become deformed during contouring of the plate, and precise seating of the locking screws cannot be guaranteed.
5. Bending the plate
General considerations
Three types of bends may be needed to adapt a plate. These are performed in the following sequence:
- In-plane bending
- Out-of-plane bending
- Torquing
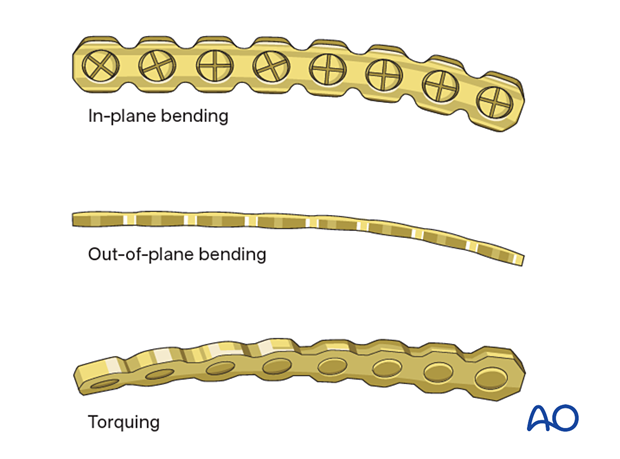
In-plane bending
The plate can be bent in-plane and out-of-plane using universal bending pliers.
In the first step, bend the plate in-plane.
The appropriate slot is marked on the bending pliers. Guide the plate in gradually through the opening of the pliers, according to the curvature required.
For bending in the opposite direction, the plate must be turned 180°.
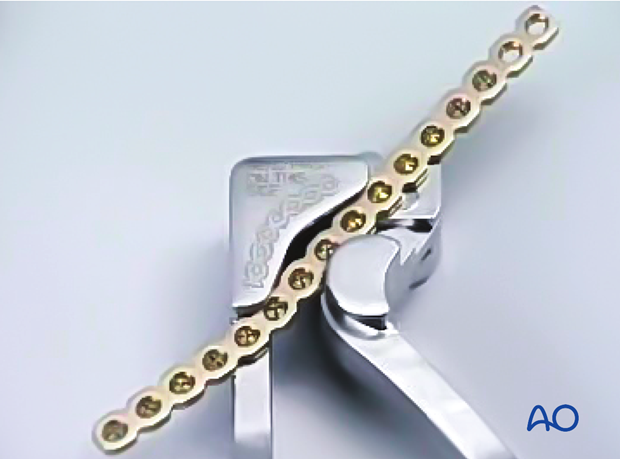
Check the curvature of the plate against the template repeatedly during in-plane bending of the plate.
Always start bending from either end of the plate while continuously verifying with the template. Do not begin in the plate's center.
When the process is finished, recheck the curvature of the plate against the template.
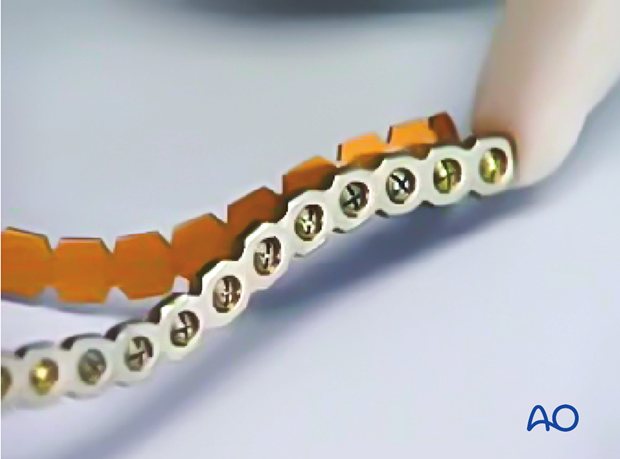
Out-of-plane bending
The plate can be bent out-of-plane using the nose of the pliers. The nose of the pliers is particularly suitable for extreme curvatures.
It is important to start systematically at one end of the plate and bend the plate segment by segment in order to perfectly replicate the template's contour.
Any other approach (eg, starting in the middle of the plate) will make it difficult to achieve the correct contour.
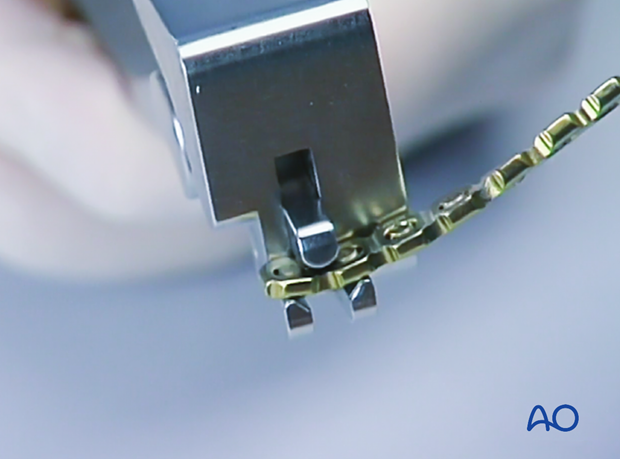
Bending irons
Alternative bending techniqueIn-plane and out-of-plane plate bending can also be done with bending irons. Bending irons have two different openings to allow plate bending.
For in-plane bending, the appropriate openings are used. The best way of carrying out in-plane bending is to position the bending irons opposite each other.
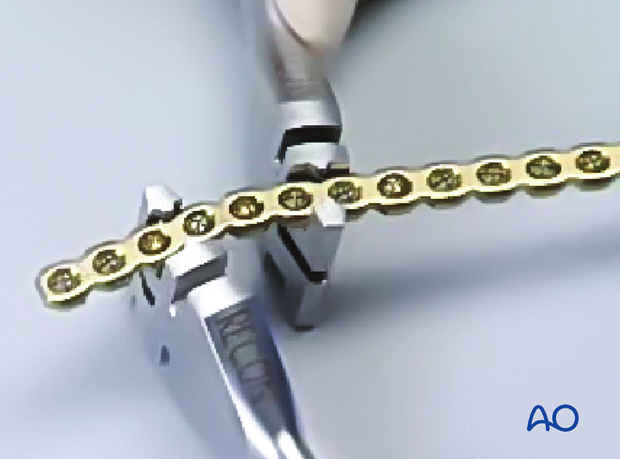
Bending out-of-plane is carried out with the openings of the bending irons as shown here.
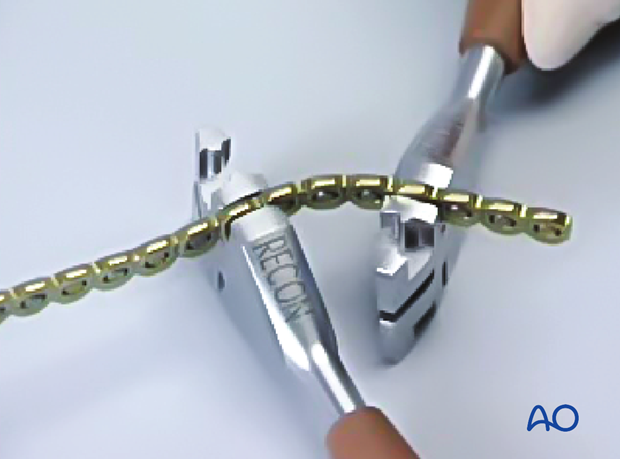
Plate torquing
The bending procedures are completed by torquing the plate. The plate is inserted into the vertical openings of the bending irons.
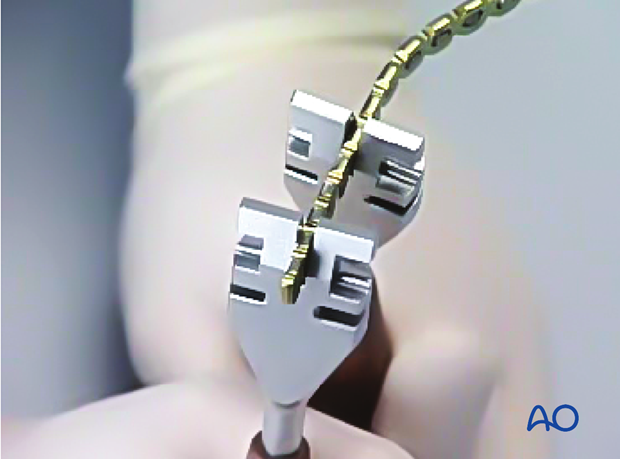
Then the bending irons are rotated in opposite directions.
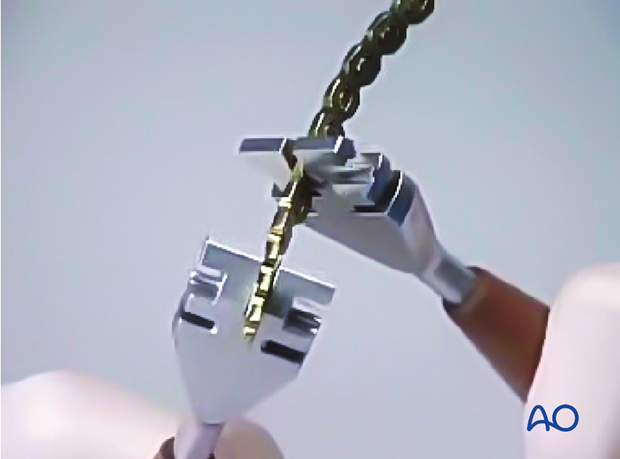
6. Checking the plate against the template
The template is used again to check if the plate is contoured correctly.
After bending is finished, the bending insets are removed.
